Scanning in Advanced Mode
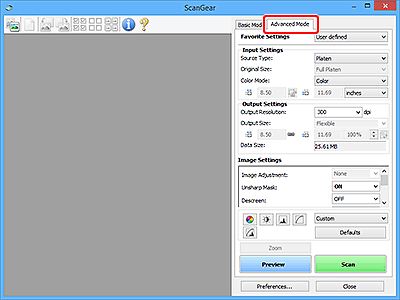
Use the Advanced Mode tab to scan by specifying the color mode, output resolution, image brightness, color tone, and other settings.
To scan multiple documents at one time, see Scanning Multiple Documents at One Time with ScanGear (Scanner Driver).
To scan multiple documents placed on the ADF (Auto Document Feeder) (Supported Models Only), see Scanning Multiple Documents from the ADF (Auto Document Feeder) in Advanced Mode (Supported Models Only).
 Important
- Available functions and settings vary depending on your scanner or printer.
-
The following types of documents may not be scanned correctly. In that case, click
 (Thumbnail) on the Toolbar to switch to whole image view and scan.
- Photos with a whitish background
- Documents printed on white paper, hand-written text, business cards, and other unclear documents
- Thin documents
- Thick documents
-
The following types of documents cannot be scanned correctly.
- Documents smaller than 1.2 inches (3 cm) square
- Photos that have been cut to irregular shapes
-
Place document on Platen, and then start ScanGear (scanner driver).
-
Click Advanced Mode tab.
The tab switches to Advanced Mode.

 Note
Note- Settings are not retained when you switch modes.
-
Set Input Settings.
-
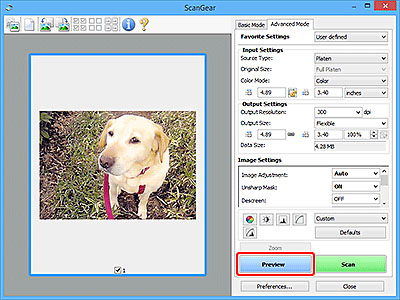
Click Preview.
Preview images appear in the Preview area.

 Important
- Preview is not available when scanning from the ADF.
-
Set Output Settings.
-
Adjust cropping frame (scan area), correct image, and then adjust colors as needed.
-
Click Scan.
Scanning starts.
 Note
Note
- Click
 (Information) to display a dialog box showing the document type and other details of the current scan settings.
 - How ScanGear behaves after scanning is complete can be set from Status of ScanGear dialog after scanning on the Scan tab of the Preferences dialog box.
