Trimming Photos
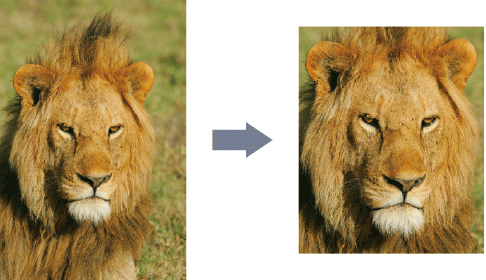
Select the area you want to keep in a photo and discard the rest.

-
Click Edit in the task area, and then click Photos.
The view switches to the Edit screen (Photos).
-
On the poster, click the photo you want to trim.
-
In Edit Image, click
 (Trim).
The Edit Image dialog box and preview panel appear.
-
Drag
 (Crosshair pointer) across the portion you want to keep.
The portion inside the orange frame will be retained, and the portion outside will be hidden.
 Note
Note-
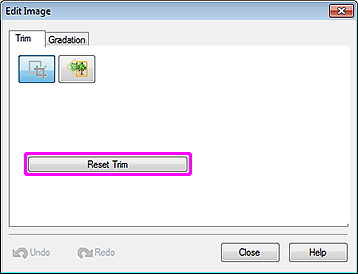
To remove trimming, in the Edit Image dialog box, click Reset Trim.

- To resize the orange frame for the trimming area, drag
 (Resize handle) in the corners.
 - To move the orange frame for the trimming area, drag
 (Move pointer) that appears when you point inside the frame.
 - To change the frame orientation from portrait to landscape and vice versa, rotate the orange frame by clicking
 (Rotation handle).
-
 Important
- Trimming is canceled if the photo is replaced with another photo.
