Wired Connection
 Important
- If printer is performing cleaning, print head alignment, or other processes, wait for the process to finish, before starting setup.
 Note
Note
-
Refer to the following for notes when connecting to a wired LAN.
-
On the operation panel, press the HOME button and display the Home screen.
-
You will need an Ethernet cable (sold separately).
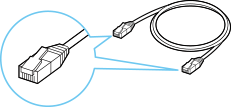
-
Connect the printer and a network device (router, etc.) with an Ethernet cable.
Do not connect to any other port.
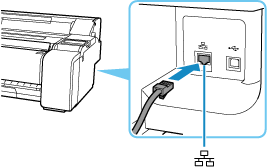
-
In the Home screen, select Menu.
-
Select Preferences.
-
Select Network.
Note-
If the Administrator Login screen appears, follow the displayed instructions and enter the ID and PIN.
-
-
Select Select Wired LAN/Wi-Fi.
-
Select Wired LAN.
With initial settings, the IP address is set automatically.
Note-
The IP address can also be set manually.
-
-
On the operation panel, press the HOME button.
Once connection is complete,
 appears on the screen.
If performing setup with software, return to the software and proceed with the installation.
Windows
Click
 (or
(or  ) on the
 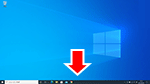 taskbar at the bottom of the screen, follow the on-screen instructions to proceed with setup.
macOS
Click
 on the
 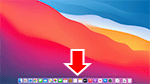 Dock at the bottom of the screen, and follow the on-screen instructions to proceed with setup.
