Printing by Specifying the Size
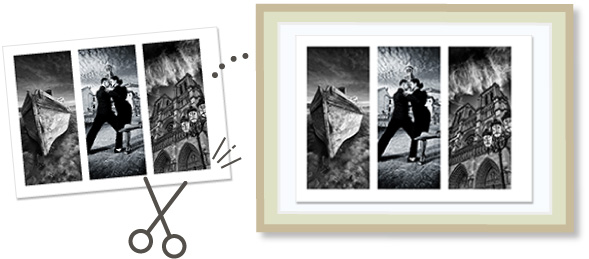
Print by specifying the photo size according to the size of your photo frame or other display area.

-
Check that printer is on.
-
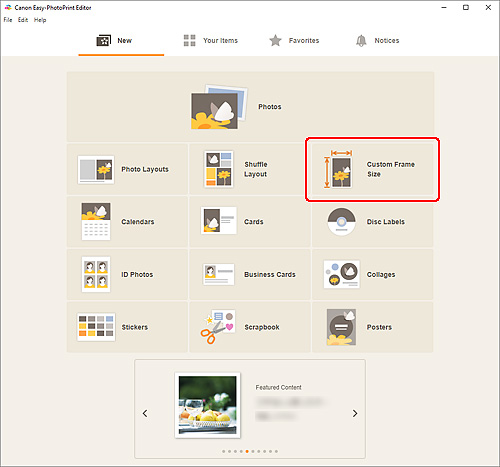
Click Custom Frame Size in the New screen.

The view switches to the Custom Frame Size screen.
-
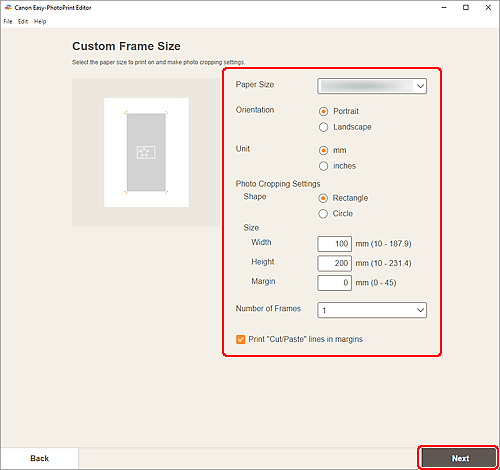
Specify the paper size, paper orientation, photo size, and other settings, and then click Next.

The view switches to the Photo Locations screen.
-
Select the photo(s) you want to use for item.
The view switches to the Item edit screen.
-
Edit item according to preference.
 Note
Note- In Custom Frame Size, some editing functions are not available (e.g., text cannot be entered).
- Click Advanced... to switch to the Custom Frame Size screen for changing the paper size and photo size. For details, see Custom Frame Size Screen.
- To save the item being edited, click Save.
-
Click Next.
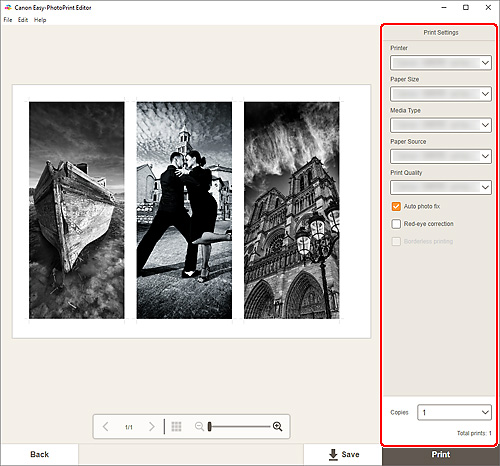
The view switches to the Print Settings screen.
Windows
-
Specify printer and paper to use, and other settings.

 Important
- The paper size cannot be changed.
-
Click Print.
macOS
-
Set Auto photo fix, Red-eye correction, and number of copies to print.
-
Click Next.
The Print dialog appears.
-
Specify printer and paper to use, and other settings.
 Note
Note- When printing on T-Shirt Transfers using AirPrint, you may need to set the flip horizontally setting depending on the printer. To set the flip horizontally setting, To set the flip horizontally setting, enable Flip Horizontally in Layout.
- For details on the Print dialog, see Help of macOS.
-
Click Print.
