Printing Disc Labels (CD/DVD/BD)
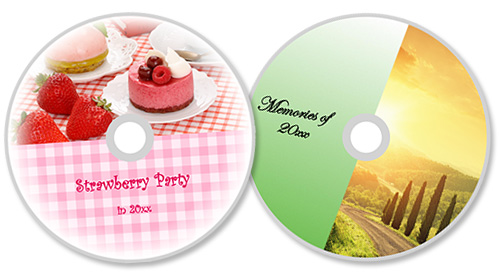
Create and print personalized disc labels (CD/DVD/BD) from your favorite photos.
 Important
- Only supported models can print disc labels. Before creating, check if your printer is included in List of Supported Models.
- Do not set the multi-purpose tray or disc tray until a message prompting you to load a printable disc appears on the printer's operation panel. Loading a printable disc while the printer is in operation may damage the printer.
- To set or remove the multi-purpose tray or disc tray, click Home to return to the top page of the Online Manual for your model and search for "Placing a Printable Disc."
-
Check that printer is on.
-
In New screen, click Disc Labels.
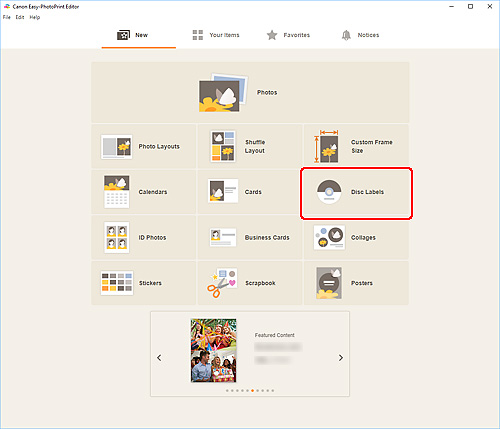
The view switches to the Select template screen.
Check the displayed message, and then click OK.
-
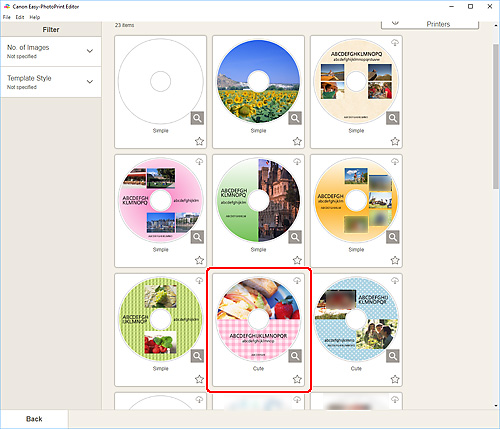
Select the template you want to use.
 Note
Note- To narrow down the templates, set the conditions in the Filter area.
The Select Paper Size screen appears.
-
Select paper size and click Next.
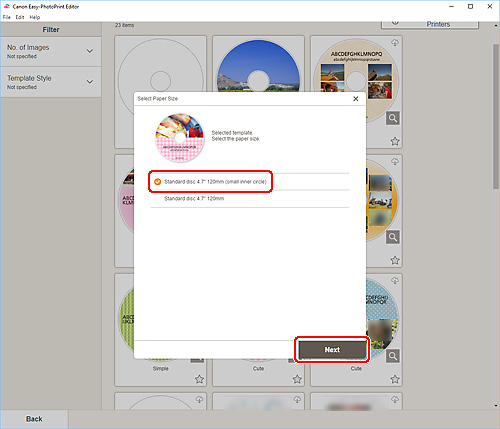
The view switches to the Photo Locations screen.
-
Select the photo(s) you want to use for disc label (CD/DVD/BD).
The view switches to the Item edit screen.
-
Edit item according to preference.
 Note
Note- The print area for disc labels (CD/DVD/BD) can be set in the Advanced Settings Screen (Disc Labels) displayed by clicking Advanced... at the bottom of the screen.
- To save the item being edited, click Save.
-
Click Next.
The view switches to the Print Settings screen.
Check the displayed message, and then click OK.
Windows
-
Specify printer and paper to use, and other settings.
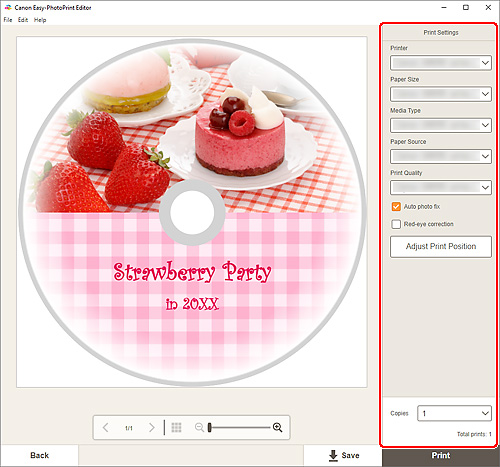
 Important
- The paper size cannot be changed.
-
Click Print.
When a message appears on the printer's operation panel, set the multi-purpose tray or disc tray.
macOS
-
Set Paper Size, Auto Photo Fix, Red-Eye Correction, Adjust Print Position, and Copies.
-
Click Next.
The Print dialog appears.
-
Specify printer to use and other settings.
-
Click Page Attributes to check if the selected paper size is set in Paper Size.
-
Click Media & Quality, and set as shown below:
- Select Auto Select or CD-DVD Tray in Feed From.
- Select Auto Select or Printable disc in Media Type.
 Note
Note- If Media & Quality doesn't appear, click Quality & Media in Printer Options, and select Printable disc or Printable disc (bleed-proof) in Media Type.
-
Click Print.
When a message appears on the printer's operation panel, set the multi-purpose tray or disc tray.
 Note
Note- To print disc labels with the same settings from the next time, save the settings specified in the Print dialog to Presets. For the save procedure, see Help of macOS.
- If the print result's color tone is faint, select Media & Quality in the Print dialog, and then select Best in Quality.
