
Create Shortcut Print Icons
If you drop printing data, you can create icons that can be used for printing.
Follow the procedure below to create Shortcut Print icons.
-
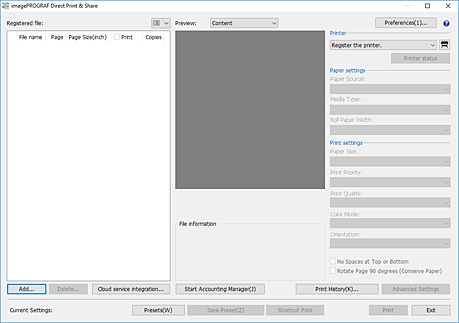
Open the main screen.
-
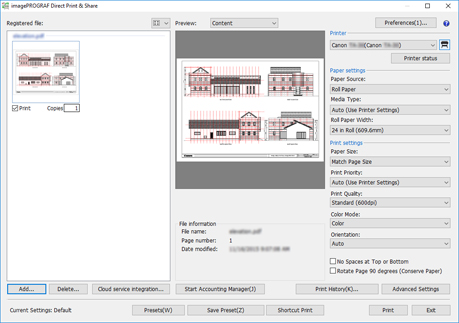
Add the files you want to print (see "Add Files to Print").
-
Select the printer you want to use to print the file in Printer.
-
Configure the required settings in the print settings area on the right side (see "Main Screen").
-
Click Shortcut Print.
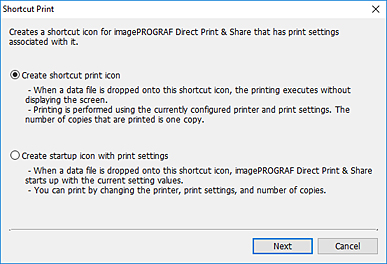
The Shortcut Print dialog box will open.
-
Select the icon type you want to create, and then click Next.
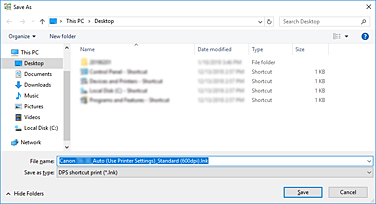
The Save As Dialog Box will open.
-
Enter the icon name for the icon in File name, and then click Save.
The icon you created will be added to the folder specified in the Save As Dialog Box.
The icon name in the initial state is as follows:
-
"friendly name"_"sheet type"_"printing quality"
If the file format is HP-GL/2, "sheet type" will be "GL2" instead of the sheet type.
 Important
-
Do not change the friendly name of the printer used in Shortcut Print.
-
-
