
Start Wired Connection
Follow the procedure below to setup a printer.
![]() Note
Note
- Notes on Wired Connection (Appears in a new window)
-
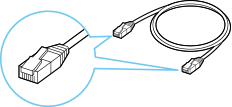
You will need an Ethernet cable (sold separately).
-
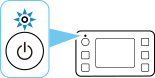
Make sure printer is turned on before starting wired connection setup.
If the power is on, the ON lamp will be lit.
 Important
- If printer is performing cleaning, print head alignment, or other processes, wait for the process to finish, before starting setup.
-
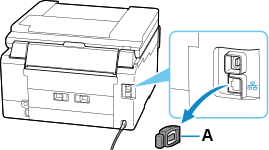
Remove the Cap (A) from the port located on the left side at the back of the printer.
-
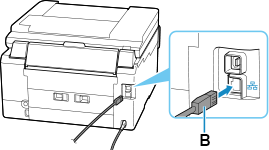
Connect the printer and a network device (router, etc.) with an Ethernet cable (B).
Do not connect to any other port.
-
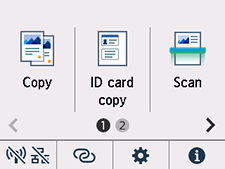
If the following screen is not displayed, select
 (Stop), and then select
  (HOME).
If the following screen is displayed, proceed to the next step.
-
Tap
 (Network).
The appearance of
(Network) varies depending on the printer's network connection status.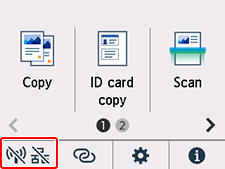
 Note
Note- If the administrator mode or screen lock is enabled, the setting screen may not appear for standard users. Ask your network administrator for the setup.
-
Tap Wired LAN.
-
Tap Enable/disable Wired LAN.
-
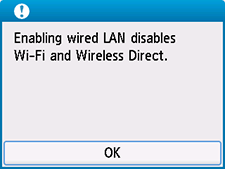
Tap Enable.
-
If the following screen is displayed, tap OK.
If the following screen is not displayed, proceed to the next step.
-
Select
(HOME).
The network connection setup is now complete.
Once connection is complete,
 appears at the lower left of the screen.
 -
After checking the following, click the close button on the Web browser to close this guide.
Windows
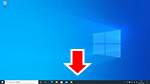
Click
 in the taskbar, follow the on-screen instructions to proceed with setup.
macOS

Click
 in the Dock, and then follow the on-screen instructions to proceed with setup.
Smartphone/tablet
Return to the app you have been using for setup on the smartphone, and then follow the on-screen instructions to proceed with setup.
