Creating Print Data with Margins and Other Parameters Set
-
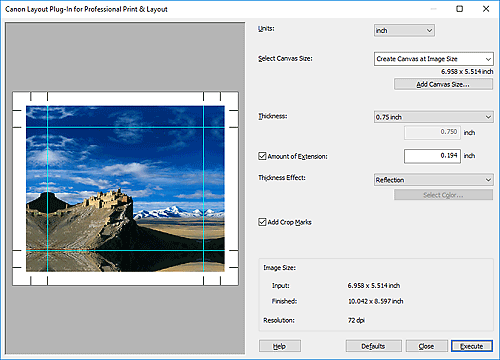
Check that the image you want to print is displayed in the Preview area.

-
Set Select Canvas Size, Thickness, Thickness Effect, and other parameters according to the frame over which to stretch photo.
 Note
Note- For the Layout Plug-In for Professional Print & Layout screen, see Layout Plug-In for Professional Print & Layout Screen.
-
Click Execute.
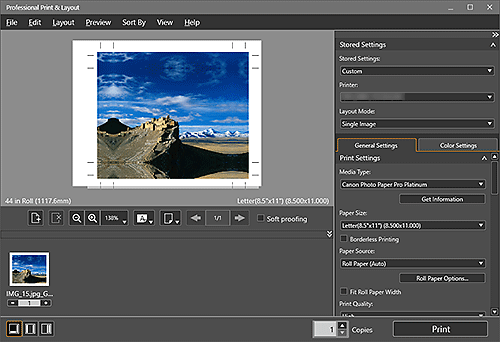
Professional Print & Layout starts.

-
In the Stored Settings area, set the printer you want to use.
-
In Print Settings on the General Settings tab, set Media Type, Paper Source, Print Quality, and other settings.
 Note
Note- For Paper Size, set paper of a size larger than the image's print size.
-
Click Print.
The Print dialog box appears.
-
Click OK.

