
Settings... Dialog
Set crop marks that indicate the trim size.
To display the Settings... dialog, select the Show Crop Marks checkbox on the General Settings tab (Layout), and then click Settings....
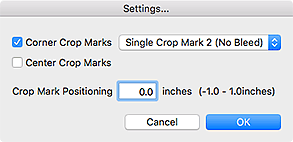
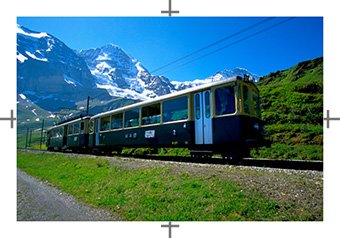
- Corner Crop Marks
-
Set the type of crop marks to be printed at the corners.
- Single Crop Mark 1 (Bleed)
-
Prints lines that indicate the bleed area.
- Single Crop Mark 2 (No Bleed)
-
Prints lines that indicate the trim size.

- Double Crop Mark (Japan)
-
Prints lines that indicate the trim size and bleed area.
- Center Crop Marks
-
Select this checkbox to print lines that indicate the center of the top, bottom, left, and right edges of the trim size.
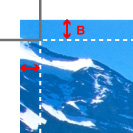
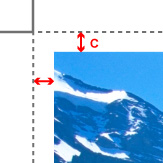
- Crop Mark Positioning
-
You can set the crop mark positions within the range of -1.0 in. (-10 mm) to +1.0 in. (+10 mm).
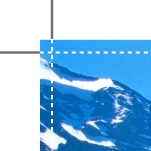
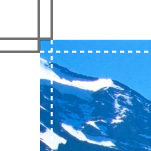
Example:
0 in. (0 mm) -0.2 in. (-5 mm) 0.2 in. (5 mm) 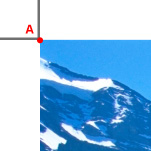
A: Original crop mark position
B: Bleed area
C: Margin
