Print Entire Sheet (Excel)
For resizing the entire sheet to fit the roll width. Choose this option to enlarge the currently displayed sheet before printing.
-
Start Microsoft Excel.
-
If Start imagePROGRAF Print Plug-In is displayed, click it.

-
Click Print from the imagePROGRAF Print Plug-In toolbar/ribbon.

 Important
-
When more than one worksheet is selected, the Printing Wizard cannot be run. Select only one worksheet and click Print again.
 Note
Note-
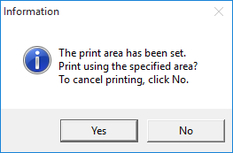
If a print area is set, a confirmation message dialog box will appear.
To print the entire sheet, cancel the setting of the print area.
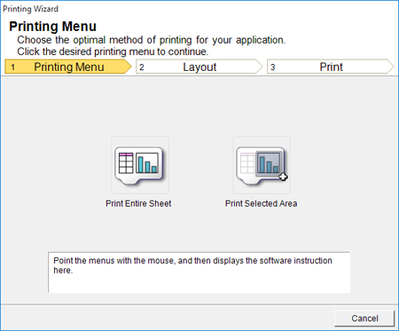
The Printing Wizard dialog box is displayed.
-
-
Click Print Entire Sheet.
A message will appear informing you that analysis is in progress.
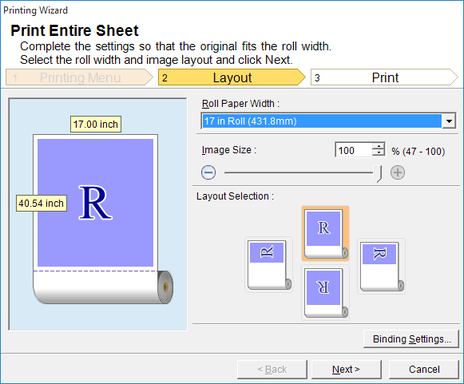
The Layout menu will appear automatically.
 Note
Note-
If data analysis requires time, a message dialog will appear. If you select No, you will return to the application.
-
-
Select Roll Paper Width that is set in the printer.
-
Select image size.
-
Select layout.
-
To configure Binding, click the Binding Settings button.
Refer to "Configuring Binding (Excel)" for details on the procedure for configuring Binding.
-
Click the Next button.
-
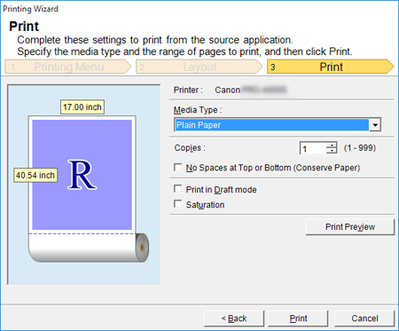
Select Media Type.
-
Enter Copies.
-
If the upper and lower margins are too wide, check No Spaces at Top or Bottom (Conserve Paper).
The upper and lower margins can be checked in Print Preview.
 Note
Note-
When Print in Draft mode is selected, printing is fast but the print quality is poor.
-
When Saturation is selected, you can print posters, etc., vividly.
-
Press the Print Preview button to display the preview screen. You can check and make changes to the layout in the preview screen.
-
When you print to the edge of the roll width, the maximum print length is 708.7 inches (18.0 m).
-
-
Click Print button.
Printing begins.
 Important
-
If divided into plural pages, try reducing the data size or the range you select.
-
You cannot run Print or Print Preview if you select it for a worksheet with no data displayed.
-

