Scanning Photos
You can scan with settings suitable for photos.
 Note
Note
- You can even scan two or more photos (small items) at one time. For details, see the "Scanning Multiple Items at One Time" page by searching for it from the top page of the Online Manual for your model.
-
Place the item on the platen.
 Note
Note- For how to place items, see the "Placing Items (When Scanning from a Computer)" page by searching for it from the top page of the Online Manual for your model.
-
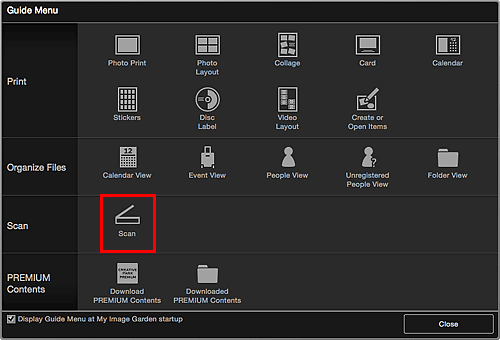
Click Scan from the Guide Menu screen.

The view switches to Scan.
 Note
Note- Clicking Scan from the Global Menu in the Main Screen also switches the view to Scan.
-
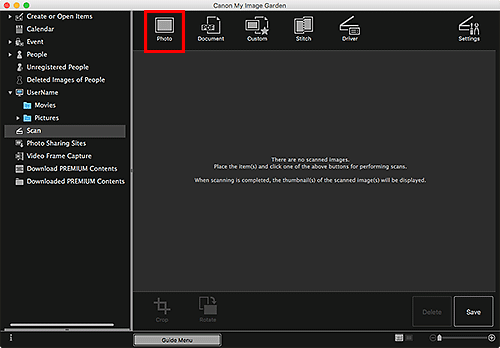
Click Photo.

Scanning starts.
 Note
Note- Click Cancel to cancel the scan.
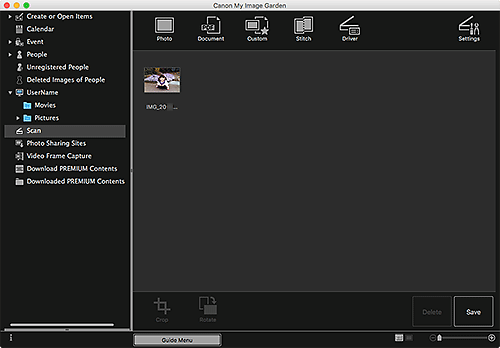
When scanning is completed, the image appears as a thumbnail.

 Note
Note- You can rotate the selected image 90 degrees clockwise each time you click Rotate.
-
You can crop images.
-
Click Save to save rotated or cropped scanned images.
- You can set the save location for scanned images on the Advanced Settings tab of the Preferences dialog displayed by selecting Preferences... from the My Image Garden menu. Refer to "Advanced Settings Tab" for details on the setting procedure.
 Note
Note
- You can also print scanned images. Control-click a thumbnail and select Print... from the displayed menu to display the Print Settings dialog. Select the printer and paper to use, then click Print.

