Printing From a Desired Starting Point
Print on sheets from a desired starting point as follows.
 Important
-
Remove any printed documents from the top delivery tray.
Setting Detect paper width to Disable
-
Select
 Printer settings on HOME screen.
 -
Select Paper-related settings.
-
Select Advanced paper settings.
-
Select the paper type.
-
Select Detect paper width.
-
Select Disable.
Load paper in the desired position to start printing from
-
Load paper.
-
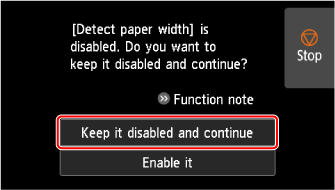
Check the contents of the message and select Keep it disabled and continue.
-
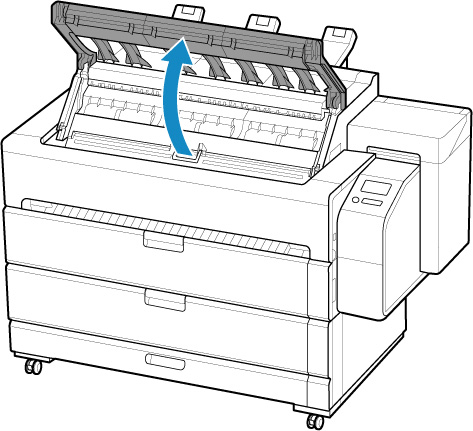
Open top cover.
-
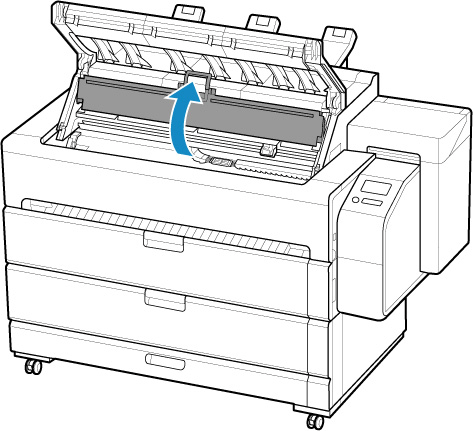
Open inner cover.
 Important
-
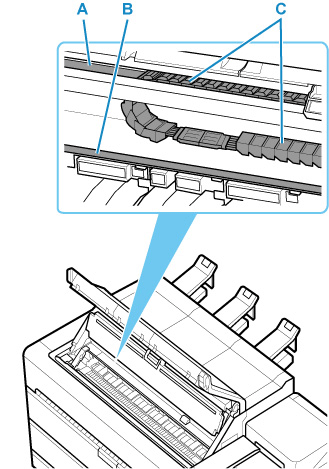
Do not touch Linear Scale (A), carriage shaft (B), or Ink Tube Stabilizer (C). Touching these parts may damage them.
-
-
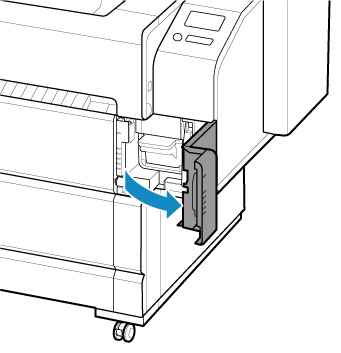
Open maintenance cover.
-
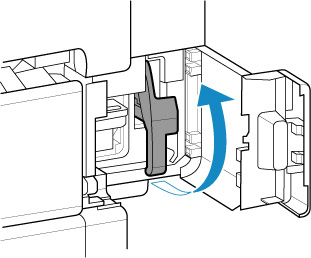
Support the sheet as you lift the release lever.
 Important
-
When lifting the release lever, the loaded sheet is unlocked. If you release the sheet, it may fall inside the printer. Do not release the sheet until you lower the release lever. If the sheet falls, go to the back of the printer and remove it.
-
-
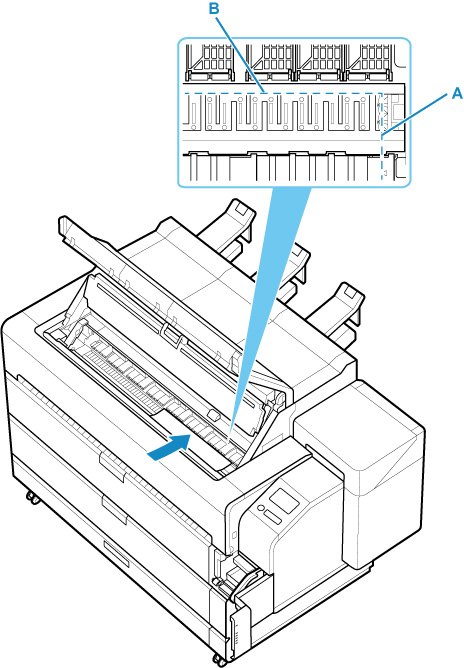
Load paper keeping right edge of paper aligned with extended line of paper alignment line (A) on right side of printer and position from which to start printing aligned with groove (B) at far end of platen.
-
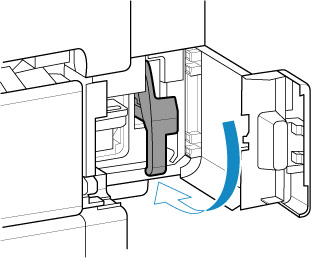
Lower release lever.
-
Close maintenance cover.
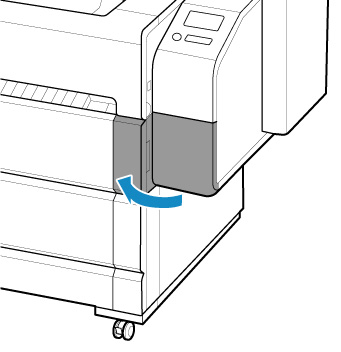
-
Close inner cover.
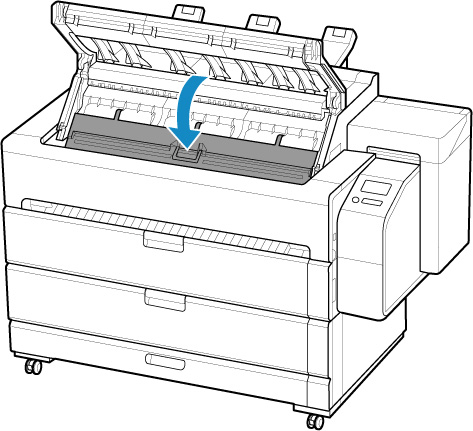
-
Close top cover.
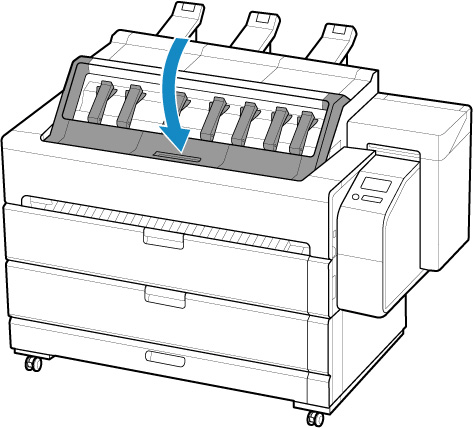
-
Attach the basket.
The printed sheet is ejected from the front of the printer. After loading the sheet, attach the basket before you start printing.
-
When screen for selecting paper size appears, select size of paper loaded.
Start printing.
 Note
Note-
It is recommended to store the basket after printing is finished.
-
