Using the Basket on the Front of the Printer
With the printer, sheets and some paper types are output toward the front. Also you can specify the output destination to the front by setting the printer driver or printer. Printed documents that are output from the front must be received by the basket attached on the front of the printer.
You can attach and store the basket in the printer by following the procedure below.
 Important
-
Do not lift the printed documents that are output from the front before cutting. If the printed documents are cut while it is lifted, the printed documents may be scratched.
-
To use the basket, the basket cloth must be attached to the basket arm or basket support bar. For details about the preparation required, see the Installation Guide included with the printer.
-
When moving the printer, remove the basket.
-
Do not apply excessive force to the basket. Doing so may damage the basket.
-
If the cloth part of the basket becomes dirty, wipe off the dirt without washing. Washing it may affect the performance of the basket.
-
If the contained printed documents are scratched or broken, select Eject cut in Cutting mode.
-
Printed documents up to 48.0 in. (1219.2 mm) in length can be collected in the basket.
 Note
Note
-
For details on the printer dimensions when using the basket, see Specifications.
Attaching the Basket
When outputting printed documents from the front, attach the basket to the printer before printing. Be especially careful when you switch the output destination to the front.
-
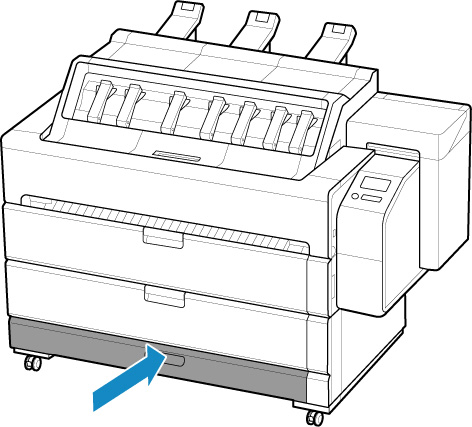
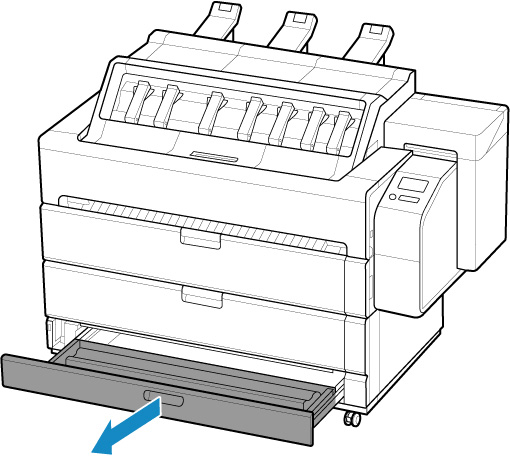
Open accessory drawer.
-
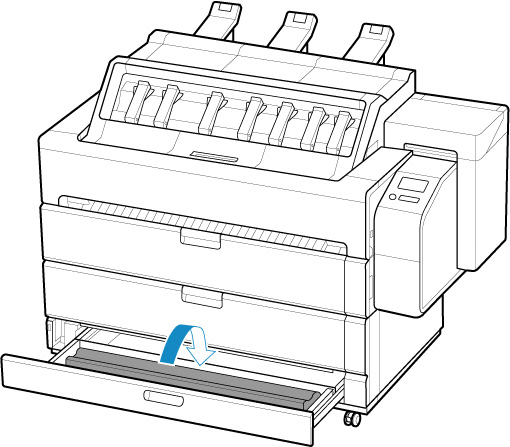
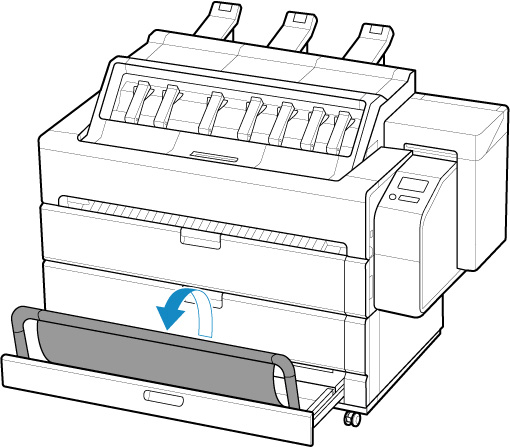
Stand the basket arm up.
-
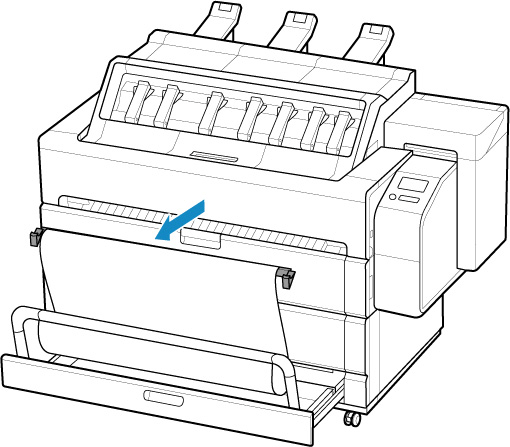
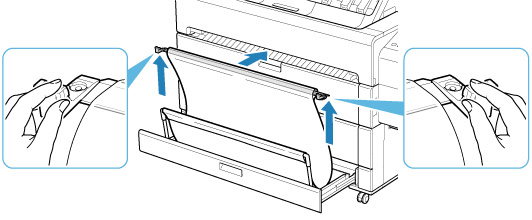
Lift basket support bar.
 Note
Note-
The basket support bar is attached on the opposite side of the basket cloth from the basket arm.
-
-
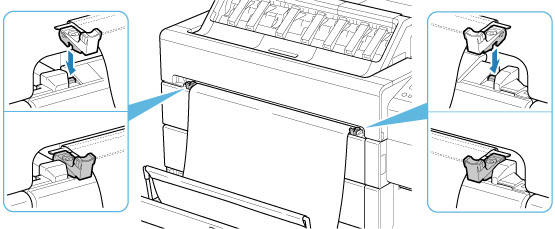
Insert the left and right hooks of the basket support bar into the left and right protrusions in the groove on the upper surface of the roll cover 1.
