Reinstalling the Printer
The basic workflow for reinstalling the printer is as follows.
For detailed instructions, see the Setup Guide.
Install the printer
-
Unpack printer body and parts such as ink tank, roll paper, and roll holder removed from printer.
-
Free each part of the printer that was secured before moving.
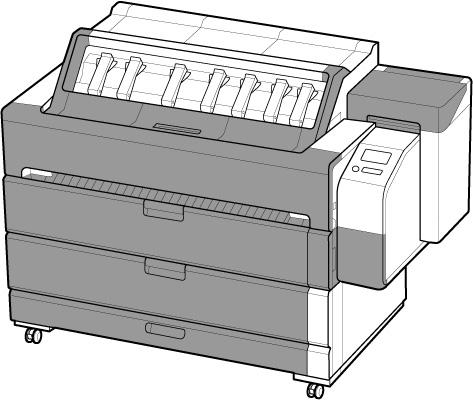
-
Refer to the Setup Guide to attach the top output guide and paper output support.
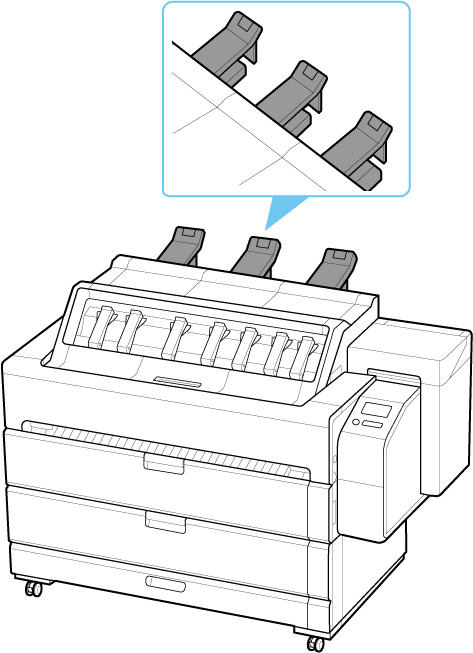
-
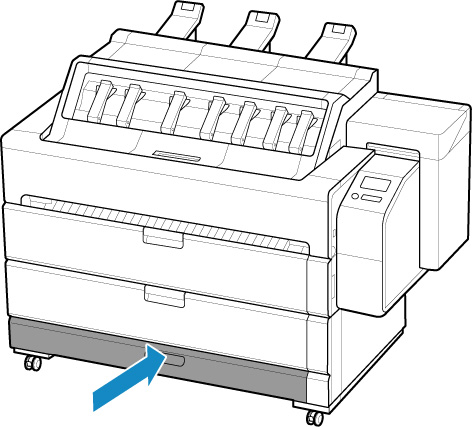
Open accessory drawer.
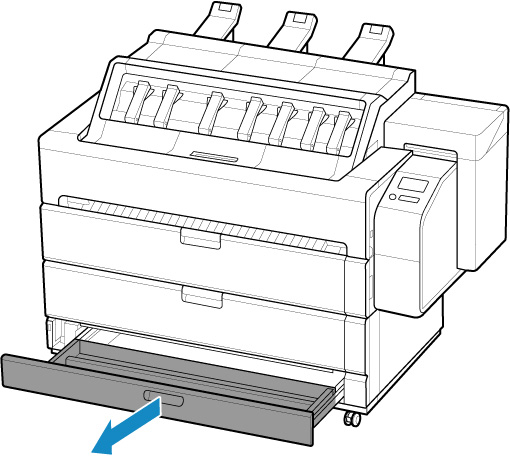
-
Refer to the Setup Guide to attach the basket cloth and basket support bar to the basket arm.
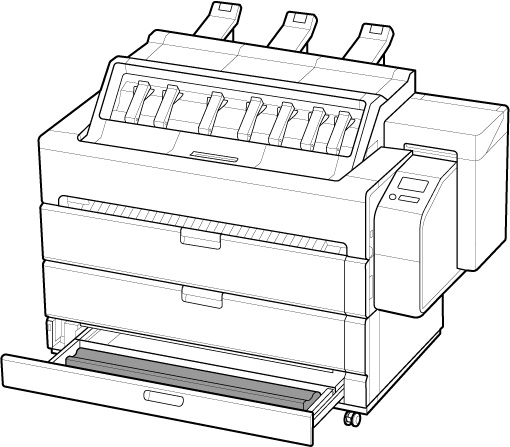
 Important
- After this, load roll paper. After attaching basket cloth, fold basket cloth and fold down basket arm.
-
Close accessory drawer.
-
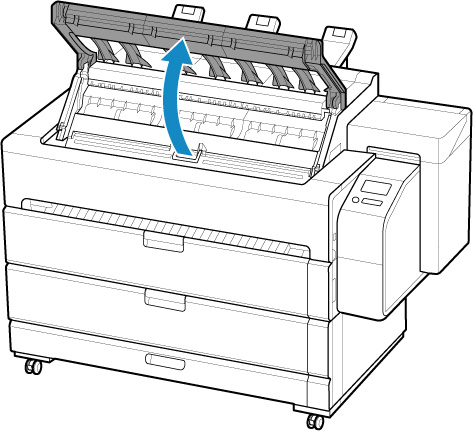
Open top cover.
-
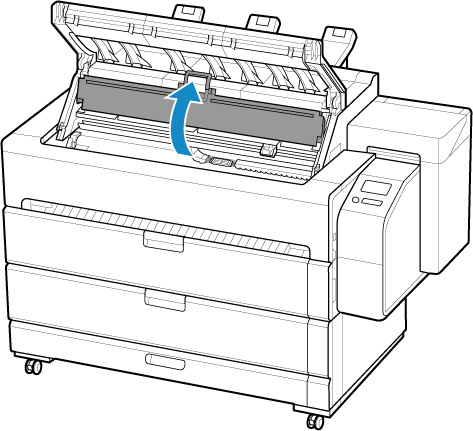
Open inner cover.
-
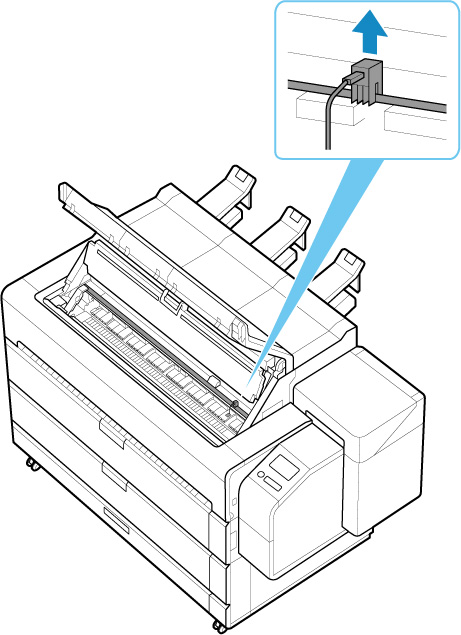
Remove the belt stopper.
 Important
- Keep removed belt stopper so that it will not be lost until the next move. Neglecting to attach the belt stopper may damage printer.
- Do not touch the linear scale (A), carriage shaft (B), or ink tube stabilizer (C). Touching these may cause malfunction.
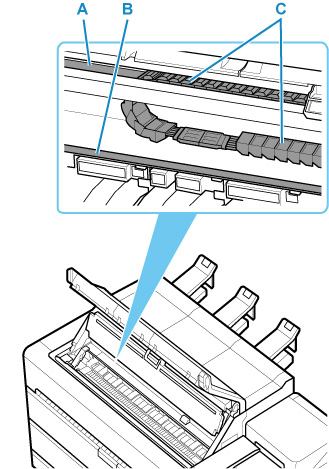
-
Close inner cover.
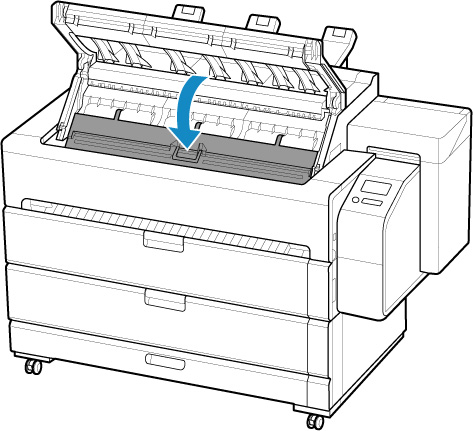
-
Close top cover.
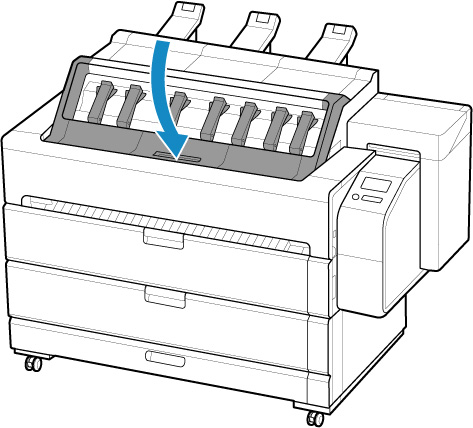
-
Connect the power cord to the power cord connector on the back of the printer.
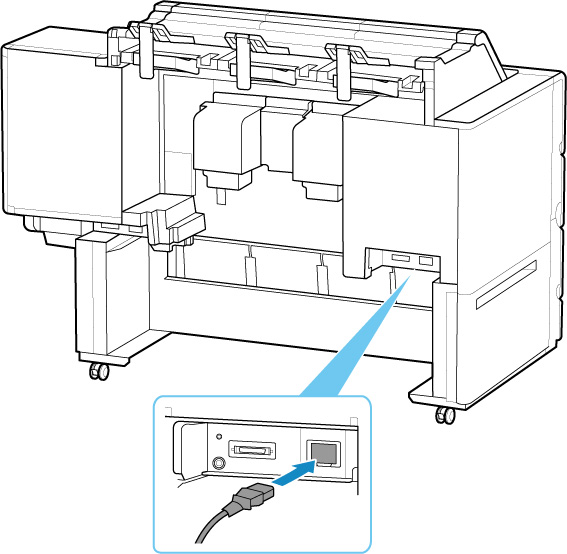
-
Plug the power cord into the outlet.
-
Press the power button to turn the printer on.
When "Install the printer here? Do not install the ink tanks yet." appears, tap Yes.
-
When instructions for loading ink tank appear on touch screen, open ink tank cover and load ink tank.
(See "Replacing Ink Tanks.")
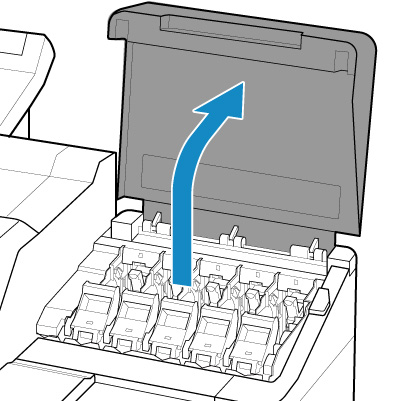
-
Attach the Roll Holder to the Roll Media.
(See "Loading Rolls on the Roll Holder.")
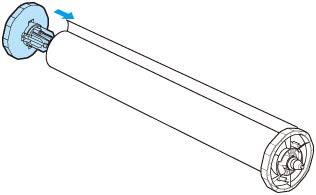
-
Load the Roll Media in the printer.
(See "Loading Rolls in the Printer.")
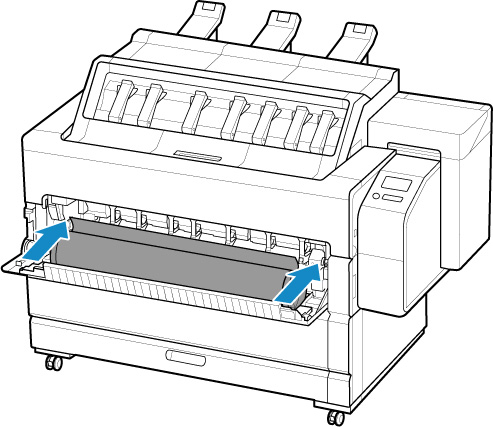
-
Install the software.
Note that the driver installation procedure varies depending on the type of connection.
(See "Installing the Printer Driver" (Windows).)
(See "Installing the Printer Driver" (macOS).)
 Important
-
When you select Prepare to move, any registered web services will be canceled. After moving your printer, set up your web services again.
-

