Using the Stacker
Install the stacker to the printer before printing, when stacking the printed materials in the stacker.
Change the position of the stacker depending on the size of the printed materials.
Remove the stacker from the printer, when loading the paper in the printer.
![]() Important
Important
-
Do not apply excessive force to the basket and the flapper. Doing so may damage the basket and the flapper.
-
If the cloth part of the basket becomes dirty, wipe off the dirt without washing. Washing it may affect the performance of the basket.
-
When the basket which is included in the stand is attached to the stand, detach the basket and the basket arm, and then use the stacker. If the basket remains attached, you cannot use the stacker.
-
When using the stacker, make space in front of the printer enough to detach the stacker in advance.
Installing the Stacker to the Printer
-
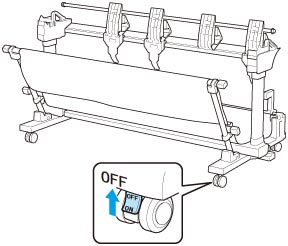
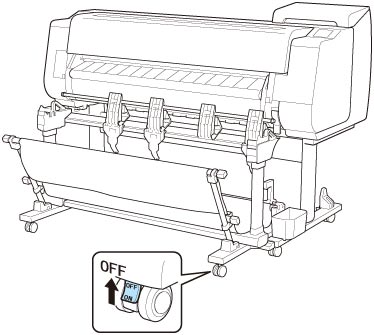
Set all locks of the four casters of the stacker to the OFF position.
-
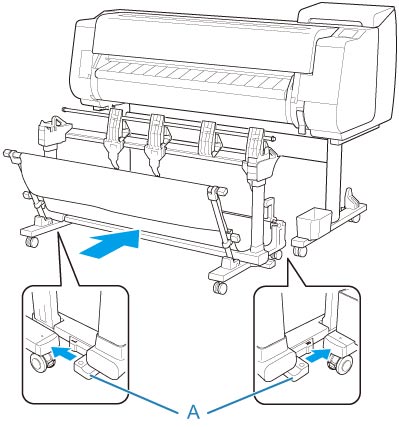
Move the stacker to front of the printer with the stand, and then push in the convex portions (A) on both sides of the foot of the stacker until they hit the stand of the printer.
-
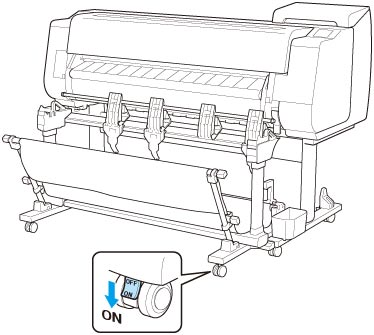
Set all locks of the four casters of the stacker to the ON position.
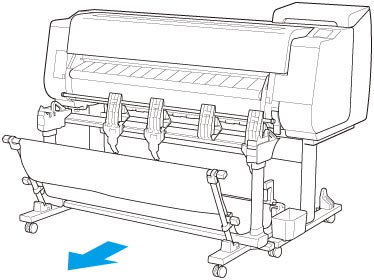
Removing Stacker from the Printer
-
Set all locks of the four casters of the stacker to the OFF position.
-
Pull out the stacker toward you to remove the stacker from the printer.