 Resolving Print Quality Problems

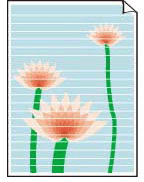
If the print results are unsatisfactory due to white streaks, misaligned/distorted lines, or uneven colors, check the paper and print quality settings first.
-
Check 1 Make sure that Print target for plain paper is set to Text and photos.
Select
 (Setup) on HOME screen > Printer settings > Print settings, and make sure that Print target for plain paper is set to Text and photos.
If Print target for plain paper is set to Text only, change it to Text and photos.
 Note
Note-
If User management settings is enabled, the user selection screen is displayed before the HOME screen is displayed.
-
-
Check 2 Do page size and media type settings match size and type of loaded paper?
If these settings do not match, it is not possible to obtain the proper result.
If you are printing a photograph or an illustration, an incorrect paper type setting may reduce the quality of the printout color.
Also, if you print with an incorrect paper type setting, the printed surface may be scratched.
The method for checking the paper and print quality settings differs depending on what you are using your printer for.
-
Printing from printer
Check the settings using the operation panel of the printer.
-
Printing from your computer
Check the settings using the Printer Driver.
-
Printing from your smartphone/tablet using

Check the settings on the App.
-
-
Check 3 Make sure appropriate print quality is selected (see list above).
Select a print quality suited to the paper and to what you are printing. If you notice blurs or uneven colors, increase the print quality setting and retry the printing.
-
Check 4 If problem is not resolved, click on illustration that corresponds to problem.
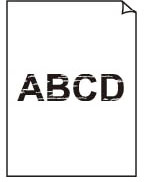
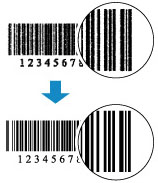
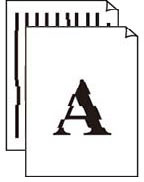 Lines Are Misaligned/Distorted
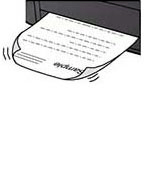
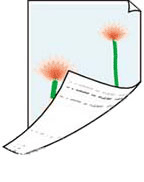
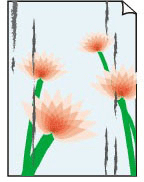 Paper Is Smudged/Printed Surface Is Scratched
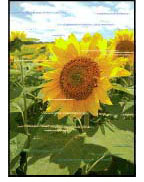
 Images Incomplete/Cannot Complete Printing
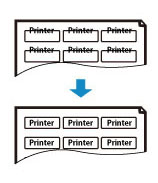
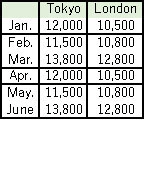 Lines Incomplete or Missing (Windows)

