
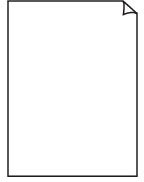
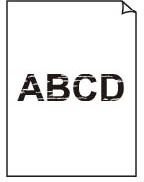
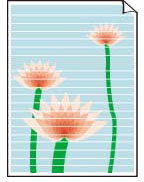
Printouts Are Blank/Blurry or Fuzzy/Inaccurate or Bleeding Colors/Streaks or Lines

-
Check1 Make sure joint button is not lifted up.
Push the print head locking cover to make sure the print head is installed properly.
-
Check2 Check paper and print quality settings.
-
Check3 Print a nozzle check pattern and clean the print head if necessary.
-
Step1 Print the nozzle check pattern.
If the pattern is not printed correctly, check if the ink tank for the problem color is empty.
if the ink tank is not empty, go to the next step.
-
Step2 Check the printed nozzle check pattern.
-
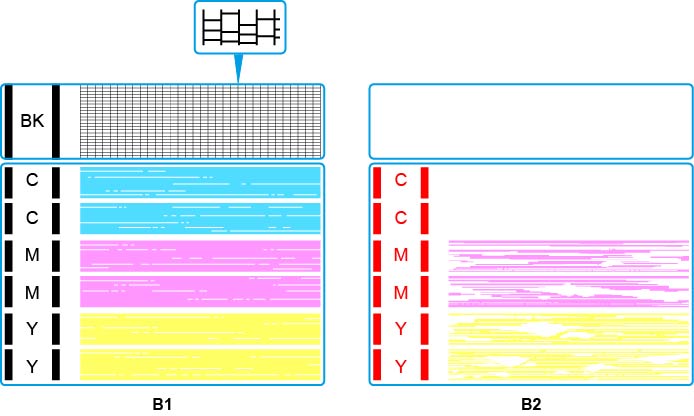
If the nozzle check pattern is similar to B1:
If the nozzle check pattern is similar to B2:
-
 Note
Note-
For details on printing the nozzle check pattern.
-
From the printer
-
From the computer
-
For Windows:
-
For macOS:
-
-
-
-
-
Step3 Clean the print head.
After cleaning the print head, print the nozzle check pattern and check the result.
-
From the printer
-
From the computer
-
For Windows:
-
For macOS:
-
If it still does not improve, go to the next step.
-
-
Step4 Clean the print head again.
After cleaning the print head again, print the nozzle check pattern and check the result.
If it still does not improve, go to the next step.
-
Step5 Clean the print head deeply.
After cleaning the print head deeply, print the nozzle check pattern and check the result.
-
From the printer
-
From the computer
-
For Windows:
-
For macOS:
-
If it does not improve, turn off the printer, wait for more than 24 hours, and go to the next step.
-
-
Step6 Clean the print head deeply again.
After cleaning the print head deeply again, print the nozzle check pattern and check the result.
-
From the printer
-
From the computer
-
For Windows:
-
For macOS:
-
If it still does not improve, go to the next Check.
-
Check4 Perform ink flush.
- How to Perform Ink Flush
If performing an Ink Flush does not improve the print results of the nozzle check pattern, replacing the print head may resolve the issue.
For details, see here.
![]() Note
Note
-
To minimize image issues, we recommend printing once a week.
Check5 When using paper with one printable surface, check the correct printable side of the paper.
Printing on the wrong side of such paper may cause unclear prints or prints with reduced quality.
When you load paper on the rear tray, load paper with the printable side facing up.
Refer to the instruction manual supplied with the paper for detailed information on the printable side.
![]() Note
Note
- Air may naturally enter the Print Head (A), which ejects ink, and the Tube (C), which connects it to the Ink Tank (B).If this air is carried to the head and accumulates there, it may become difficult to dispense the Ink (D).
- The cross-section of the Tube (E) shows that a small amount of air (F) enters.This minute amount of air is carried along with the ink during printing and does not affect the result. However, if the printer is not used for a long time, large bubbles (G) form.Large air bubbles are transported to the Print Head. When the amount of air inside the Print Head (A) increases to a certain level, the flow of ink becomes restricted, resulting in blurred images or blank pages being ejected.

