
Starting from the Start Menu or the desktop icon
Perform one of the following to start Free Layout plus. The following screenshot is from Windows 10.
Double click the Free Layout plus icon on the desktop.

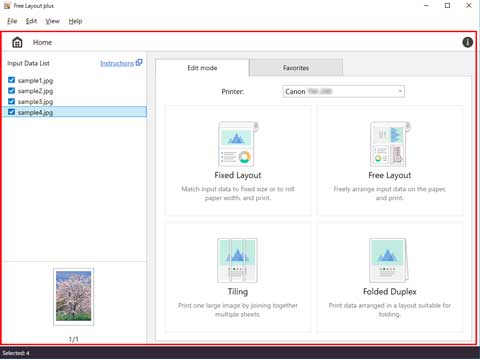
Free Layout plus starts.
![]() Note
Note
-
If you've removed the check mark from Create a shortcut on Desktop in the Installation Complete screen, the icon won't be displayed.
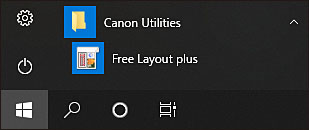
From the Taskbar  (Start button), select Canon Utilities > Free Layout plus.
Free Layout plus starts.
![]() Note
Note
-
Windows 8.1:
Select Free Layout plus on the Start screen.
If Free Layout plus is not displayed on the Start screen, select the Search charm, and then search for "Free Layout plus".
-
Windows 7:
From Start menu,select All Programs > Canon Utilities > Free Layout plus > Free Layout plus.
Adding Data
Add data to Free Layout plus.
-
Click Open from the File menu.
The screen to add data appears.
-
Select the data to input.
Select the data to input, and then click Open.
To add more data, repeat steps 1 and 2.
![]() Note
Note
-
You can also add data by directly dragging and dropping it onto the Home screen.
For details, refer to "Free Layout plus Home Screen".
-
Supported data types are image data (JPEG/PNG/BMP/TIFF/GIF/PDF), and Office data (Word/Excel/PowerPoint).
Only PDF files that are V1.7 or equivalent can be printed.
* However, encryption, JBIG2, font substitution, overprint, and some parts of transparent processing aren't supported. -
If you cannot input a PDF file, or if the image quality of the print results is coarse, you may be able to improve it by following the procedure in "Starting from a Regular Application."
-
Data can be input only from the Free Layout plus Home screen.
