
Printing Curtains/Banners
Print a document you created in Microsoft Word or Microsoft PowerPoint to fit the entire width of the roll paper.
You can use this to print curtains or banners.
The procedure here is explained using the creation of a curtain as an example.
-
Start Microsoft Word or Microsoft PowerPoint.
-
Select Canon Free Layout plus ribbon.
-
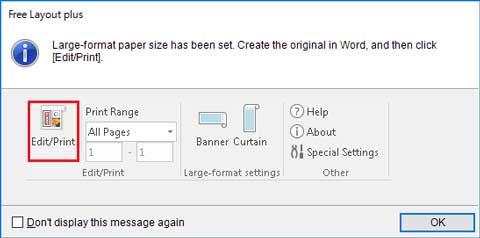
Click Curtain in Large-format settings.

-
Set the Roll Paper Width and Length, and then click OK.
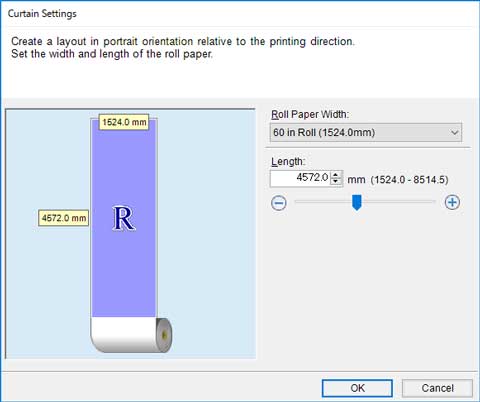
Sets the size of the paper for editing; long paper for curtains and wide paper for banners.
-
If a message appears, check the content, and then click OK.
-
Edit and create a document.
Create a document on the size of paper you created.
-
Click Edit/Print.
Free Layout plus starts when the document you created appears in Input Data List.
-
Click Fixed Layout.
The edit screen in the Fixed Layout mode is displayed according to the size of the paper you created.
-
Click Next.
The print settings screen in the Fixed Layout mode is displayed.
 Important
-
If the settings in the edit screen are changed, you may not be able to print on the paper size you created. Click Next without changing the settings.
-
-
After setting the items related to printing, click Print.
For details about how to do settings in the print settings screen, see "Print Settings Screen" in "Fixed Layout Mode."
Printing starts.
![]() Important
Important
-
The layout may collapse if you create a form using existing data. If that is the case, modify the data again.
