
Fixed Layout Mode
Clicking Fixed Layout on the home screen opens the Fixed Layout mode.
In Fixed Layout mode, you can position data uniformly over the width of roll paper or standard size paper, and print it.
Menu Bar
This allows you to select menus required for operations.

Main Area
In this area, you can position images and make print settings.
![]() Note
Note
- Click
 in the main area to return to the home screen.
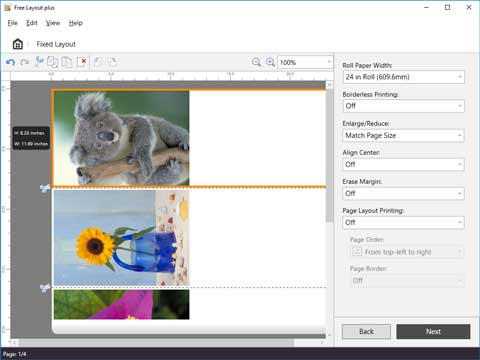
Edit Screen
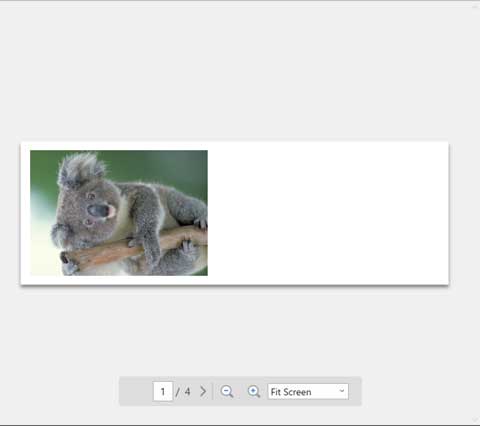
Set the layout and roll paper width as you check a preview of the print results.
Clicking Next closes editing and moves you to the print settings screen.

- Tool Bar
-
This allows you to select tool buttons required for major operations.

 Undo
Undo-
Reverses the last edit.
You can also perform Undo from the Edit menu.  Redo
Redo-
Restores the last edit.
You can also perform Redo from the Edit menu.  Cut
Cut-
Cuts the selected object.
You can also perform Cut from the Edit menu.  Copy
Copy-
Copies the selected object.
You can also perform Copy from the Edit menu.  Paste
Paste-
Pastes the cut or copied object.
You can also perform Paste from the Edit menu.  Delete
-
Deletes the selected object.
You can also perform Delete from the Edit menu.  Rotate Left 90 Degrees
-
Rotates the selected object 90 degrees to the left.
Enabled when Page Layout Printing is set.  Rotate Right 90 Degrees
-
Rotates the selected object 90 degrees to the right.
Enabled when Page Layout Printing is set.  (Enlarge/Reduce View)
-
Allows you to change the scaling ratio in the preview screen.
- Preview Area
-
Shows a preview of the print results at the current settings.
You can change the order of the objects by dragging them.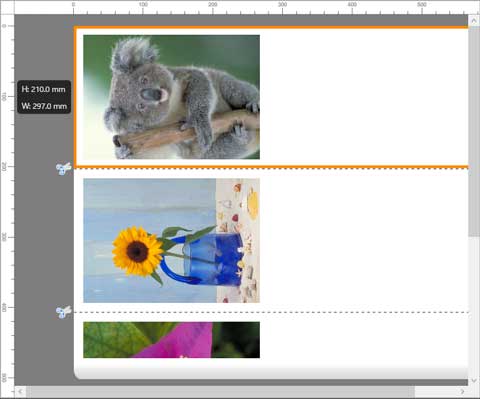
- Edit Settings Area
-
Set the roll paper width and the layout of the page.
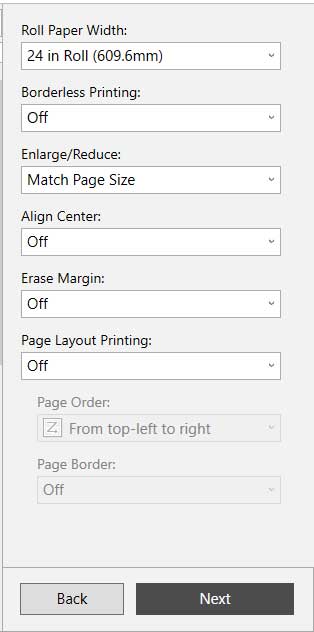
- Roll Paper Width
-
Set the width of the roll paper.
- Borderless Printing
-
Set whether to use borderless printing.
Setting this to On expands the print area to both edges and to the leading edge of the paper. - Enlarge/Reduce
-
Select the size setting for all objects.
You can match the long or short sides to the width of the roll paper by selecting Fit Short Side to Roll Paper Width or Fit Long Side to Roll Paper Width. - Align Center
-
Set the layout of all objects to be aligned centered horizontally on the roll paper.
- Erase Margin
-
Set whether to automatically erase the white area around all objects and fit them to the width of the page.
- Page Layout Printing
-
You can conserve paper by printing multiple pages together on one piece of paper.
Select from 2-on-1 Printing / 4-on-1 Printing / 6-on-1 Printing / 9-on-1 Printing / 16-on-1 Printing for the page layout.Enabled when Borderless Printing is Off.
- Page Order
-
Specify the page order for when doing Page Layout Printing.
Setting item Details From top-left to right Objects are positioned from top-left to right.
From top-left to bottom Objects are positioned from top-left to bottom.
From top-right to left Objects are positioned from top-right to left.
From top-right to bottom Objects are positioned from top-right to bottom.
From lower-left to right Objects are positioned from lower-left to right.
From lower-left to top Objects are positioned from lower-left to top.
From lower-right to left Objects are positioned from lower-right to left.
From lower-right to top Objects are positioned from lower-right to top.
-
When doing 2-on-1 Printing, there are 8 page orders that can be set in Page Layout Printing; however, in actuality, the page orders are top to bottom / bottom to top or left to right / right to left.
-
Optimal positioning is automatically done for the page order and the direction of each page according to the objects and various settings. If you want to change the default positioning, change the settings for page order or rotate the objects.
-
- Page Border
A page border can appear around the allocated pages.
- On
A page border appears around the area of the allocated pages.
- Off
A page border does not appear.
Print Settings Screen
Click Next in the edit screen, and then make the print settings.
After setting the various items, click Print to start printing.
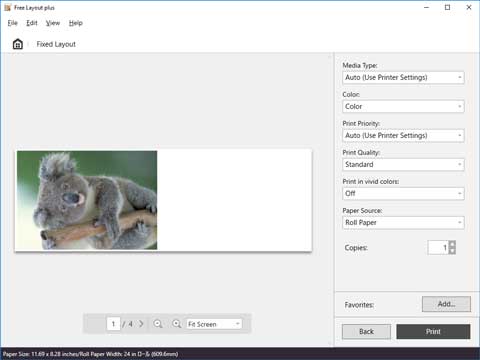
- Preview Area
-
Shows a preview of the print results for each page.
- Print Settings Area
-
Make the settings related to printing, such as the type of paper.
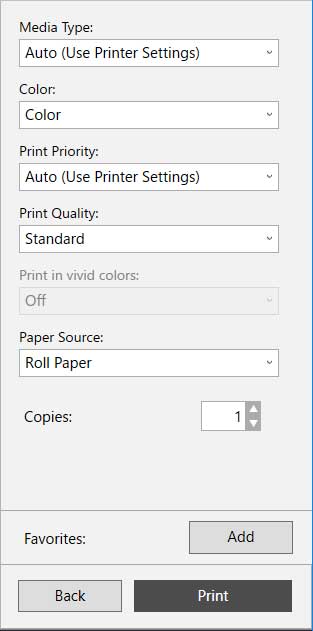
- Media Type
- Set the type of paper to print on.
- Color
- Set either Color or Monochrome for the color to print.
- Print Priority
- Set the elements to specifically emphasize in the print results.
- Print Quality
- Select the print quality that suits your objectives.
- Print in vivid colors
- Set whether to print in vivid colors.
- Paper Source
- Set the source from which paper is supplied.
- Copies
- Set the number of copies to print.
- Favorites
- You can register the settings that are currently set in the edit screen and the print settings screen to Favorites by clicking Add. You can easily call up the settings that are registered in Favorites from the Favorites sheet on the home screen.
Status Bar
Displays information, such as the number of data that are selected and the paper size.

![]() Note
Note
- You can use the View menu to show or hide the tool and status bar.
