
Dividing and Printing Objects
Divide a single page, and then print it.
You can align the printouts and glue them together to create a larger printed image.

-
Open the file you want to print, and then start Free Layout plus.
For details about starting procedures, see "Starting Free Layout plus and Inputting Data."
-
Click Tiling.
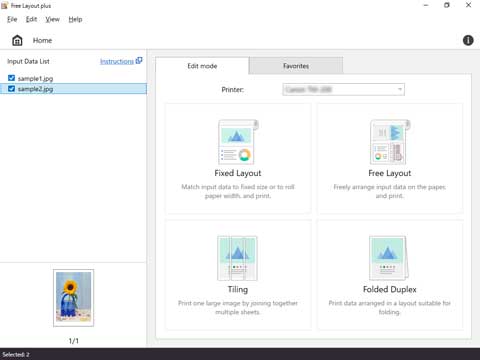
The page selection screen in the Tiling mode appears.
-
Select one page to print, and then click Next.
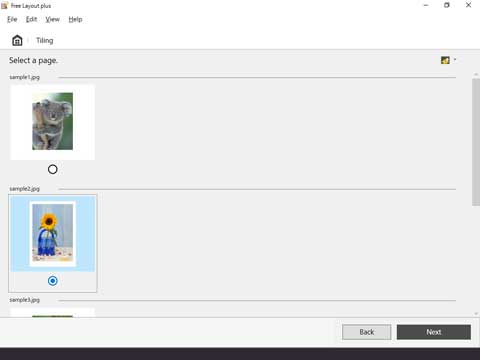
The edit screen in the Tiling mode appears.
-
Set the Roll Paper Width, Number of divisions, and other settings, and then click Next.
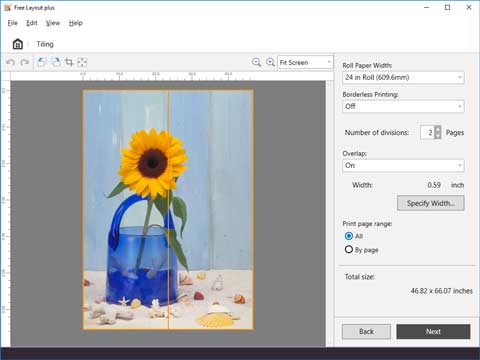
For details about how to do settings in the edit screen, see "Edit Screen" in "Tiling Mode."
The print settings screen in the Tiling mode appears.
 Note
Note-
By selecting On in Borderless Printing, the image is printed so a white margin does not appear on all four edges of the paper after the printouts are pasted together.
-
-
After setting the items related to printing, click Print.
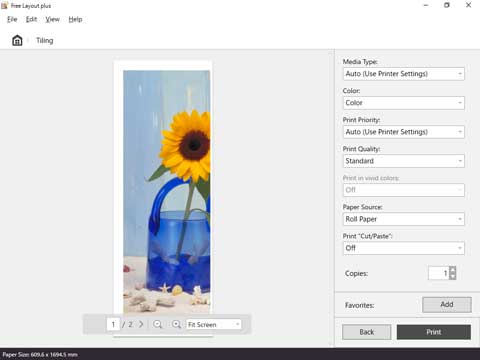
For details about how to do settings in the print settings screen, see "Print Settings Screen" in "Tiling Mode."
Printing starts.
