Adding/Changing/Swapping Images
In the Item edit screen, you can add or change images, or swap placed images.
 Note
Note
-
The following functions are not available in shuffled layouts.
- Adding an image by dragging and dropping it
- Adding images one by one
Adding Images
You can add images to items.
To place images in empty image layout frames, see Changing Images.
 Note
Note
- You cannot add images when a template with 10 or more image layout frames is used.
-
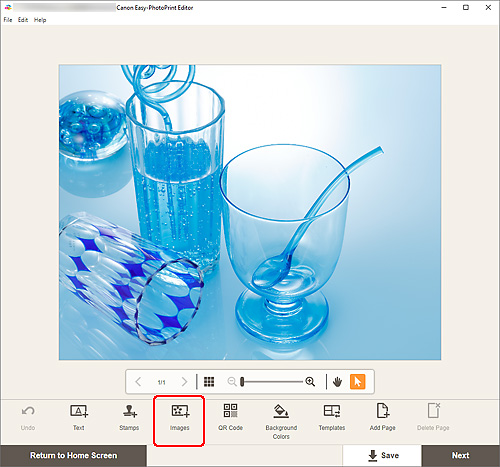
In Item edit screen, click Images.

The Photo Locations screen appears.
-
Select the photo you want to add.
-
Adjust position and size of added image as needed.
 Note
Note
- You can also add images by dragging and dropping them from folders.
Changing Images
You can change images in items. You can also place images in empty image layout frames.
-
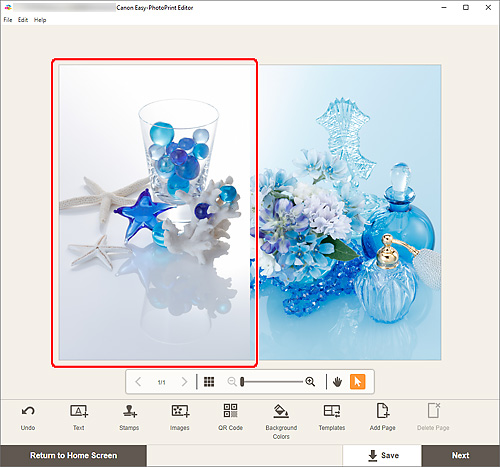
In Item edit screen, click the image you want to change or an empty image layout frame.

-
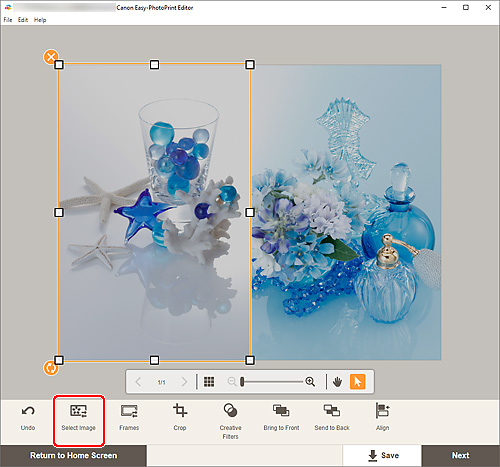
Click Select Image.

The Photo Locations screen appears.
 Note
Note- Double-clicking the image you want to change or an empty image layout frame also displays the Photo Locations screen.
-
Select the photo you want to add.
The image is changed.
-
Adjust position and size of added image as needed.
 Note
Note
- You can also change an image by dragging and dropping another from a folder.
Swapping Images
You can swap an image placed in an item with another image in an image layout frame easily.
 Important
- If you swap a cropped image, the cropping settings will be canceled.
-
In Item edit screen, click the image you want to swap.
-
Drag and drop the selected image to the destination image layout frame.
The destination image layout frame turns green when the image is dragged to it.
When the image is dropped, the images will be swapped.
 Note
Note- Only the images will be swapped; frames, stamps, and text boxes will not be moved.
