Printing Posters
Create and print posters from your favorite photos.

-
Check that printer is on.
-
In New screen, click Posters.
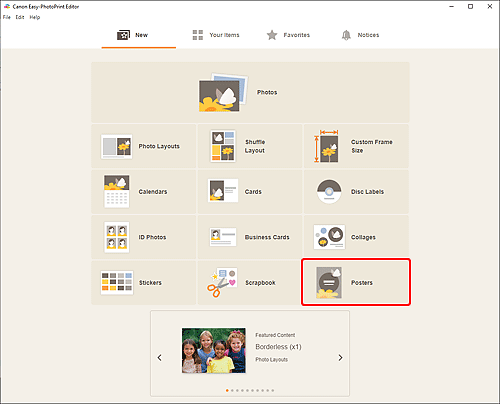
The view switches to the Select template screen.
-
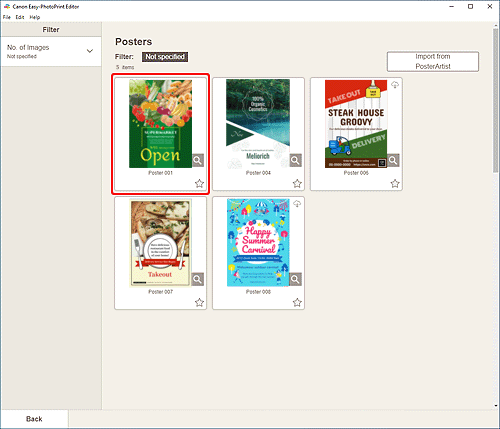
Select the template you want to use.
 Note
Note- To narrow down the templates, set the conditions in the Filter area.
- You can also print or edit items exported from PosterArtist. Click Import from PosterArtist, and then select the item you want to print or edit.
When you select the item, the view switches to the Item edit screen. Skip ahead to Step 6.
For how to export items from PosterArtist, refer to the PosterArtist manual.
The Select Paper Size screen appears.
-
Select paper size and click Next.
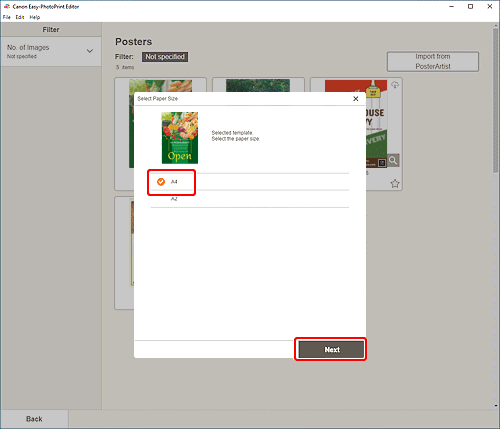
The view switches to the Item edit screen.
 Note
Note- You can also print photos by enlarging/reducing them to the roll paper width. In Windows, it can be set in B: Print Settings Area in the Print Settings screen.
-
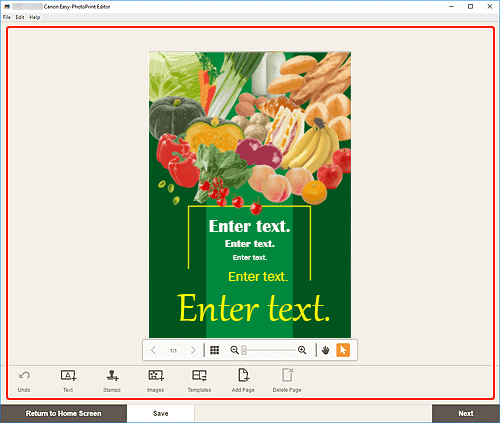
Edit item according to preference.
 Note
Note- To save the item being edited, click Save.
-
Click Next.
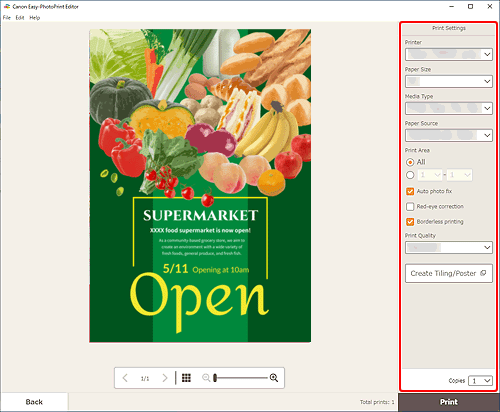
The view switches to the Print Settings screen.
Windows
-
Specify printer and paper to use, and other settings.
 Note
Note- Click Create Tiling/Poster to start Easy-Layout Editor with which you can print over multiple sheets of paper and combine them to create a large poster. If Easy-Layout Editor is not installed, follow the on-screen instructions to download and install it from the web page. For Easy-Layout Editor, see Easy-Layout Editor Guide.
- Create Tiling/Poster does not appear depending on your printer.
-
Click Print.
macOS
-
Set Auto photo fix, Red-eye correction, and number of copies to print.
-
Click Next.
The Print dialog appears.
-
Specify printer and paper to use, and other settings.
 Note
Note- When printing on Light Fabric Iron-on Transfers using AirPrint, you may need to set the flip horizontally setting depending on the printer. To set the flip horizontally setting, select Layout from the pop-up menu, and then select the Flip horizontally checkbox.
- For details on the Print dialog, see Help of macOS.
-
Click Print.

