Printing ID Photos
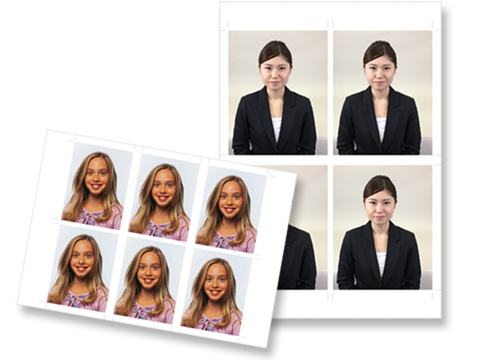
Create and print ID photos of various sizes.
 Important
- Only supported models can print ID photos. Before creating, check if your printer is included in List of Supported Models.
-
Check that printer is on.
-
In New screen, click ID Photos.
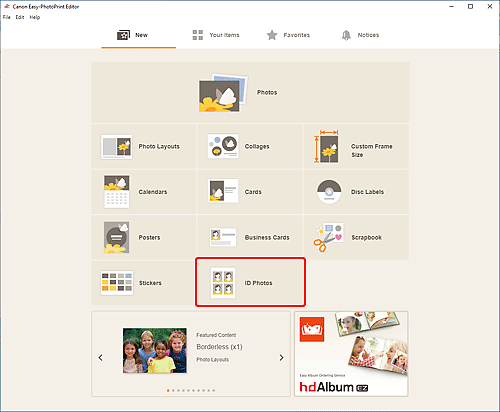
The view switches to the Select template screen.
-
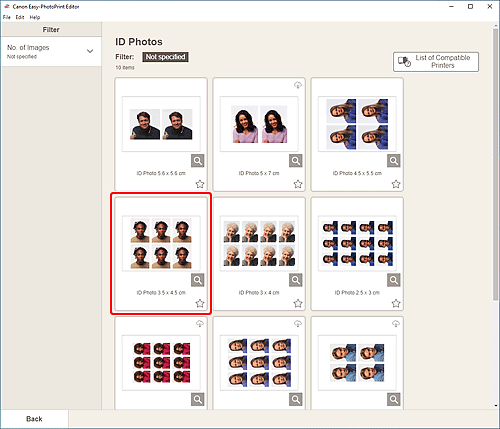
Select the template you want to use.
 Note
Note- To narrow down the templates, set the conditions in the Filter area.
The Select Paper Size screen appears.
-
Select paper size and click Next.
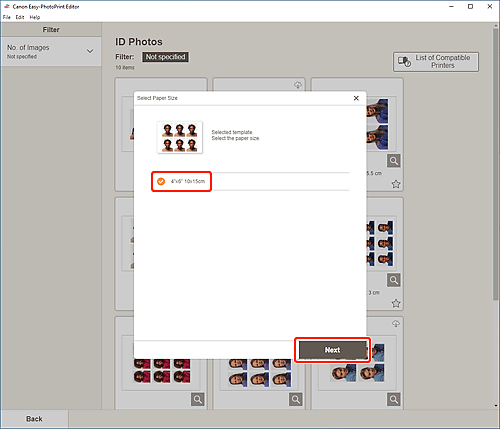
The view switches to the Photo Locations screen.
-
Select the photo(s) you want to use for item.
 Note
Note- Select the Add the same image to all frames checkbox to use the same image in all image layout frames.
The view switches to the Item edit screen.
-
Edit item according to preference.
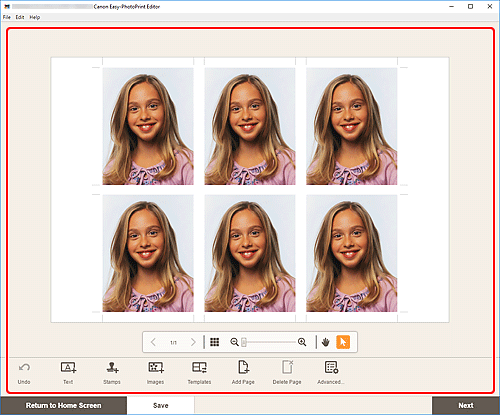
 Note
Note- To apply the same cropping and Creative filter settings to all copies of the same image within the page, click Advanced.... For details on the Advanced Settings screen, see Advanced Settings Screen (Business Cards, Stickers, and ID Photos).
- To save the item being edited, click Save.
-
Click Next.
The view switches to the Print Settings screen.
-
Specify printer and paper to use, and other settings.
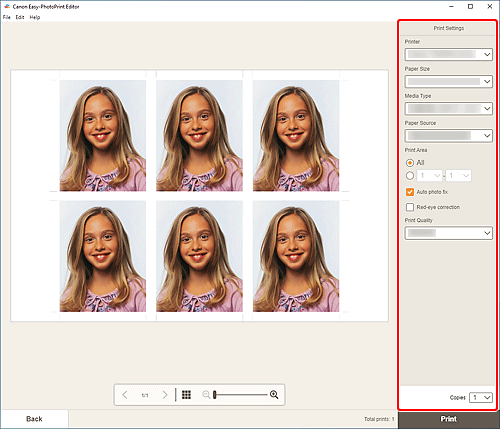
 Important
- The paper size cannot be changed.
-
Click Print.

