Adding Stamps
In the Item edit screen, you can add stamps to items.
 Note
Note
- You can place up to 10 stamps in a page.
- Photo layout editing is used as an example in the following descriptions.
-
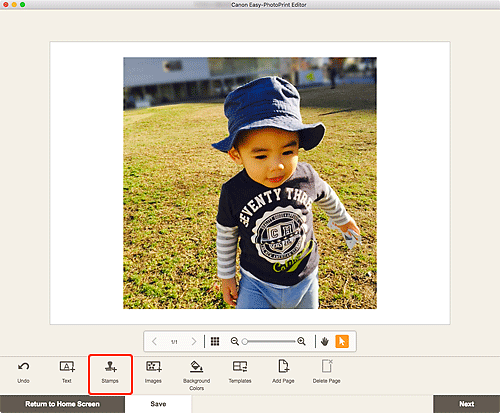
In Item edit screen, click Stamps.

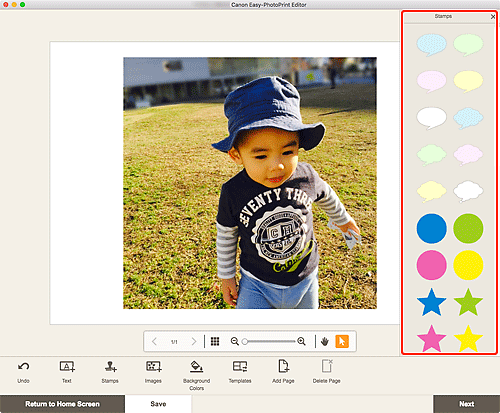
The Stamps palette appears on the Sidebar of the Item edit screen.
-
In Stamps palette, select the stamp you want to use.

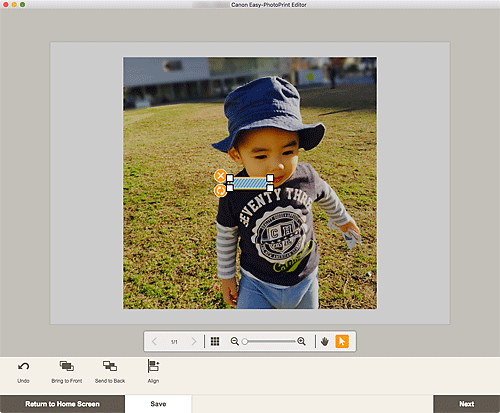
The selected stamp is placed in the center of the page.
-
Adjust stamp (move, reduce, enlarge, rotate, etc.).

 (Delete)
- Deletes the stamp.
 (Rotate)
-
Drag to rotate the stamp freely around its center.
Click to rotate clockwise by 90 degrees.
 Note
Note- Drag the stamp to adjust its position.
- Drag the four corners of the stamp to adjust its size.
- From the menu displayed by control-clicking a stamp, you can cut or copy the stamp, or change the display order or alignment/distribution of stamps. The cut or copied stamp can be pasted from the menu displayed by right-clicking the page.
-
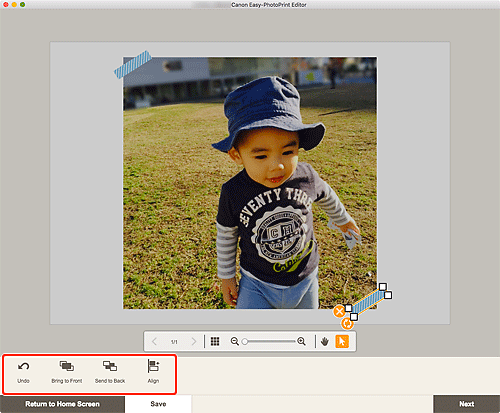
In Editing tools area, adjust stamps (change display order, align/distribute, etc.).

-
Click outside item.
The adjusted stamp is reflected in the item.

