
Adding/Adjusting Text Boxes
In the Item edit screen, you can add text boxes to items. You can also adjust the positions, shapes, and other properties of text boxes.
![]() Note
Note
- You can add horizontal or vertical text boxes to items other than disc labels (CD/DVD/BD). To disc labels (CD/DVD/BD), arched text boxes can be added as well as horizontal or vertical ones.
- Photo layout editing is used as an example in the following descriptions. Available settings may vary depending on what you create.
Adding Text Box
![]() Note
Note
- You can place up to 30 text boxes in a page.
-
In Item edit screen, click Text.
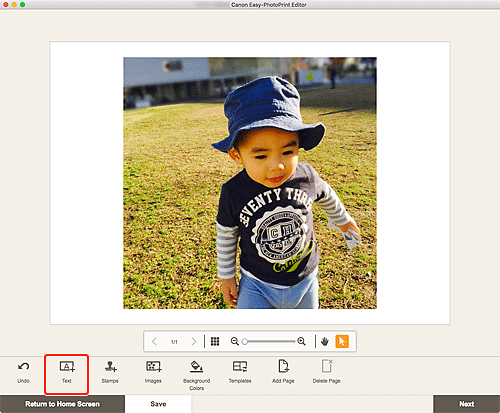
The available text shapes appear.
-
Select text shape.
 Note
Note- The displayed contents vary depending on the item.
 Vertical
- Add a vertical text box.
 Horizontal
- Add a horizontal text box.
 Arch Up
- Add an arched text box suitable for the upper half of the disc label.
 Arch Down
- Add an arched text box suitable for the lower half of the disc label.
-
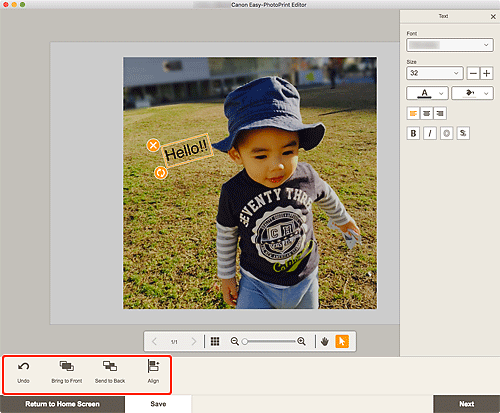
Enter text in added text box, and then click outside item.
The Text palette appears on the Sidebar of the Item edit screen and you can change the font type, font size, font color, etc.
Adjusting Text Box
-
In Item edit screen, click the text box you want to adjust.
The operation icons appear around the frame of the text box.
 Note
Note- The displayed contents vary depending on the item.
-
Adjust text box (move, rotate, etc.).
- Move
- When you place the cursor over the frame of a text box, the cursor changes to
 (Move) and you can move the text box.
  (Delete)
- Deletes the text box.
 (Rotate)
-
Drag to rotate the text box freely around its center.
When editing an Arch Up or Arch Down text box, the text box rotates around the center of the disc label.
Click to rotate clockwise by 90 degrees. When editing an Arch Up or Arch Down text box, the text box cannot be rotated.
 (Enlarge/Reduce Arch)
-
This appears when the Arch Up or Arch Down text box is selected in a disc label.
Drag to enlarge/reduce the text box in an arch shape from the center of the disc label.
Note- From the menu displayed by control-clicking a text box, you can cut or copy the text box, or change the display order or alignment/distribution of text boxes. The cut or copied text box can be pasted from the menu displayed by right-clicking the page.
-
In Editing tools area, adjust text boxes (change display order, align/distribute, etc.).
-
Click outside item.
The adjusted text box is reflected in the item.
