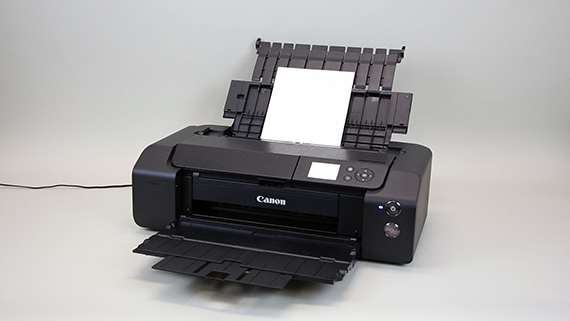
1 Preparing the Printer
Loading...
-
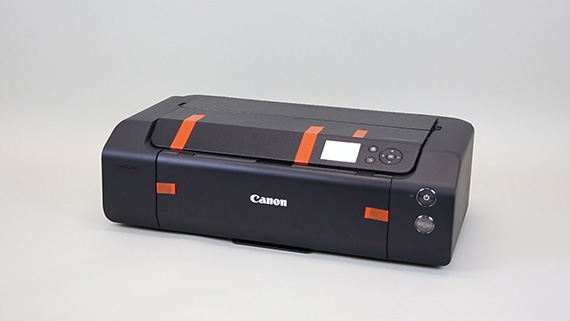
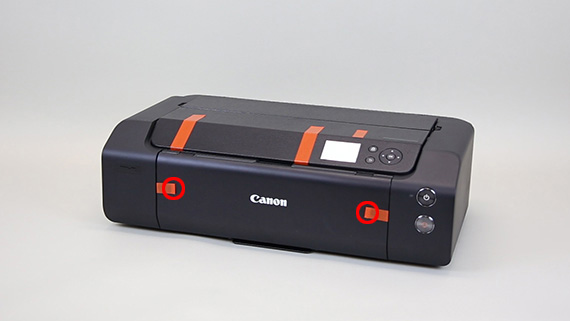
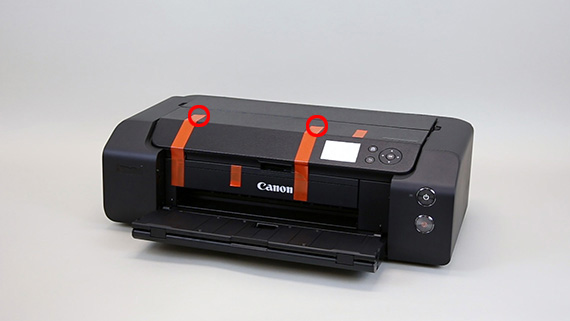
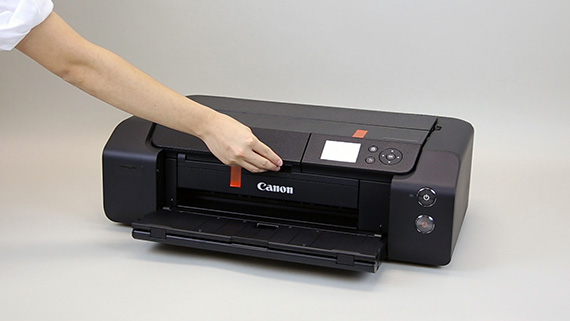
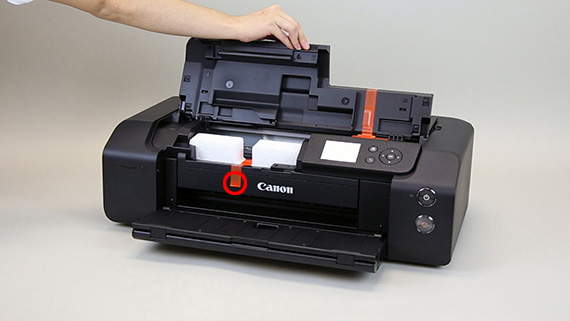
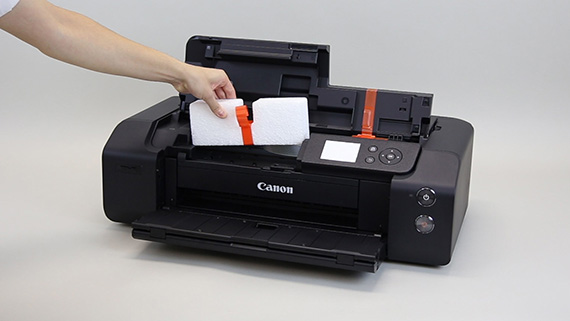
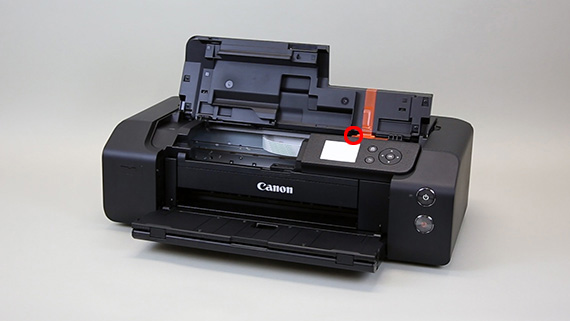
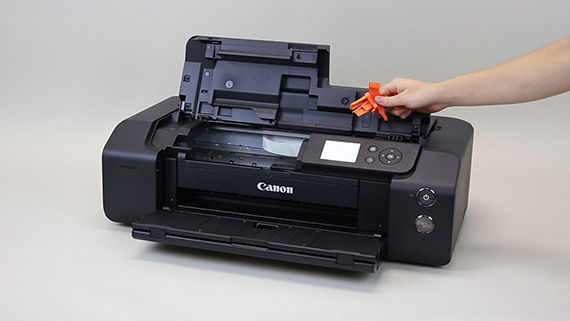
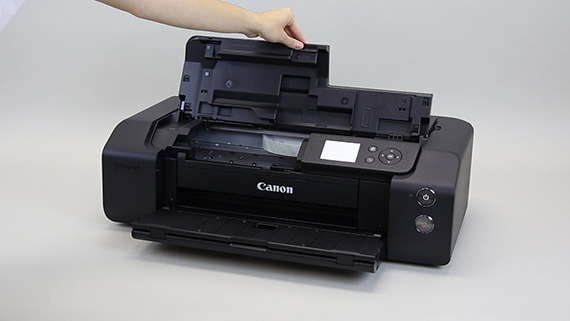
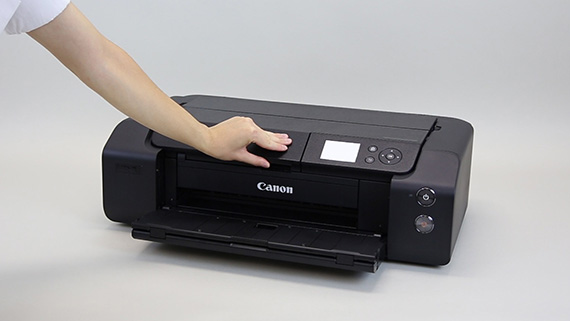
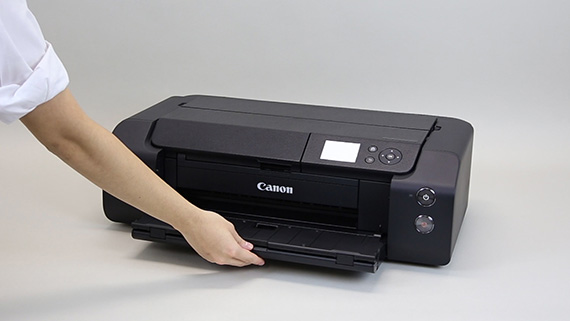
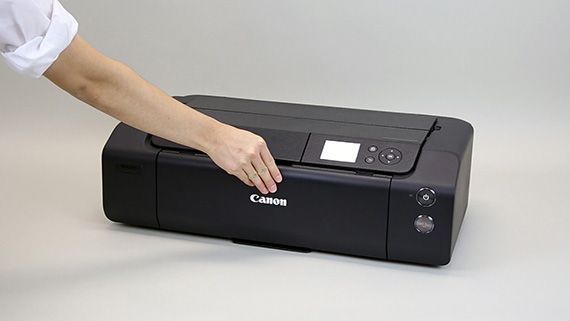
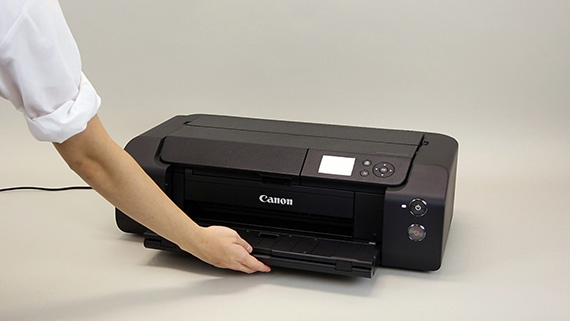
Remove all the orange tape and protective material
The actual locations of the tape may vary.
-
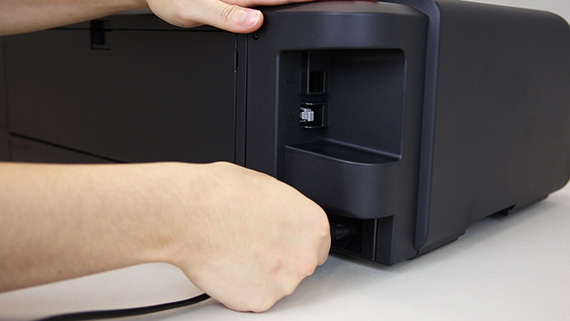
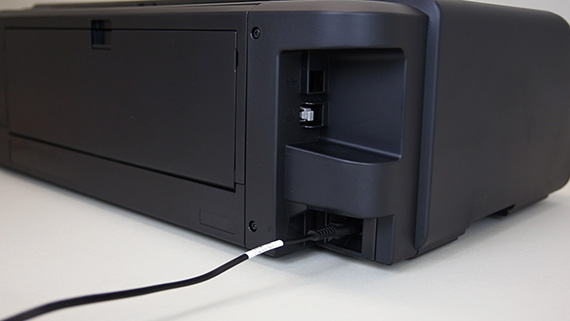
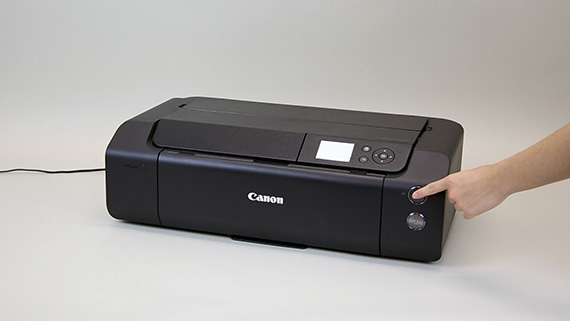
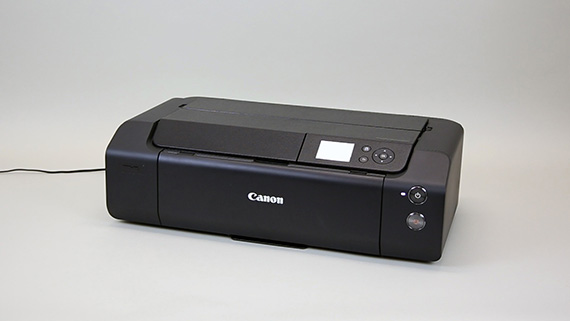
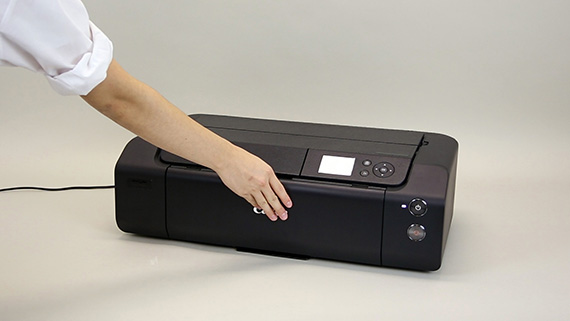
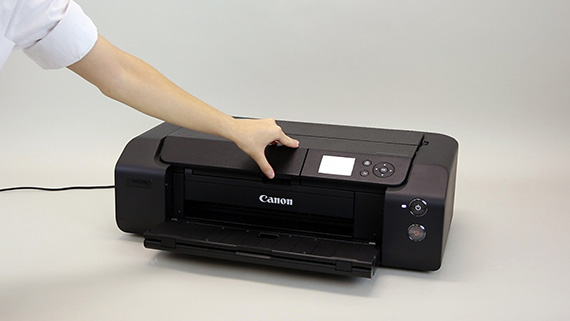
Turn on the printer
-
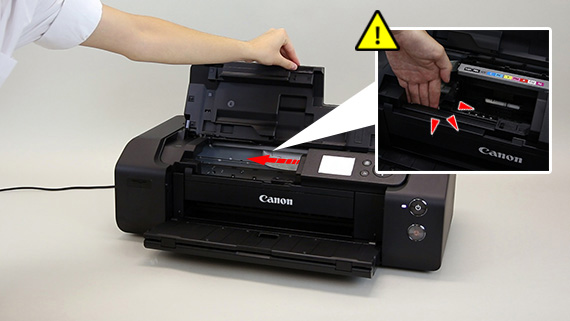
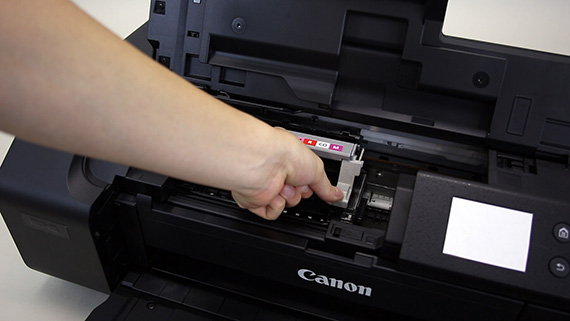
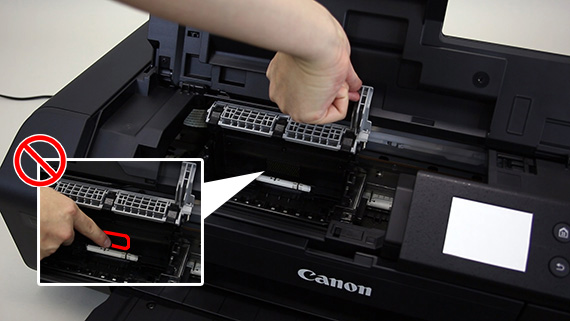
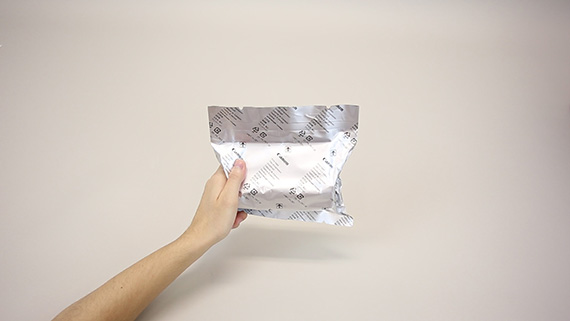
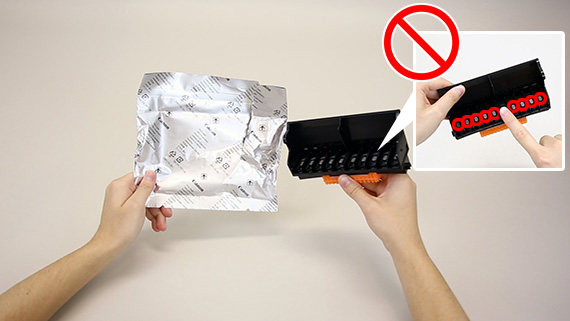
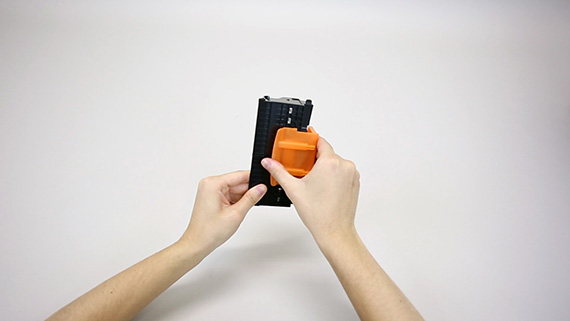
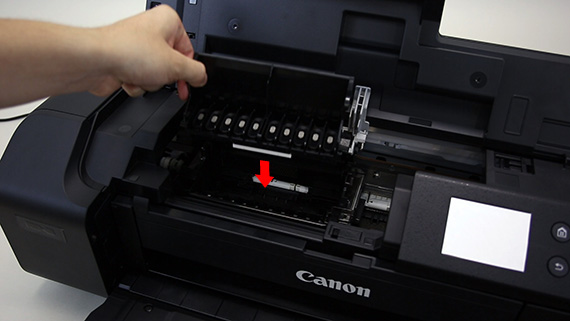
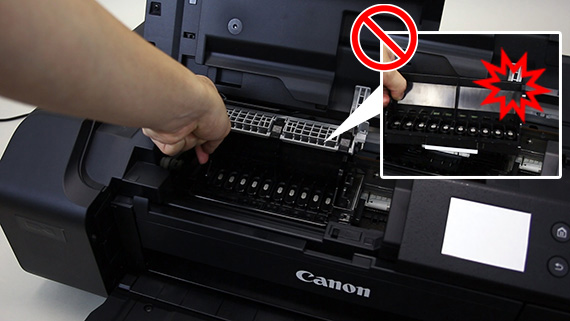
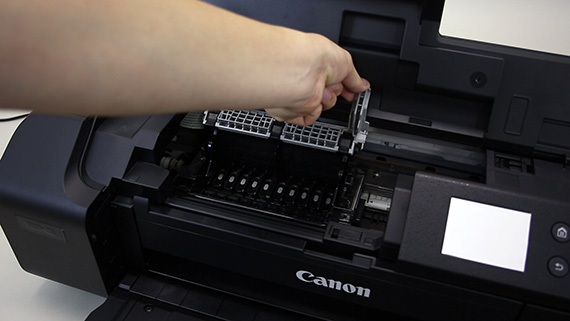
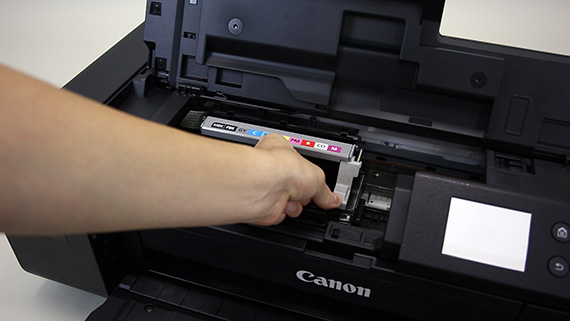
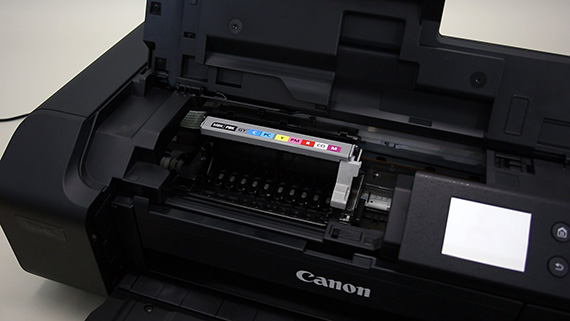
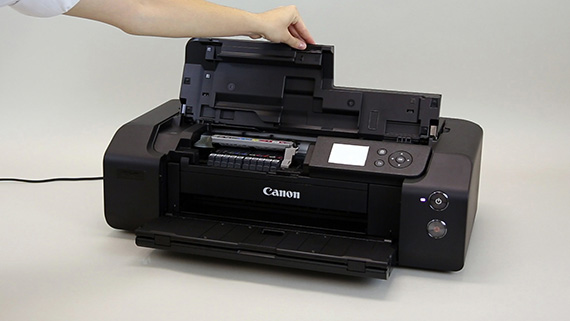
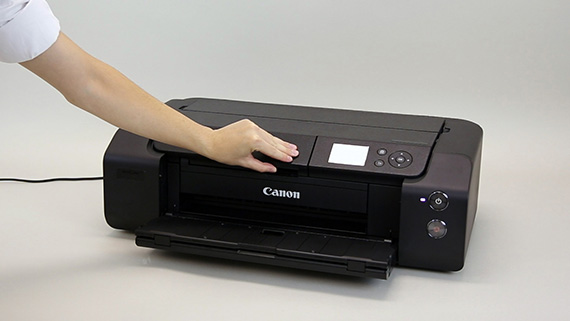
Install the print head
-
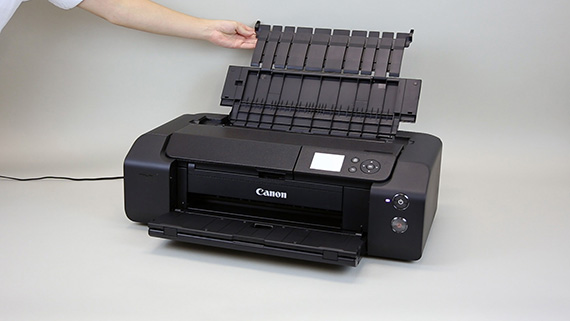
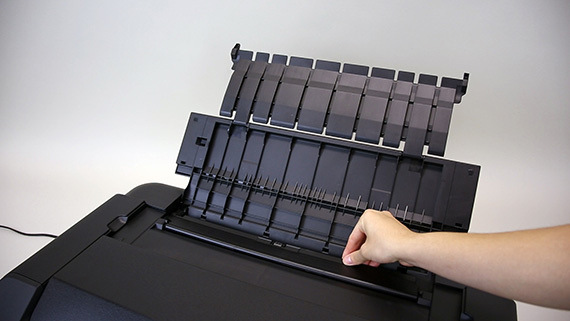
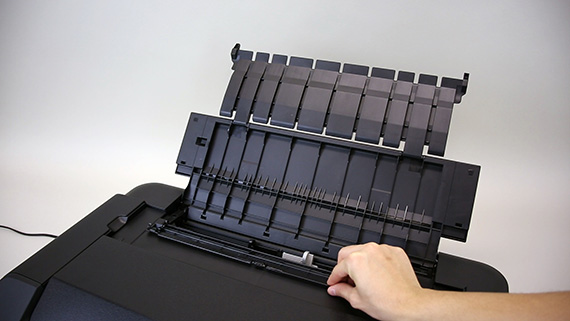
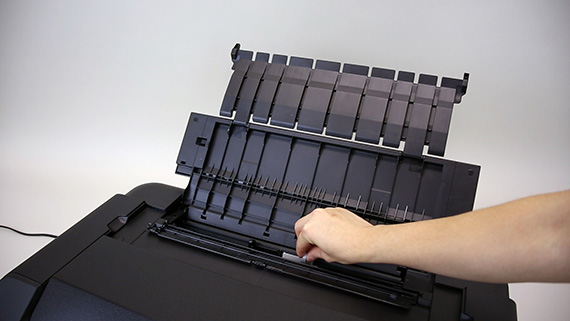
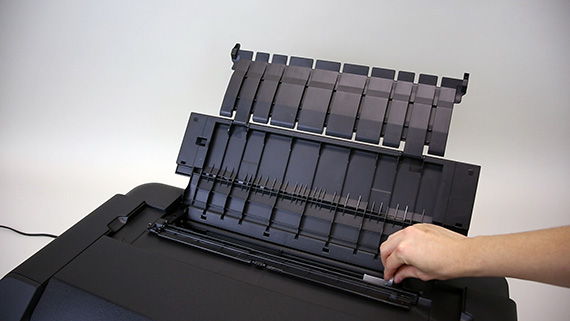
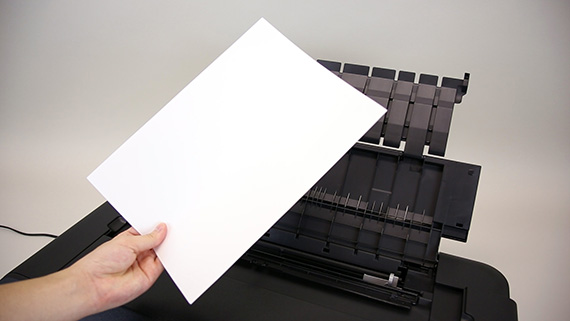
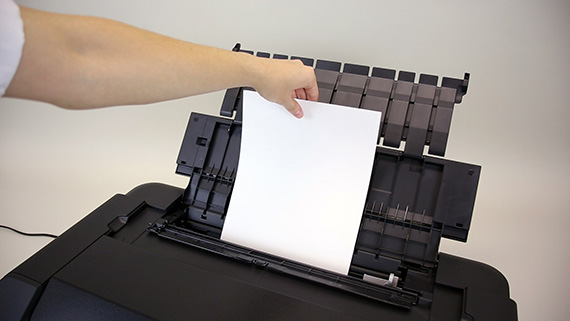
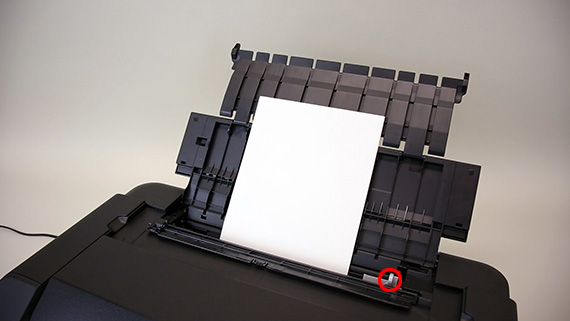
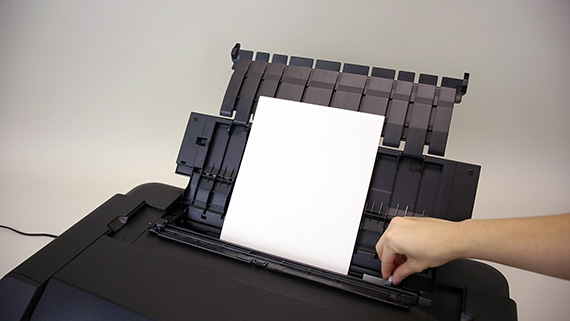
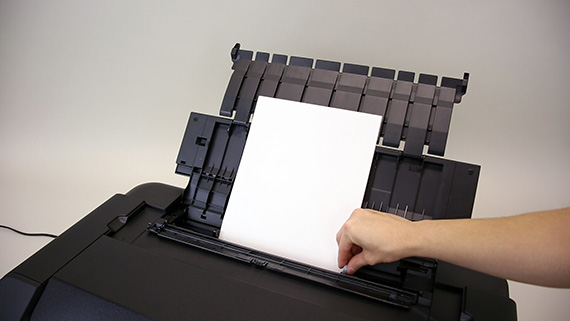
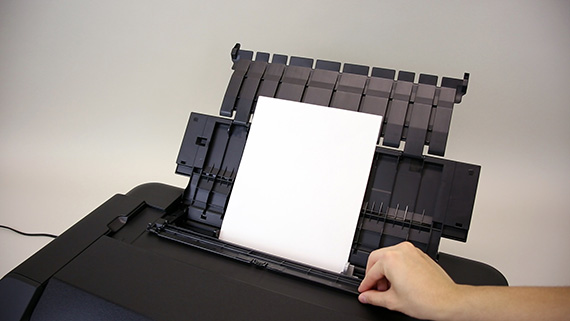
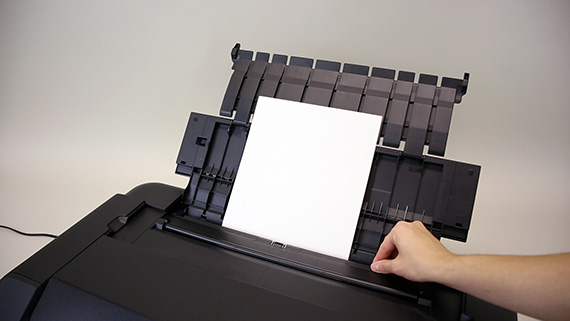
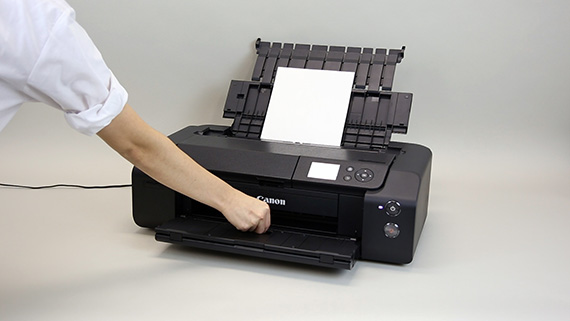
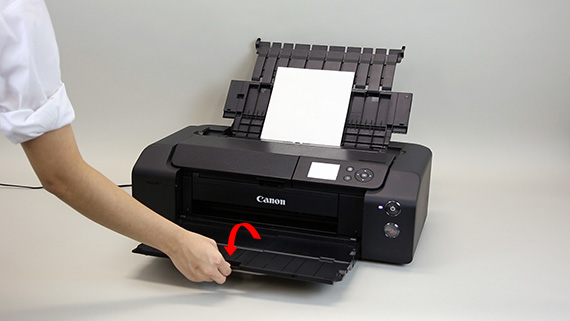
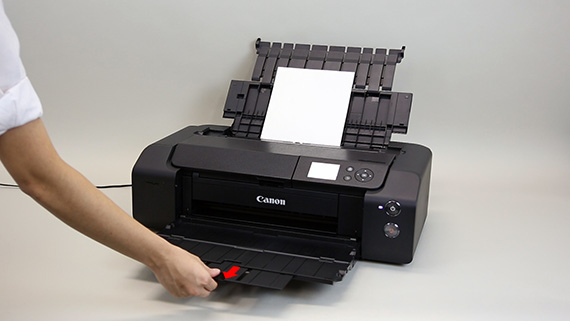
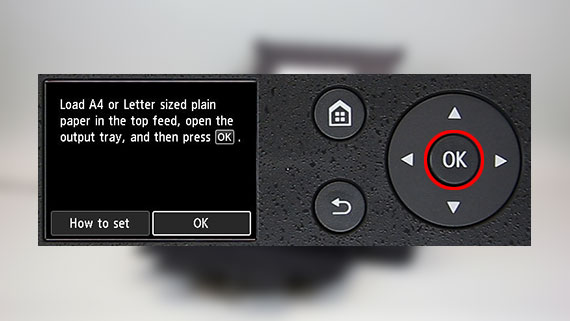
Load plain LTR or A4 size paper
-
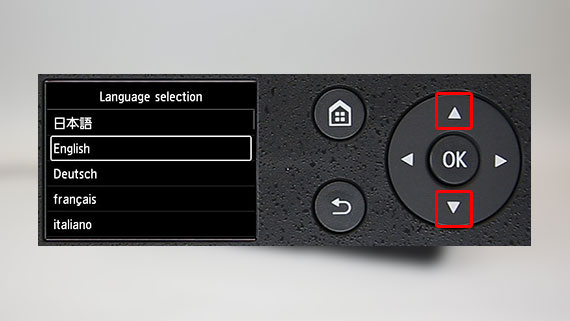
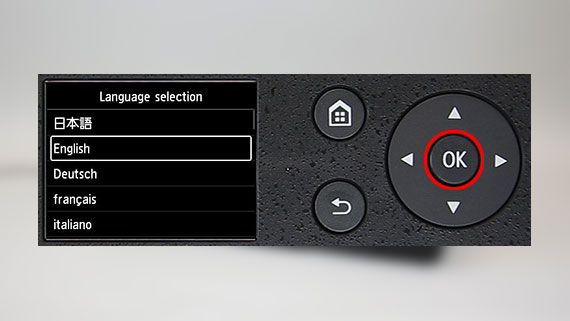
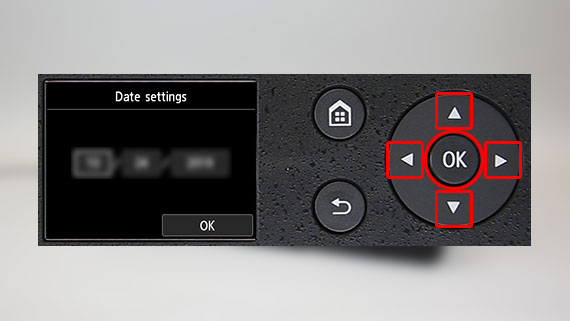
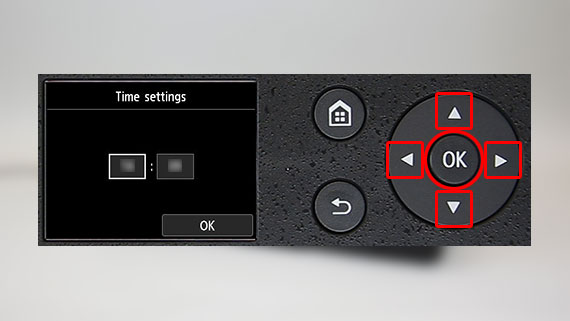
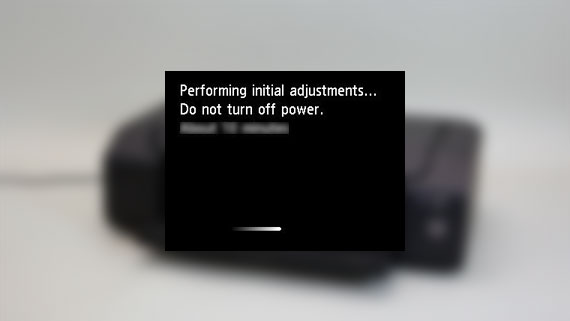
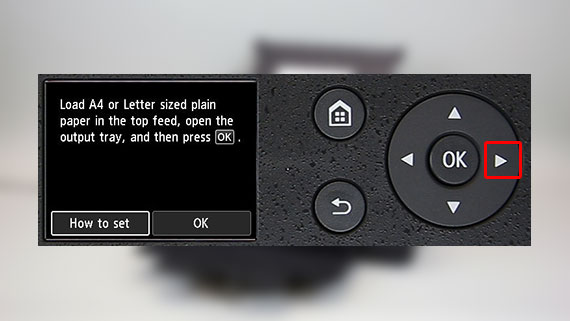
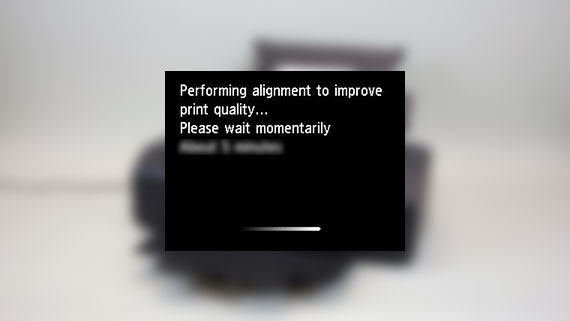
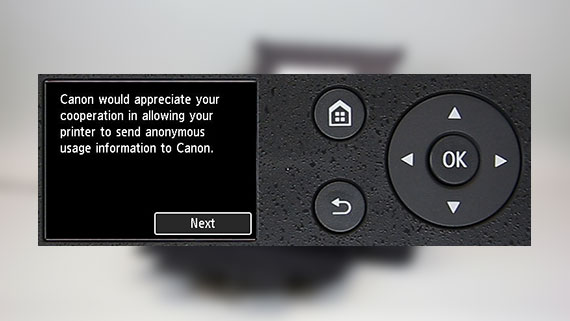
Follow the instructions on the printer's screen
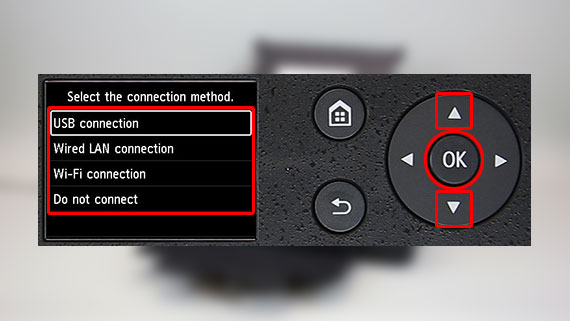
When the Select the connection method. screen appears, click the
 (arrow) on the right hand side of the page
 -
Select the connection method
After referring to the links below for more information on each connection method, click the
 (arrow) on the right hand side of the page
 -
"1 Preparing the Printer" is complete.
The printer is now ready to be connected to a computer.
-
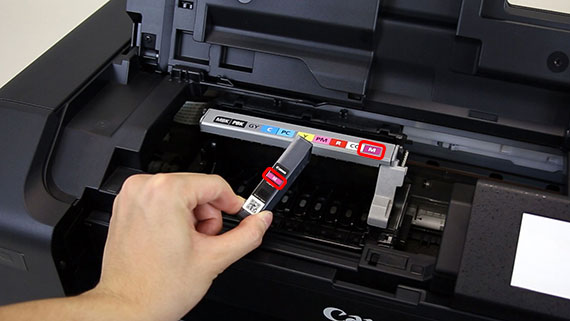
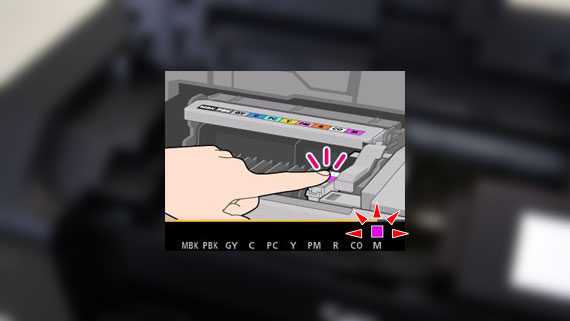
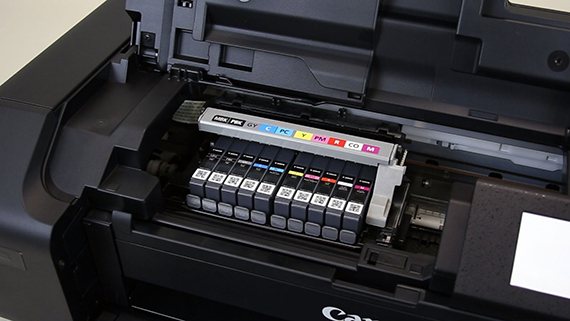
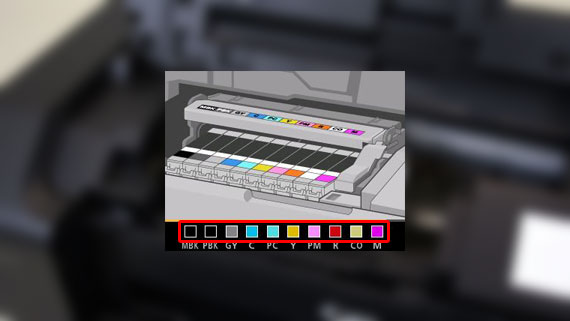
If the color is not displayed on the screen even though you have installed the ink tank, the color of the ink tank may be wrong or you may have installed an ink tank, such as one with a different model number, that is not supported by this printer. Either install an ink tank for the correct color or use the provided ink tank for setup.
-
If the
 mark is not displayed on the screen even though you have installed the ink tank, the color of the ink tank may be wrong or you may have installed an ink tank, such as one with a different model number, that is not supported by this printer. Either install an ink tank for the correct color or use the provided ink tank for setup.
-
If the
 mark is not displayed on the screen even though you have installed the ink tank, the color of the ink tank may be wrong or you may have installed an ink tank, such as one with a different model number, that is not supported by this printer. Either install an ink tank for the correct color or use the provided ink tank for setup.
-
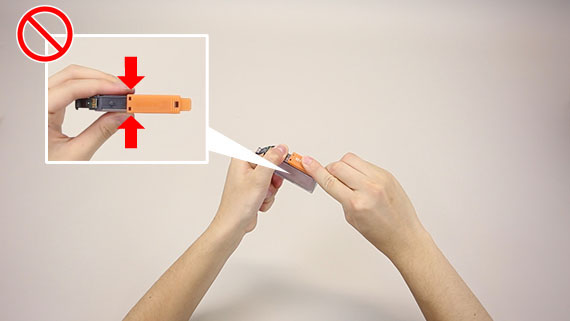
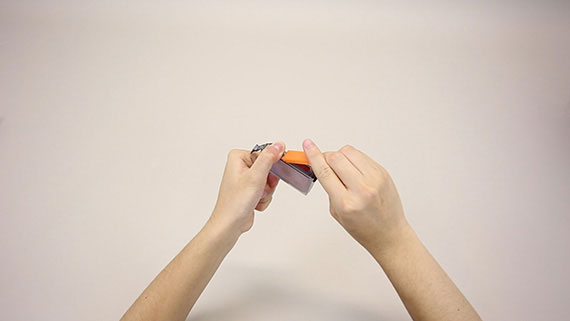
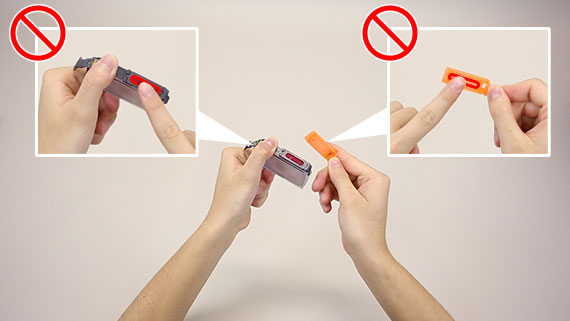
The ink is not installed properly.
Reinstall the ink.
-
A protective material may be left attached.
Press the ON button to turn off the power, remove all protective materials, and then turn the power back on.
-
E > 0 > 9
A protective material may be left attached.
Press the ON button to turn off the power, remove all protective materials, and then turn the power back on.
-
E > 0 > 4
The ink is not installed properly.
Reinstall the ink.
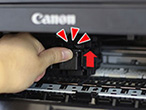
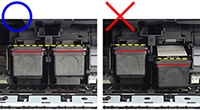
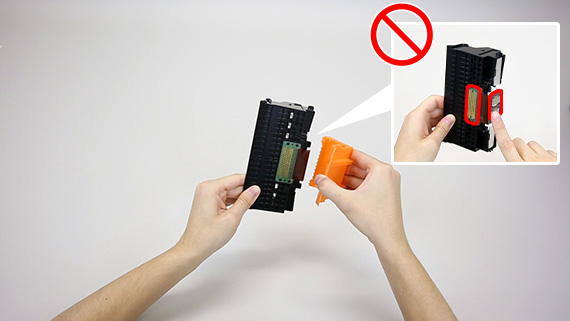
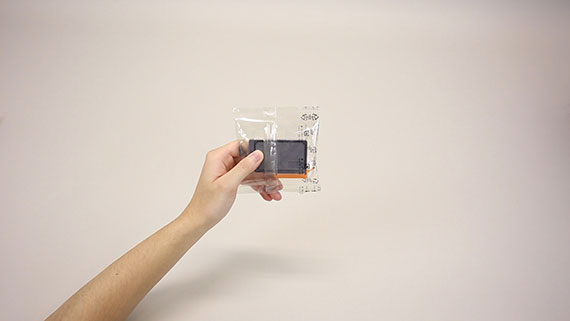
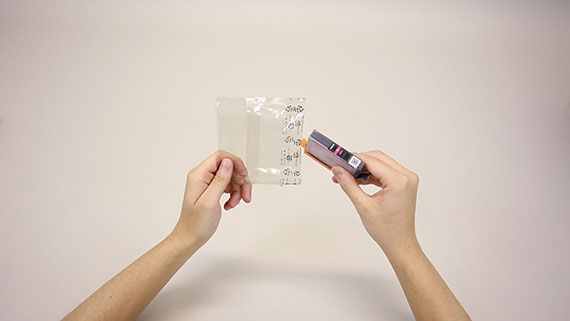
- There may be some transparent or light color ink on the inside of the bag the Print Head comes in - this has no effect on print quality. Be careful not to get ink on yourself when handling these items.
- Once you have installed the Print Head, do not remove it unnecessarily.
-
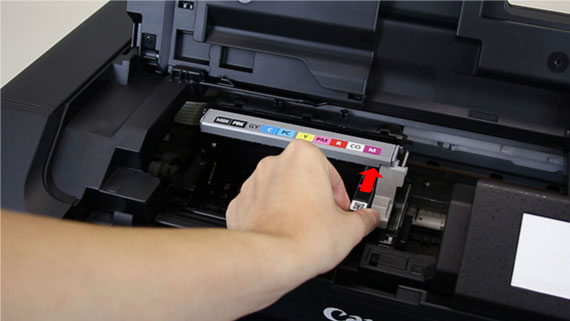
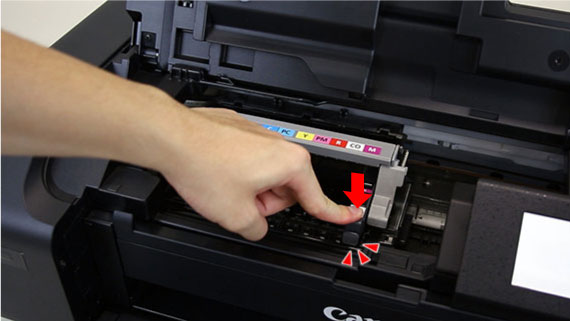
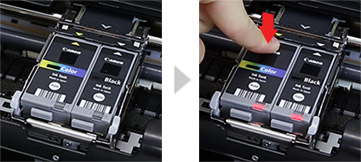
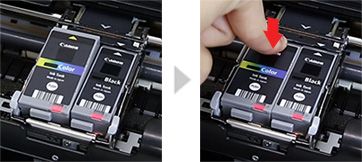
If the lamp is not lit, press down on the back of the ink tank.
-
If the back of the ink tank is not inserted correctly, press down on the back of the ink tank until it clicks into place.
Follow the instructions on the printer
- Do not connect the USB cable at this time.
-
When the following screen appears, close this window.
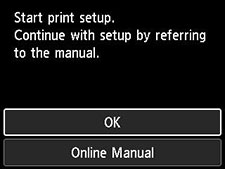
Follow the instructions on the printer
-
Wired LAN connector is on the rear of the printer.
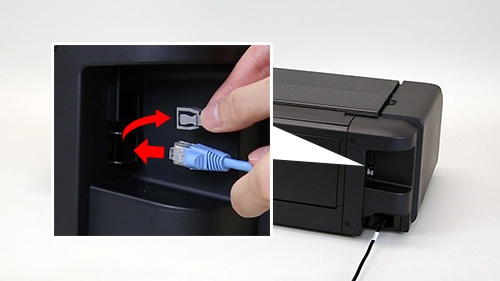
-
When the following screen appears, close this window.

Follow the instructions on the printer
-
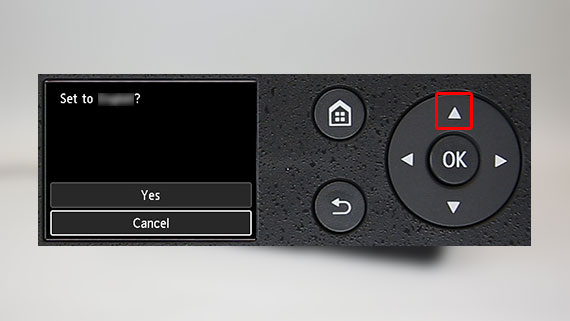
When the following screen appears, select Yes.
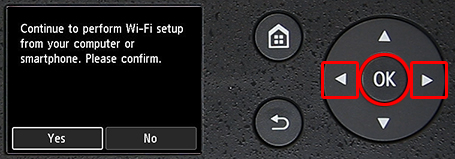
-
When the following screen appears, close this window.
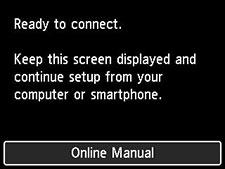
Follow the instructions on the printer
-
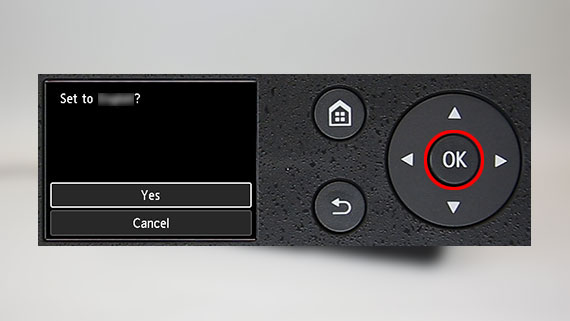
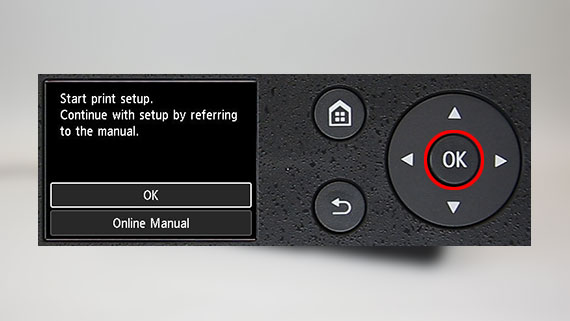
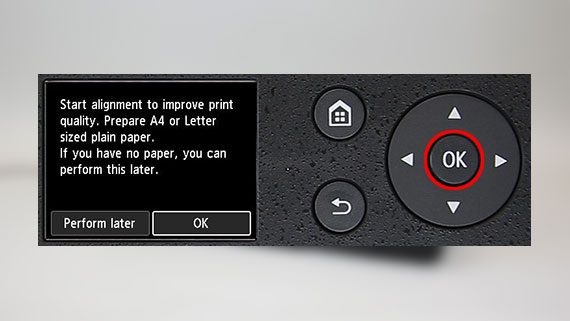
When the following screen appears, press OK.
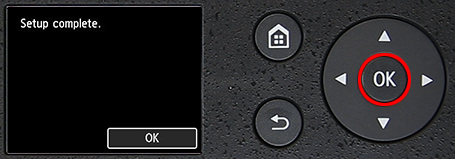
Printer setup is now complete.
-
To connect to a computer or smartphone (tablet), access this site from the computer or smartphone you want to set up.
https://ij.start.canon
The following setup methods are available on your printer.
-
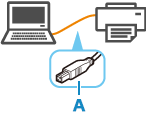
USB connection
-
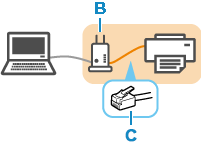
Wired LAN connection
-
Wi-Fi connection

- A: USB Cable
- B: Router
- C: LAN Cable


