
G5080 Konfiguration
- 1

- 2

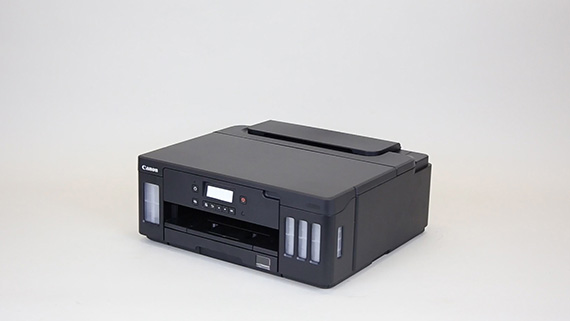
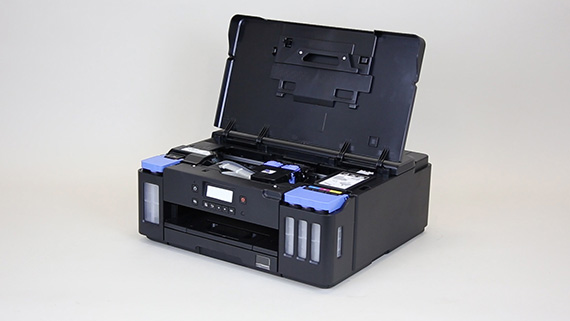
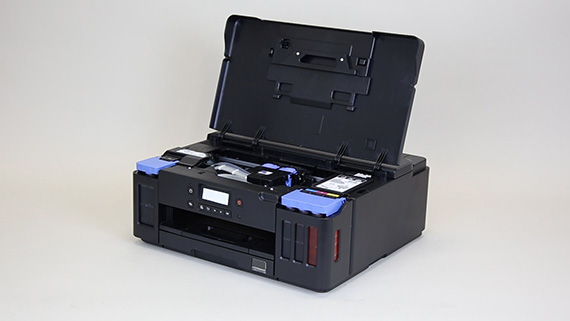
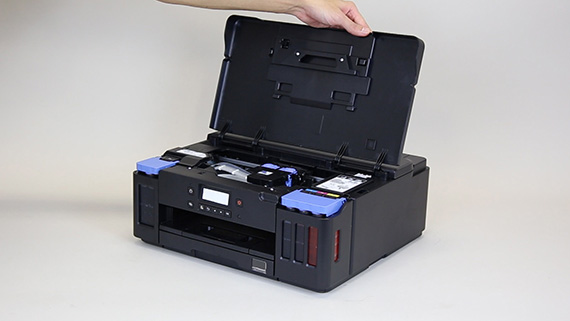
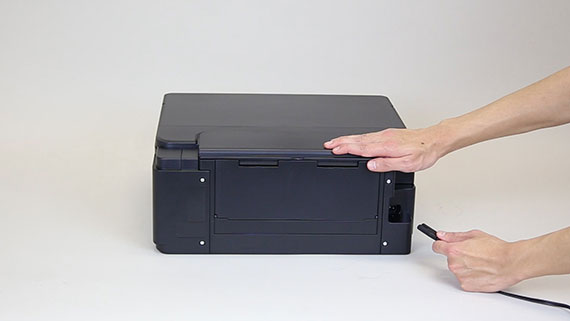
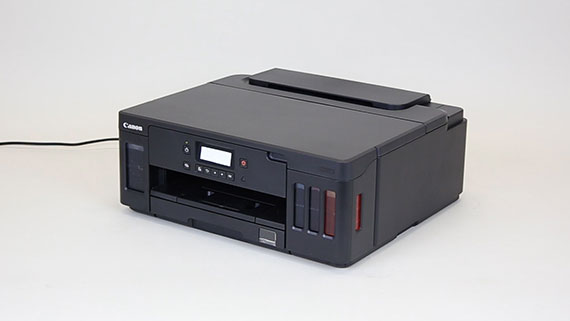
1 Klargøring af printeren
Indlæser...
-
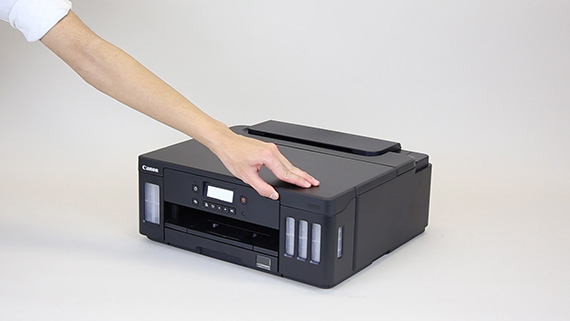
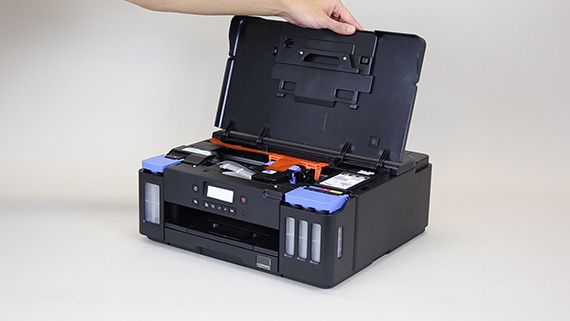
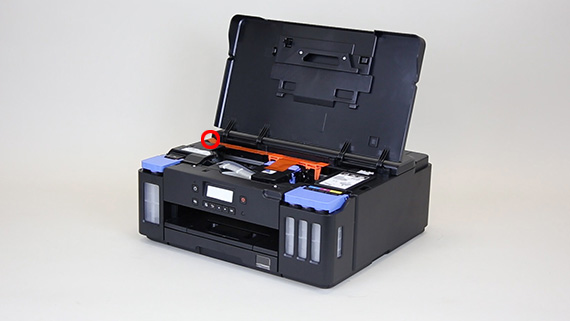
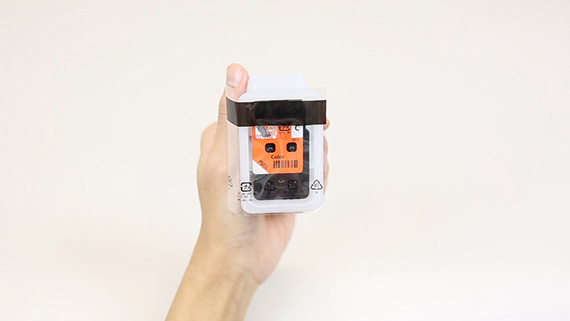
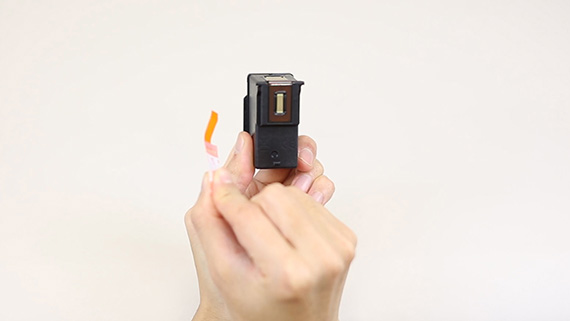
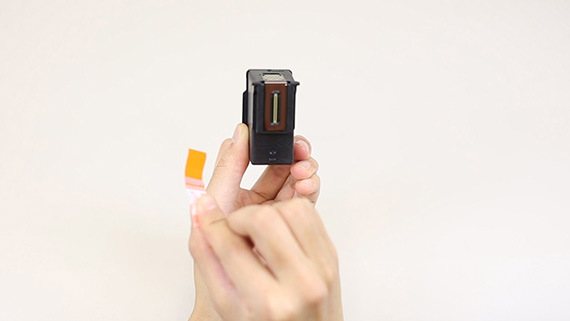
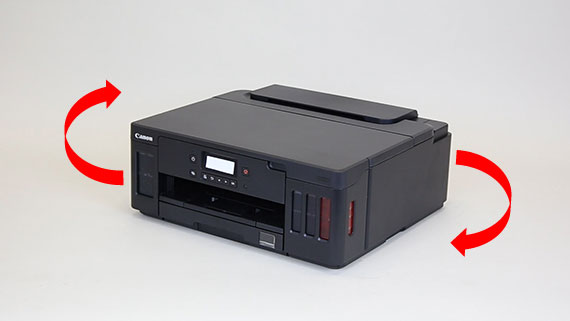
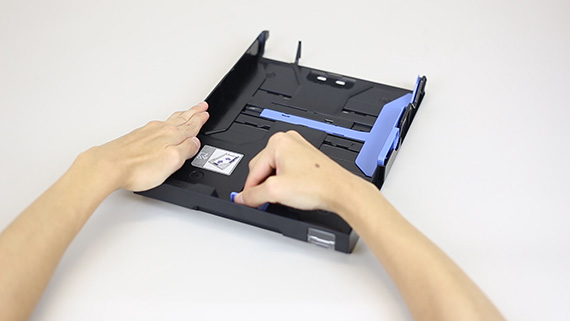
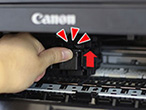
Fjern alt orange tape og beskyttende materiale
De faktiske placeringen af tapen kan variere.
-
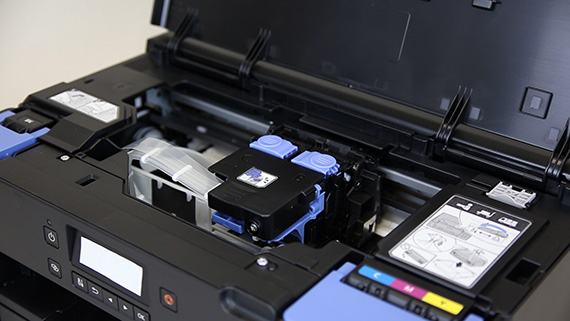
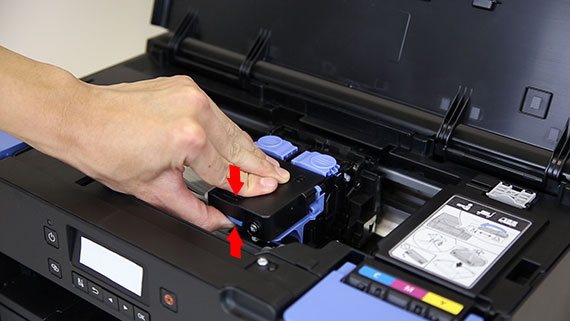
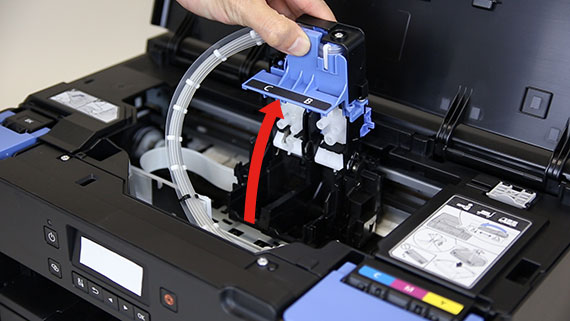
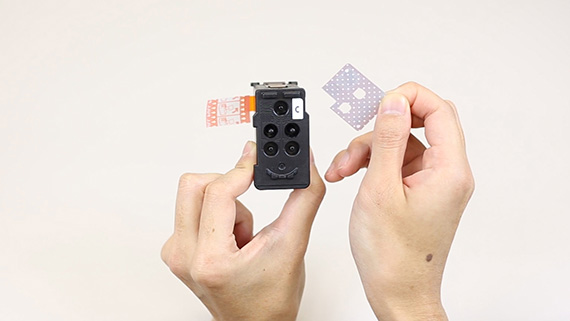
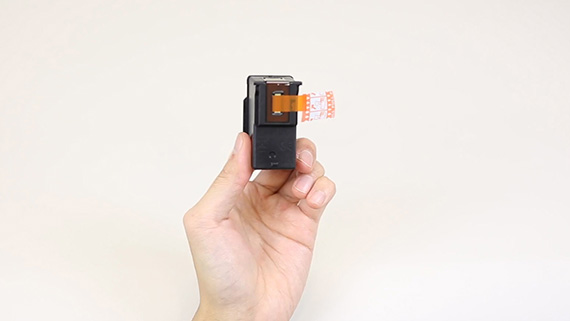
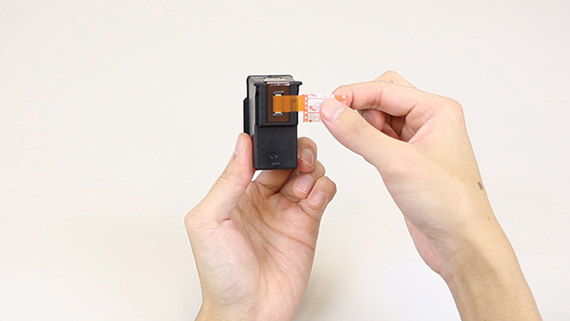
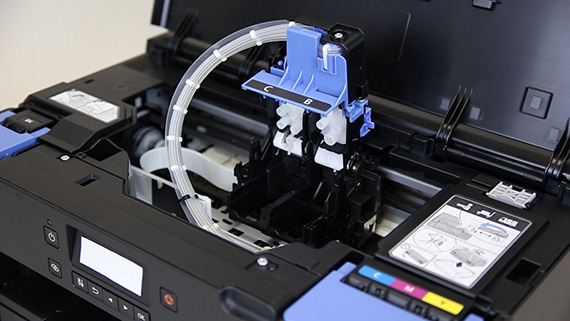
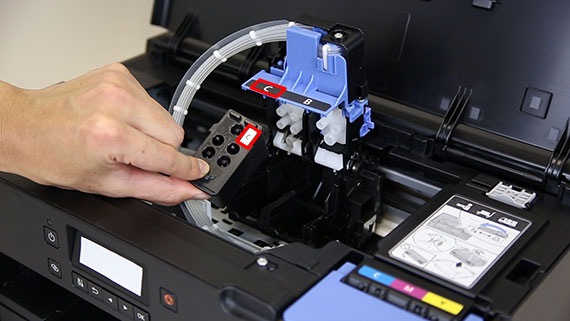
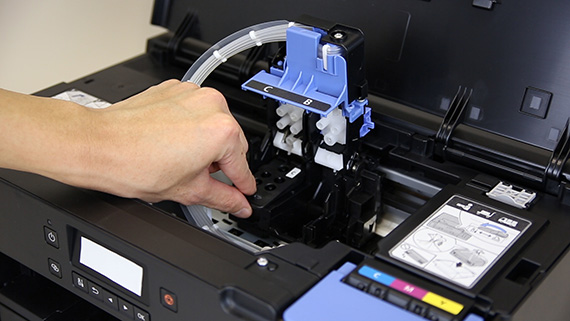
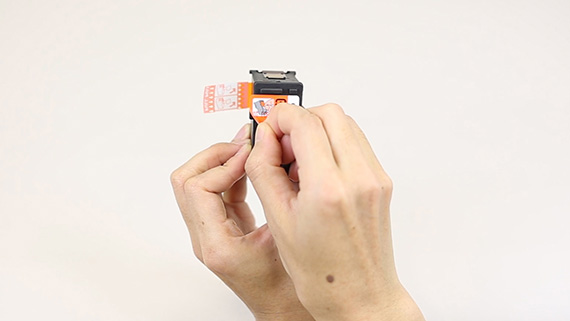
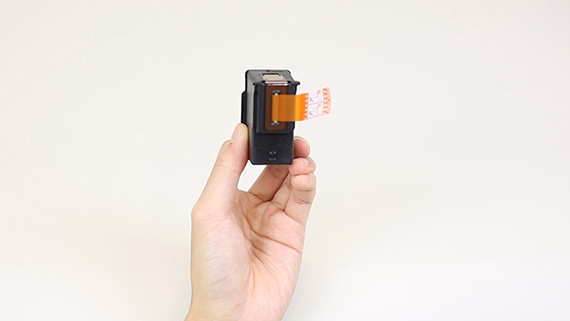
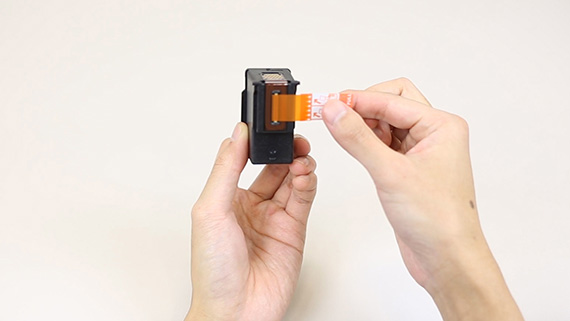
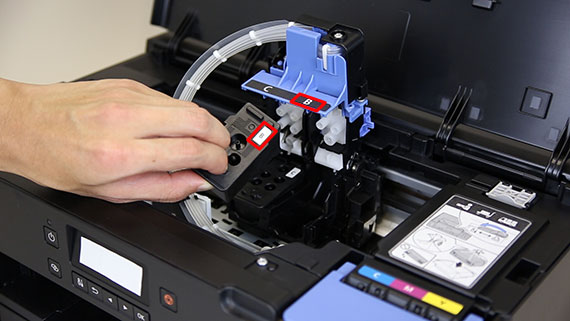
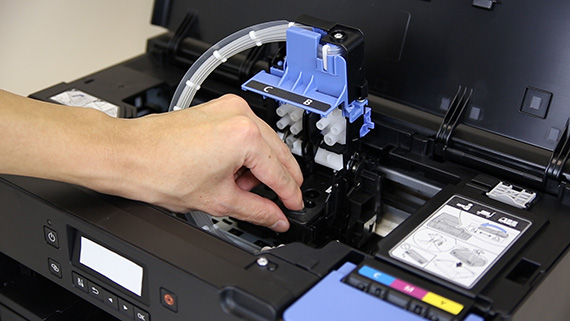
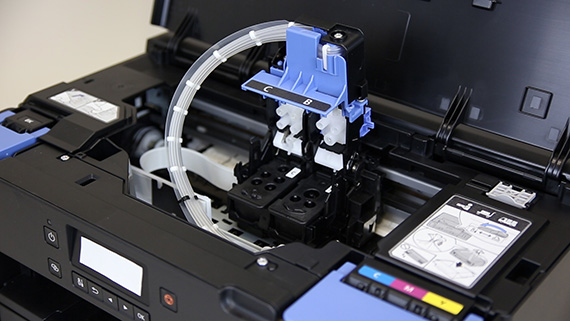
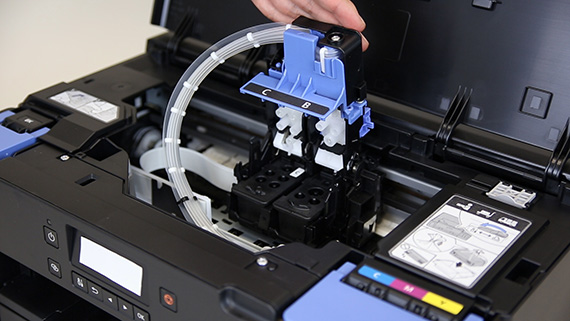
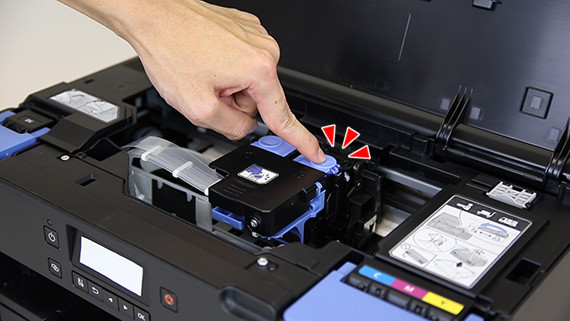
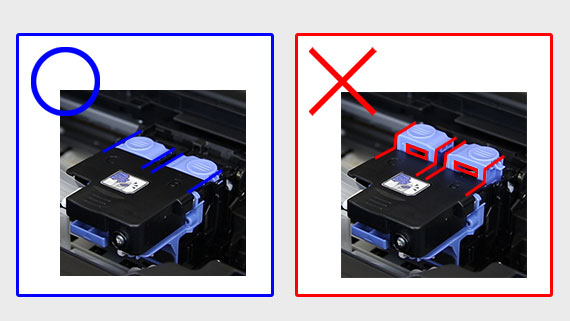
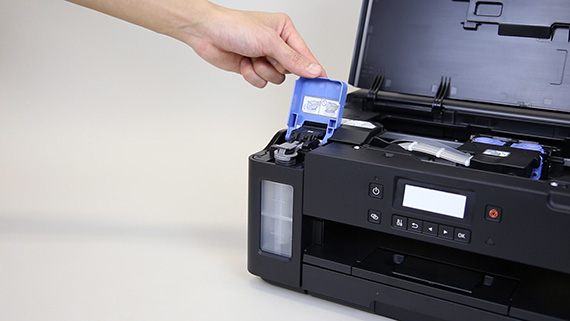
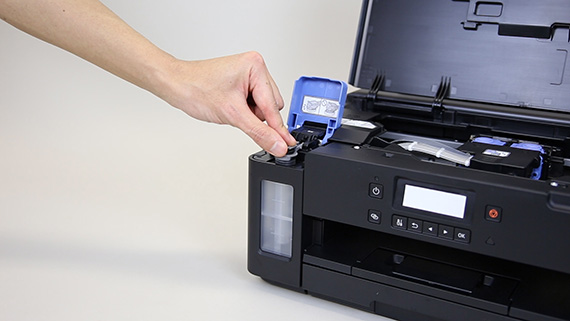
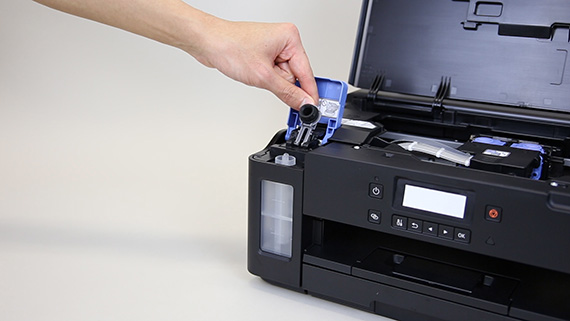
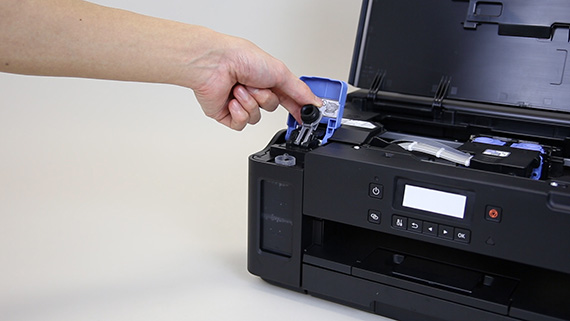
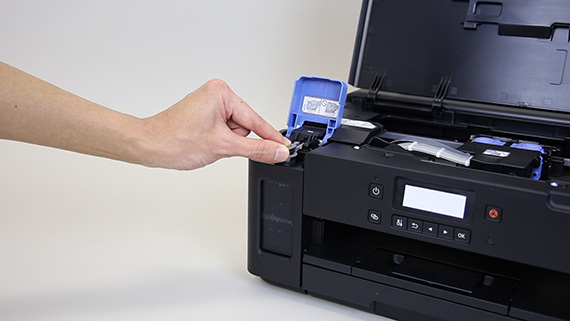
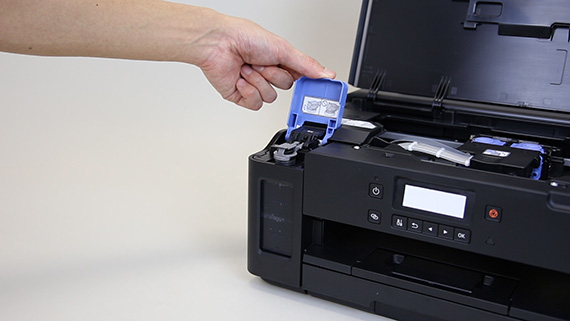
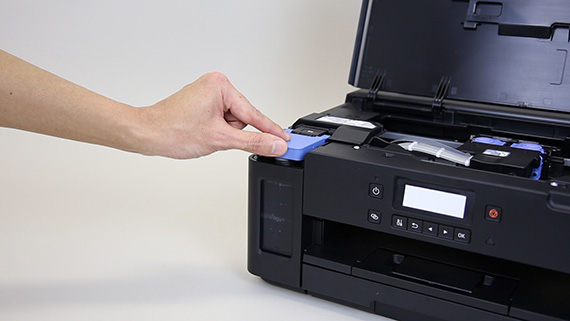
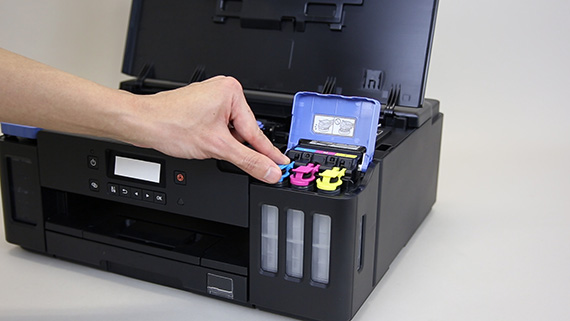
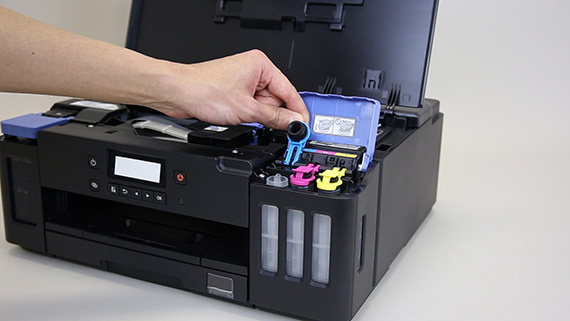
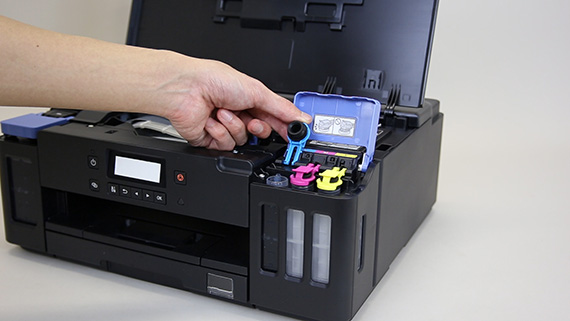
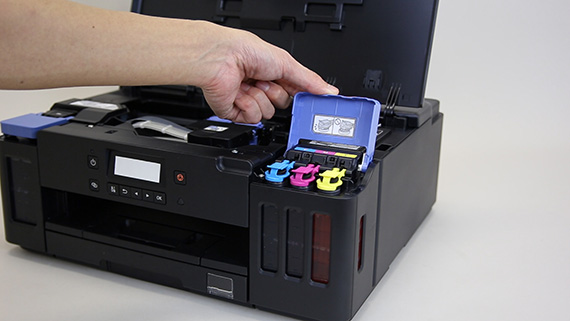
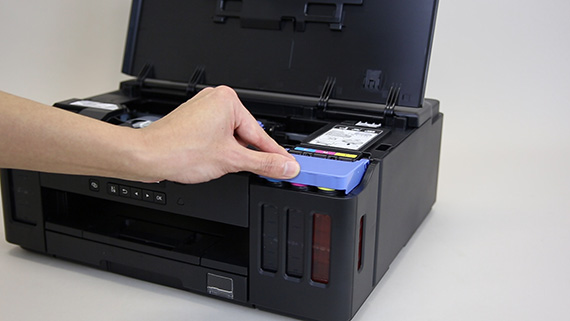
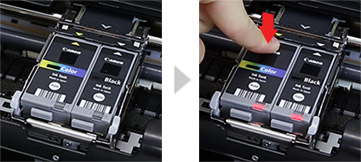
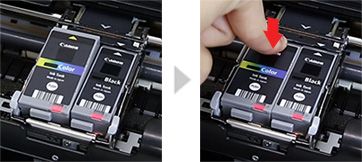
Installer printhovederne
-
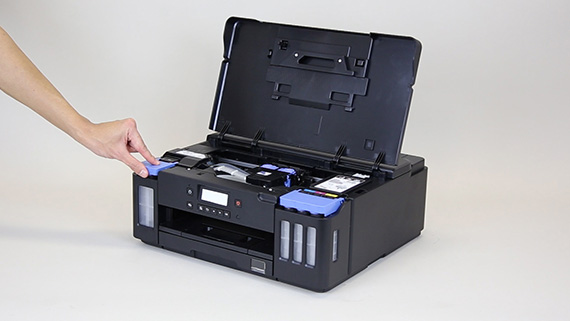
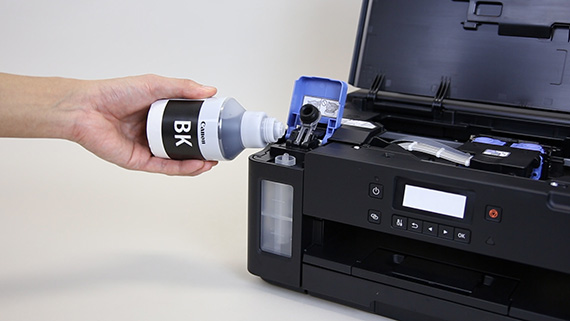
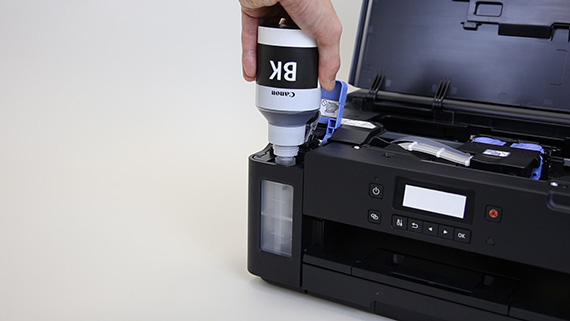
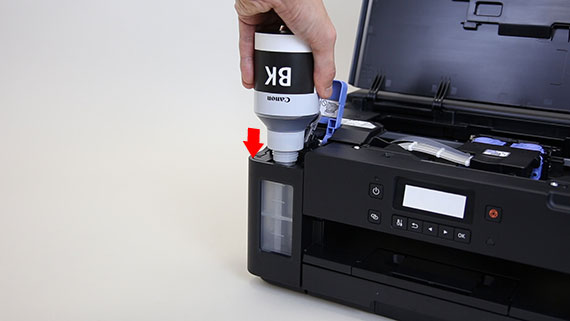
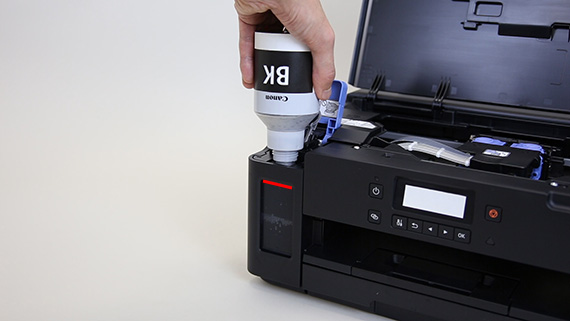
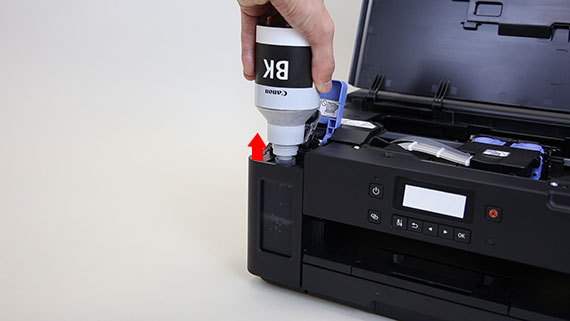
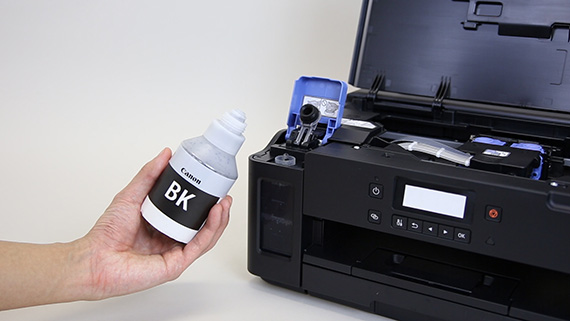
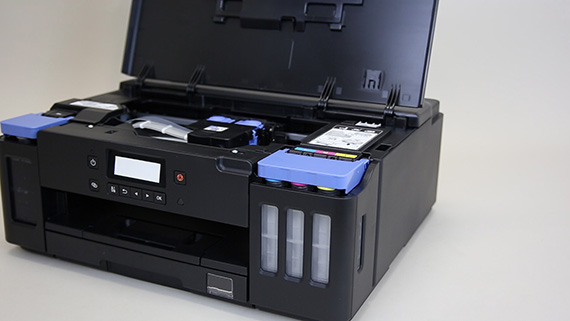
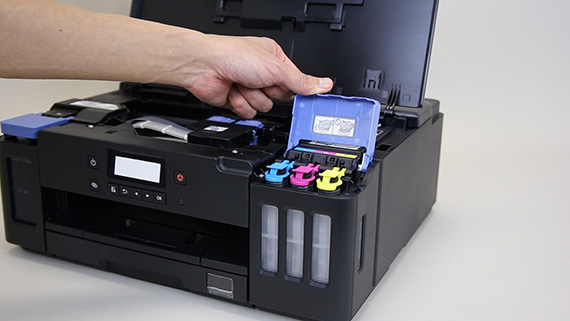
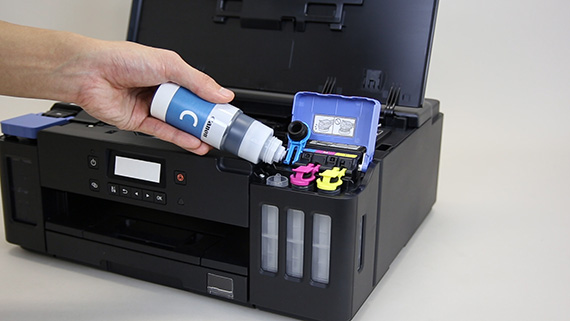
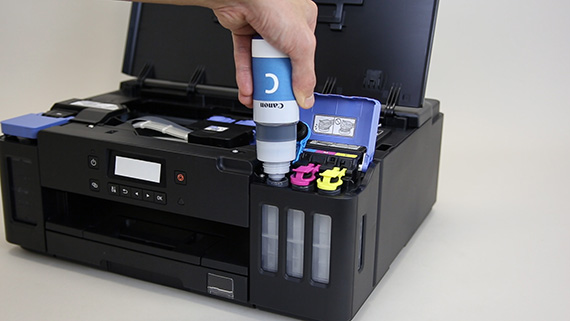
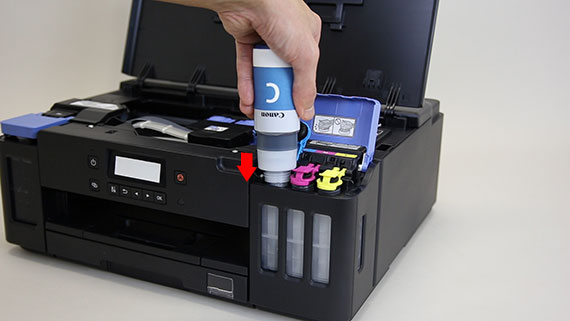
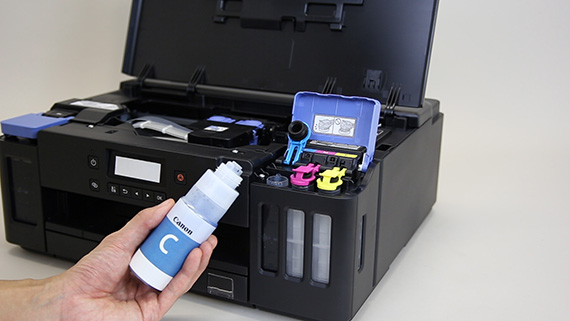
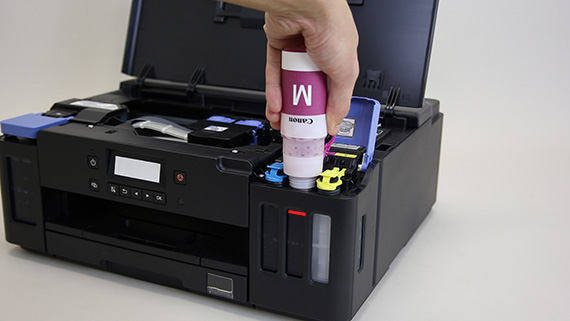
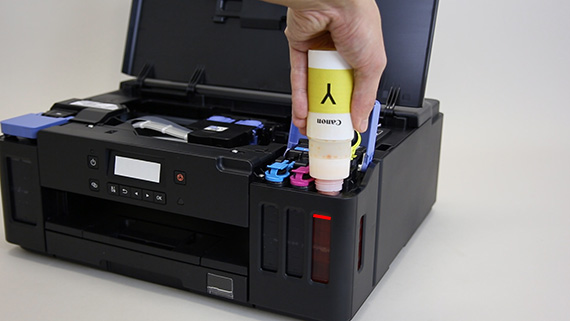
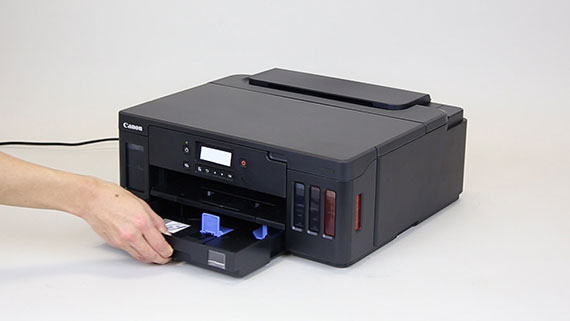
Hæld blæk i
-
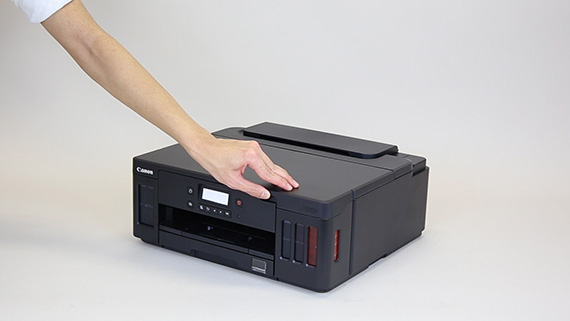
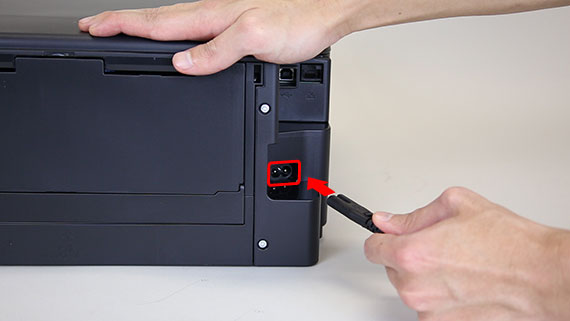
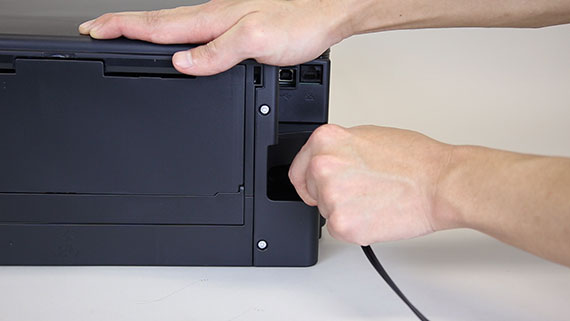
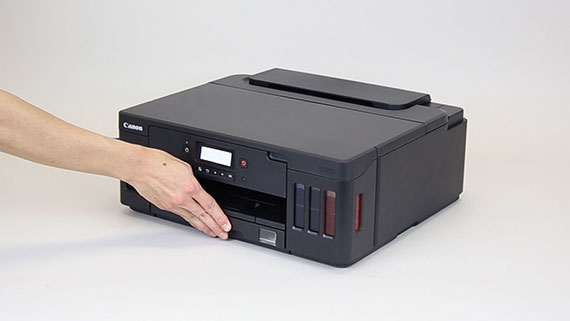
Tænd for printeren
-
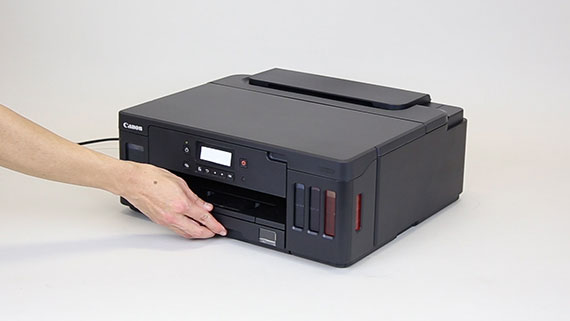
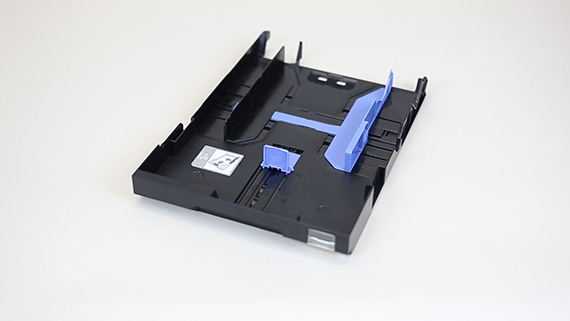
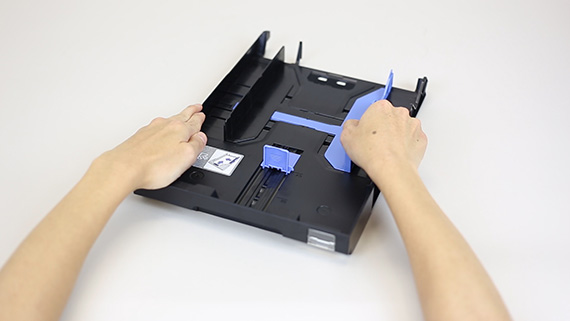
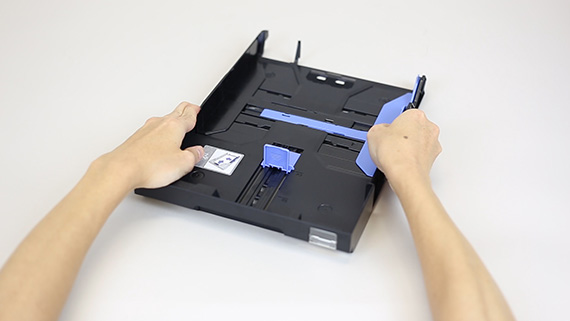
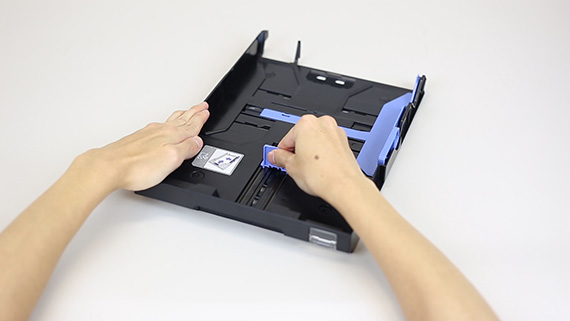
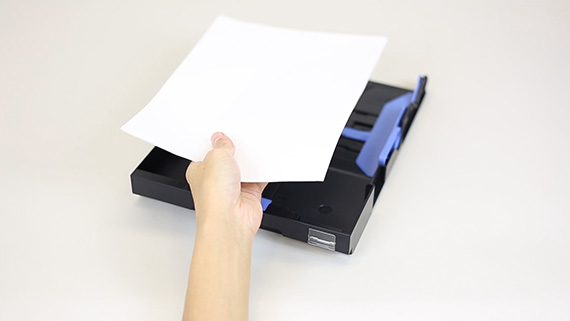
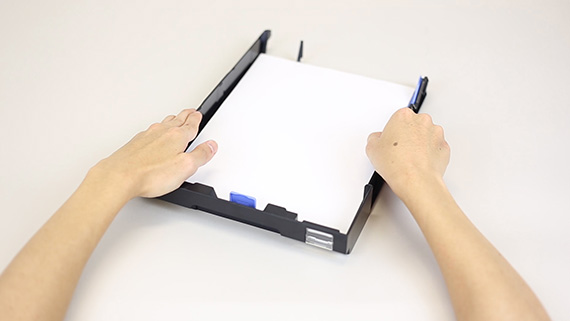
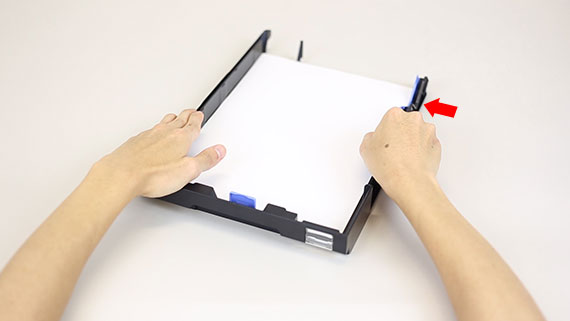
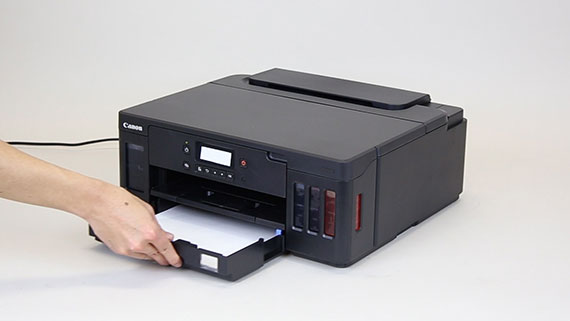
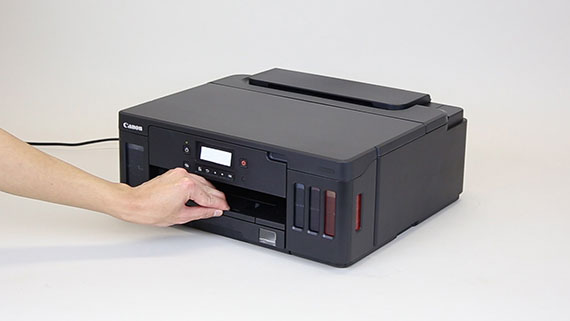
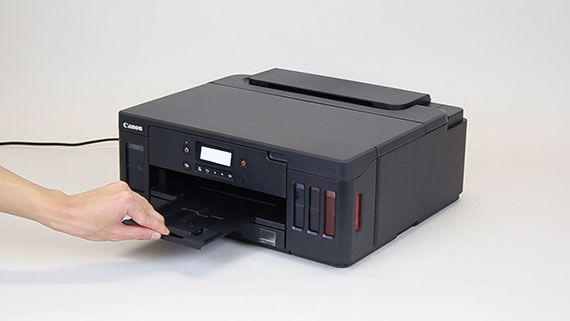
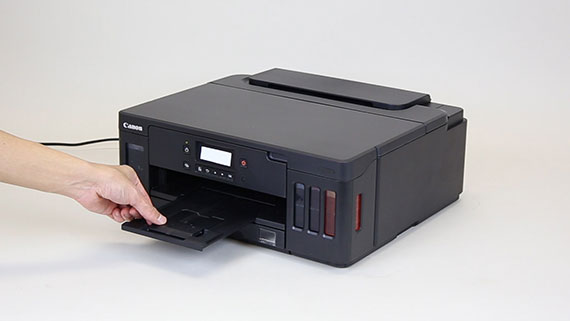
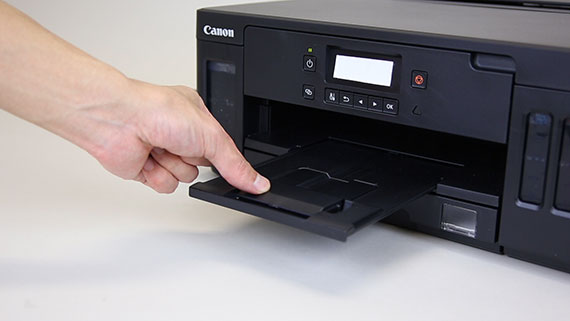
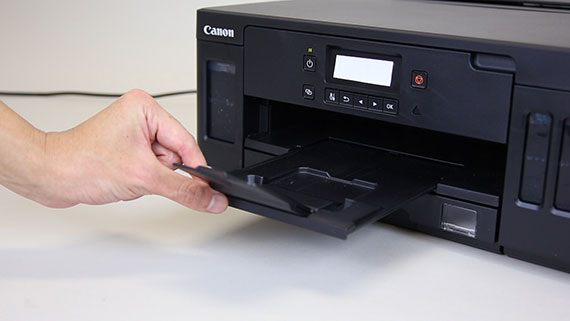
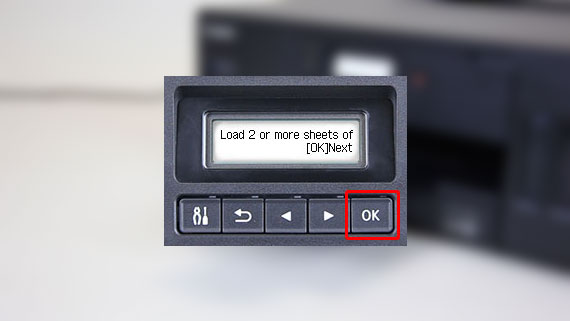
Ilæg almindeligt LTR- eller A4-papir
-


-
Hvis farven ikke vises på skærmen, selvom du har installeret blækbeholderen, er farven i blækbeholderen muligvis forkert, eller du har muligvis installeret en blækbeholder, der ikke understøttes af denne printer, f.eks. en blækbeholder med en andet modelnummer. Du skal enten installere en blækbeholder med den korrekte farve eller bruge den medfølgende blækbeholder til konfigurationen.
-
Hvis mærket
 ikke vises på skærmen, selvom du har installeret blækbeholderen, er farven i blækbeholderen muligvis forkert, eller du har muligvis installeret en blækbeholder, der ikke understøttes af denne printer, f.eks. en blækbeholder med et andet modelnummer. Du skal enten installere en blækbeholder med den korrekte farve eller bruge den medfølgende blækbeholder til opsætningen.
-
Hvis
 -mærket ikke vises på skærmen, selvom du har installeret blækbeholderen, er farven i blækbeholderen muligvis forkert, eller du har muligvis installeret en blækbeholder, der ikke understøttes af denne printer, f.eks. en blækbeholder med et andet modelnummer. Du skal enten installere en blækbeholder med den korrekte farve eller bruge den medfølgende blækbeholder til opsætningen.
-
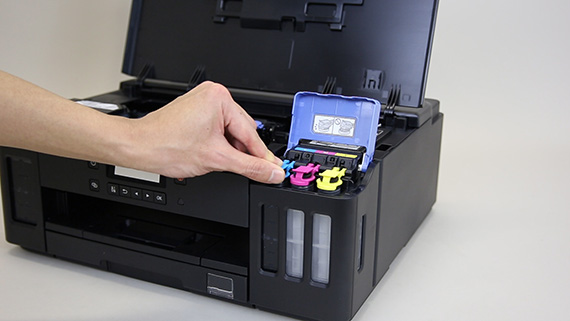
Blækket er ikke installeret korrekt.
Installer blækket igen.
-
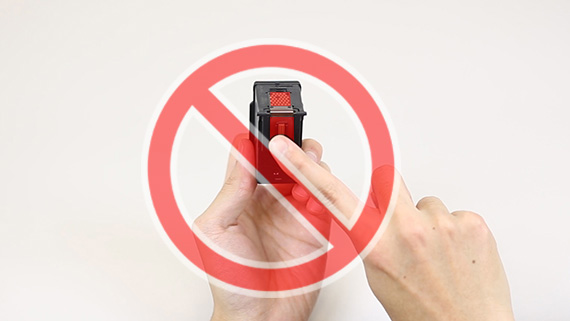
Der sidder muligvis stadig beskyttende materiale på enheden.
Tryk på knappen TIL for at slukke for strømmen, fjern alt beskyttende materiale, og tænd derefter for strømmen igen.
-
E > 0 > 9
Der sidder muligvis stadig beskyttende materiale på enheden.
Tryk på knappen TIL for at slukke for strømmen, fjern alt beskyttende materiale, og tænd derefter for strømmen igen.
-
E > 0 > 4
Blækket er ikke installeret korrekt.
Installer blækket igen.
- Der kan være noget gennemsigtigt blæk eller lyst farveblæk på indersiden af den pose, som printhovedet leveres i. Dette har ingen betydning for udskriftskvaliteten. Pas på, at du ikke får blæk på dig, når du håndterer disse elementer.
- Når du har installeret printhovedet, må du ikke fjerne det uden grund.
-
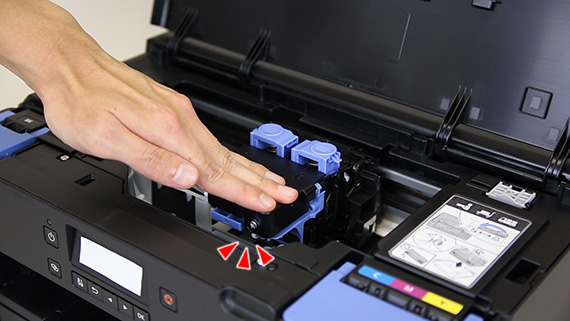
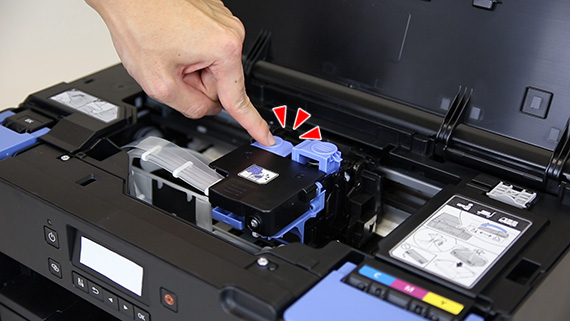
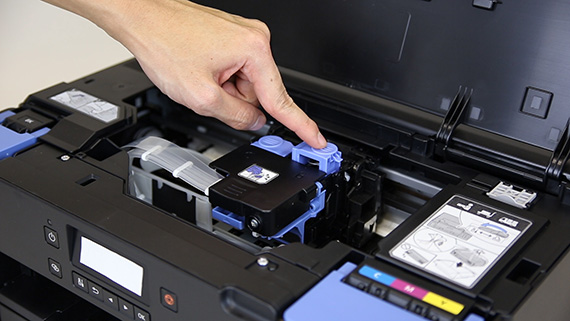
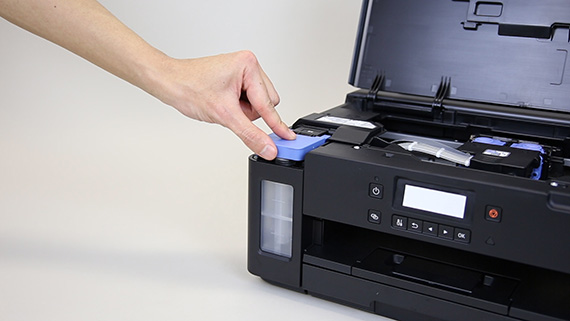
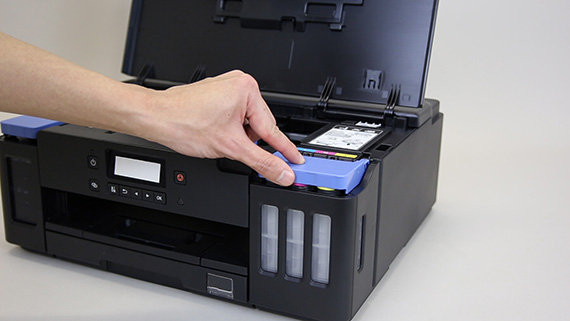
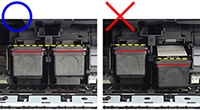
Hvis lampen ikke lyser, skal du trykke ned på bagsiden af blækbeholderen.
-
Hvis bagsiden af blækbeholderen ikke er isat korrekt, skal du trykke ned på bagsiden af blækbeholderen, indtil den klikker på plads.
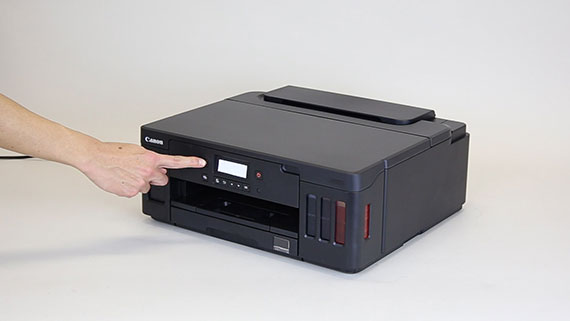
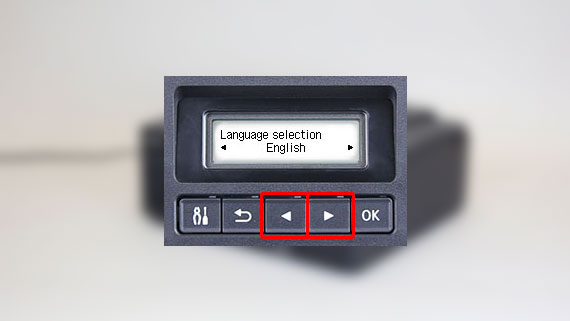
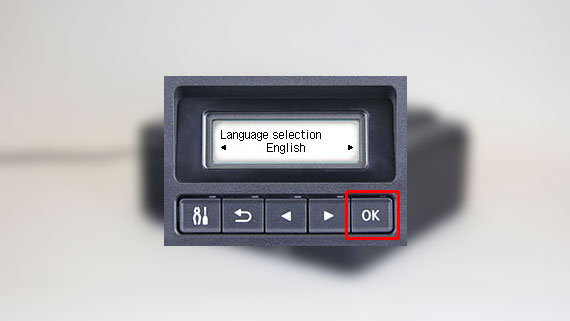
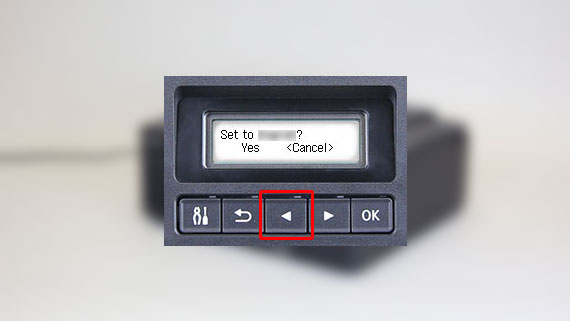
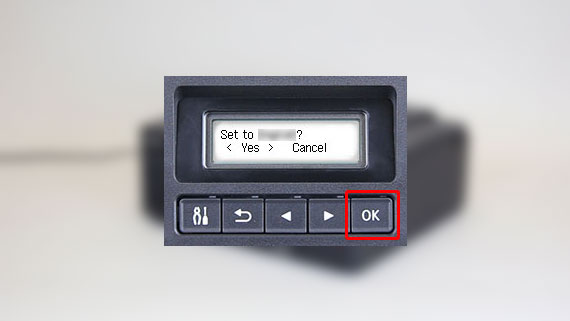
Følg instruktionerne på printeren
- Tilslut ikke USB-kablet på dette tidspunkt.
-
Når følgende skærmbillede vises, skal du lukke dette vindue.
Følg instruktionerne på printeren
-
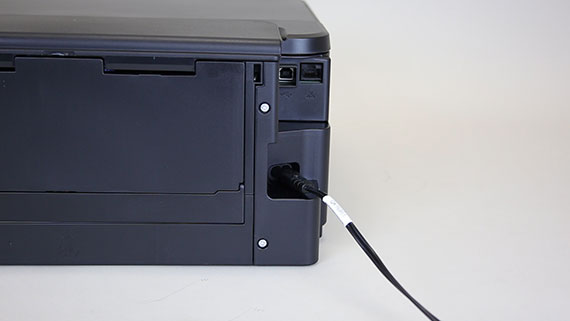
Stikket til kabel-LAN er på bagsiden af printeren.
-
Når følgende skærmbillede vises, skal du lukke dette vindue.
Følg instruktionerne på printeren
-
Når følgende skærmbillede vises, skal du vælge Ja (Yes).
-
Når følgende skærmbillede vises, skal du lukke dette vindue.
Følg instruktionerne på printeren
-
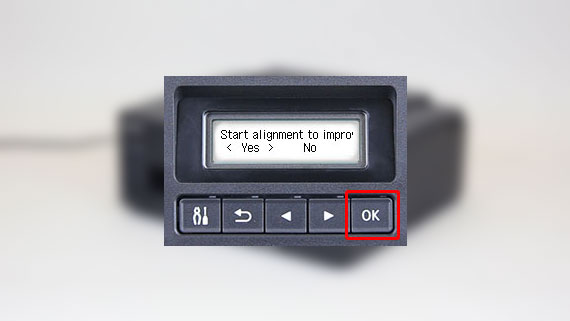
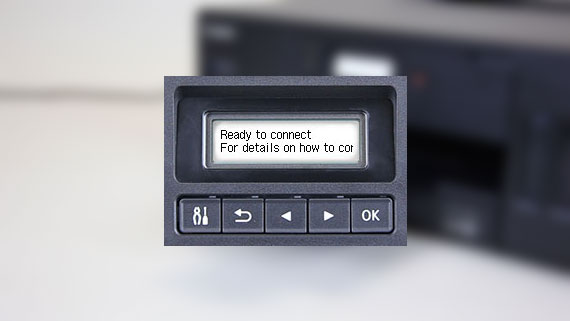
Når følgende skærmbillede vises, skal du trykke på OK.
Opsætningen af printeren er fuldført.
-
Hvis du vil oprette forbindelse til en computer eller smartphone (tablet), skal du få adgang til dette websted fra den computer eller smartphone, du vil konfigurere.
https://ij.start.canon
Følgende opsætningsmetoder er tilgængelige på din printer.
-
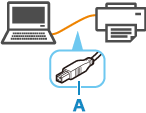
USB-forbindelse (USB connection)
-
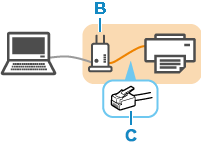
Forbindelse til kabel-LAN (Wired LAN connection)
-
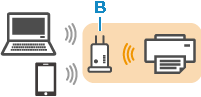
Forbindelse til Wi-Fi (Wi-Fi connection)
- A: USB-kabel
- B: Router
- C: LAN-kabel