WCN Connection
-
Load two sheets of A4 or Letter-sized plain paper.
-
Press the Information button (A) on the printer.
The Network Configuration Page including a PIN code will be printed.

-
Follow the procedure below to proceed with computer settings.
The setup procedures vary depending on your system environment.
Windows 10
-
From the Start menu of the computer, select Windows System.
-
Select This PC.
-
Select Network.
Windows 8.1
-
Click
 at the bottom left of the Start screen of the computer.
 -
Select This PC.
-
Select Network.
Windows 7
-
From the Start menu of the computer, select Computer.
-
Select Network.
-
-
Select Add devices and printers on the Network menu or Add a wireless device on the menu.
-
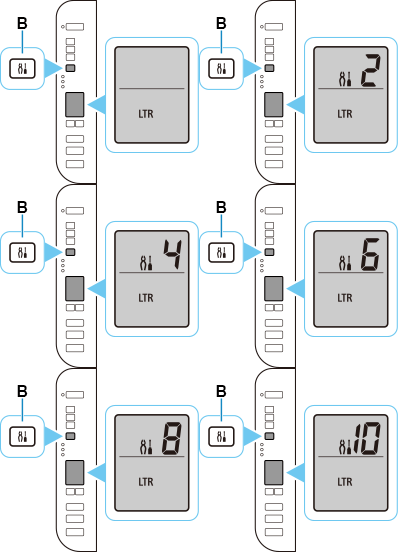
Press the Setup button (B) 10 times.

-
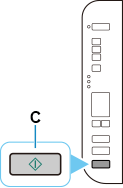
Press the Color button (C).

-
Follow the on-screen instructions on the computer to set the WPS PIN CODE described on the printed Network Configuration Page on the wireless router.
 Note
Note- If you don't know how to configure WCN settings, see Windows Help.
-
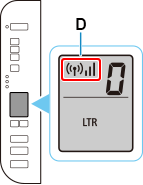
When connection to the wireless router is complete,
 and
and  (D) will be lit.
If the Alarm lamp lights up, see "Troubleshooting."
The network connection setup is now complete.
If performing setup with software, return to the software and proceed with the installation.
Click
 in the taskbar, follow the on-screen instructions to proceed with setup.


