Removing Jammed Paper from Rear Side
Cause
Paper is jammed.
-
Press printer's Stop button.
-
Turn off printer and unplug it.
-
Retract paper output tray.
-
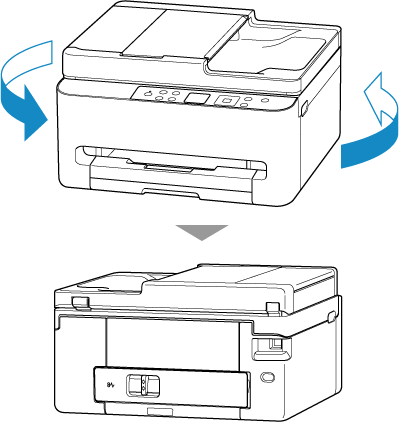
Turn printer so that rear side of printer faces toward you.
-
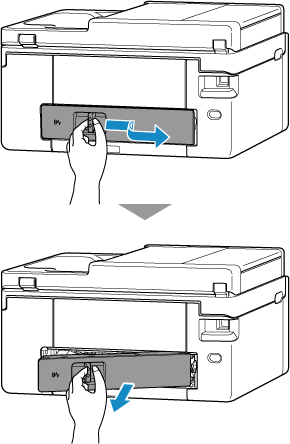
Detach rear cover.
-
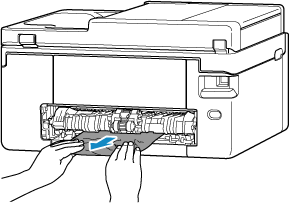
Hold jammed paper firmly with both hands and pull it out slowly.
If the paper is rolled up, pull it out and grasp the edges of the paper.
If you can remove the paper, proceed to step 8.
 Note
Note- Do not touch the inner parts of the printer.
-
If jammed paper is not removed, detach transport unit and remove the paper.
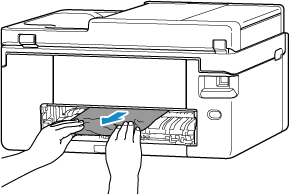
Lift up the transport unit and pull it out.
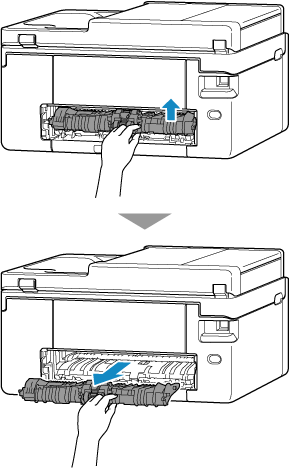
Slowly pull out jammed paper.
 Note
Note- Do not touch the inner parts of the printer.
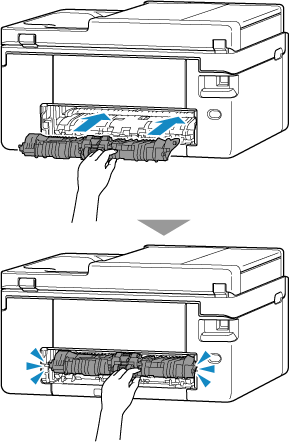
Make sure all jammed paper is removed.
Insert the transport unit until it reaches the back of the printer.
-
Attach rear cover.
Insert the projections of the right side of the rear cover into the printer, and then push the left side of the rear cover until it is closed completely.

-
Plug printer back in and turn printer back on.
-
Load paper and redo printing.
All jobs in the print queue are canceled. Redo the printing.
Note- Make sure you are using suitable paper and loading it correctly.
- We recommend using paper sizes other than A5 to print documents with photos or graphics. A5 paper may curl and jam as it leaves the printer.
