Starting Remote UI
You can launch Remote UI from Canon PRINT for models that can use Canon PRINT.
For Windows
-
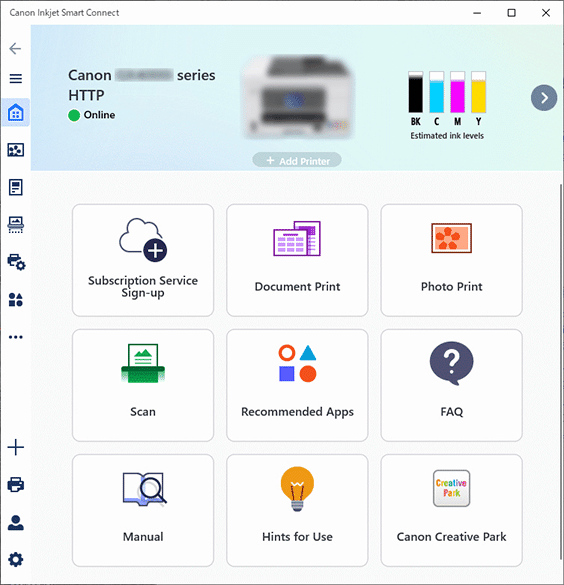
Start the application software
 on the Start menu.
The application software starts up.
 Note
Note-
If the application software is not installed, download it from the following page and install it on your computer.
-
-
Click the
 Printer Management icon on the left side of the application software HOME screen and click Device Information at the bottom of the Printer Management menu.
 -
Click Open Remote UI in the lower center of the Device Information screen.
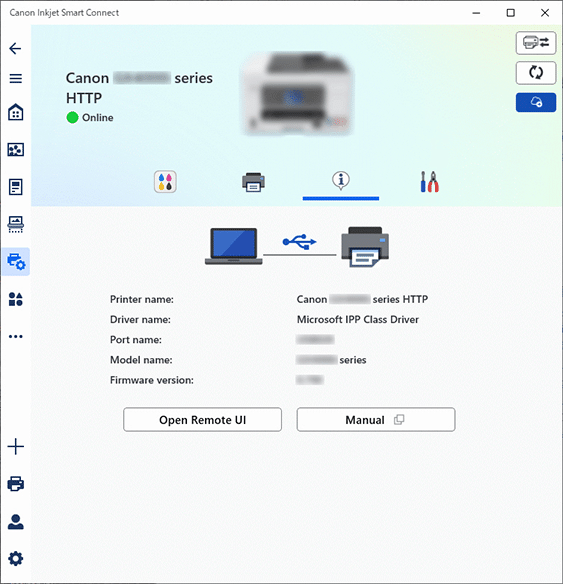
"Remote UI" will be displayed on the web browser on your computer.
For macOS
-
Click the application software
on the Dock.The application software starts up.
Note-
For the screen, refer to the screen of the Windows version above.
-
If the application software is not installed, download it from the following page and install it on your computer.
-
-
Click the
Printer Management icon on the left side of the application software HOME screen and click Device Information at the bottom of the Printer Management menu. -
Click Open Remote UI in the lower center of the Device Information screen.
Note-
For the screen, refer to the screen of the Windows version above.
"Remote UI" will be displayed on the web browser on your computer.
-
When using the printer information
-
Check the IP address of the printer.
-
In the Setup screen, select
 (Setup) or Various settings.
A disabled network is crossed out.
-
Select Printer settings.
-
Select LAN settings.
-
Select an enabled network, and select See settings on the displayed screen.
-
Check IPv4 address on the displayed screen.
Note-
For macOS, select your model from System Settings > Printers and Scanners > Printer List, and click View Printer Web Page... under Options and Supplies... > General tab to launch Remote UI.
-
-
-
Open the web browser, and enter the IP address of the printer in the address bar.
Enter the IP address in the following format.
http://XXX.XXX.XXX.XXX
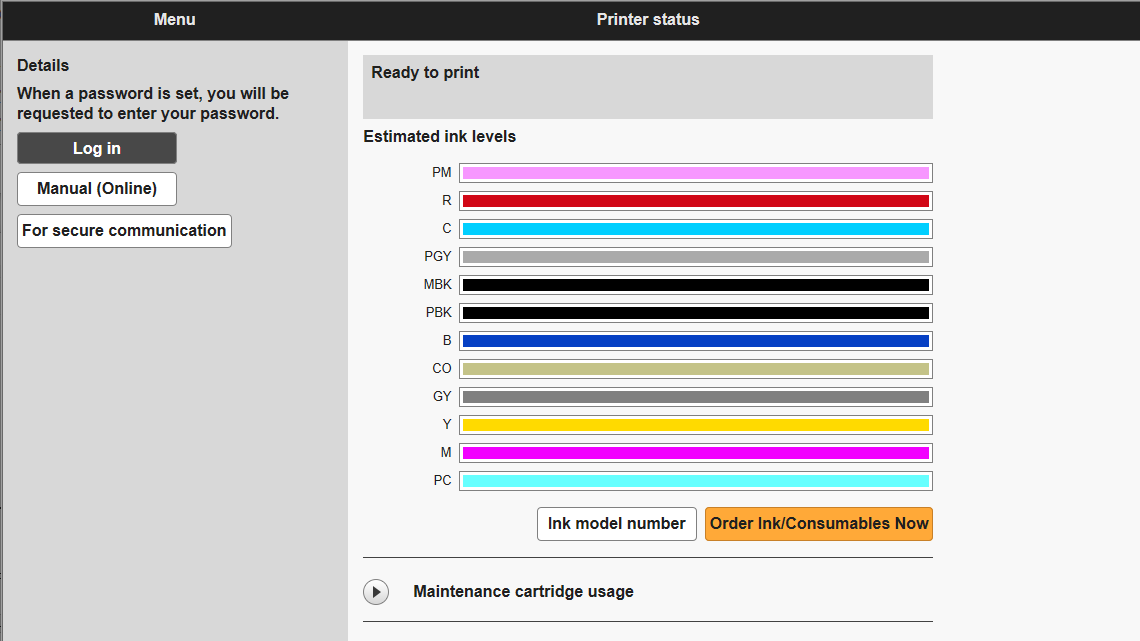
Remote UI starts, and a login screen is displayed in the web browser.
 Note
Note-
The first time you display Remote UI, download the root certificate and install it to your browser.
-
If the root certificate is not installed, an alert indicating that secure communication is not possible may be displayed.
-
-
Select Log in.
A password authentication screen is displayed.
 Important
-
If Standard user mode is enabled, select whether to log on in Administrator mode or in Standard user mode. To change network and security settings you must log on in Administrator mode.
-
The administrator password for the printer is set at the time of factory shipment.
-
-
Enter the password, and click OK.
Remote UI top screen is displayed.
