Iniciando o Scan Utility
![]() Nota
Nota
-
Se você tiver mais de um scanner ou se tiver alterado de USB para conexão de rede, configure o ambiente de rede no Scan Utility.
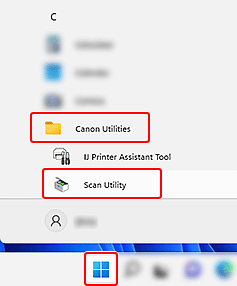
Siga estas etapas para iniciar o Scan Utility. A captura de tela a seguir é do Windows 11.
Na barra de tarefas  (botão Iniciar (Start)), selecione Todos os aplicativos (All apps) > Canon Utilities > Scan Utility.
O Scan Utility é iniciado.
![]() Nota
Nota
-
Windows 10:
Na barra de tarefas
 (botão Iniciar (Start)), selecione Canon Utilities > Scan Utility.
 -
Windows 8.1:
Selecione Scan Utility na tela Iniciar.
Se Scan Utility não aparecer na tela Iniciar, selecione o ícone Pesquisar (Search) e pesquise por "Scan Utility".
-
Windows 7:
No menu Iniciar (Start), selecione Todos os programas (All Programs) > Canon Utilities > Scan Utility > Scan Utility.
