Extracting Text from Scanned Images (OCR)
Scan text in scanned magazines and newspapers and display it in TextEdit (included with Mac OS).
 Note
Note
- You can extract text when scanning via Document, Custom, or Driver.
- The screens for scanning documents are used as examples in the following descriptions.
-
Click Settings....
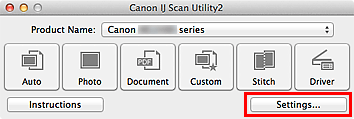
The Settings dialog appears.
-
Click Document Scan.
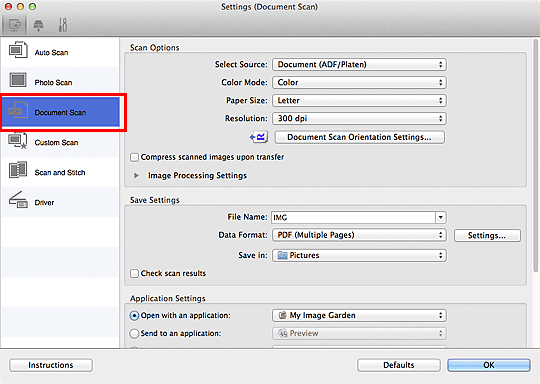
 Note
Note- For Resolution, only 300 dpi or 400 dpi can be set when Start OCR is selected in Application Settings.
-
Select Start OCR for Application Settings, then select the application in which you want to display the result.
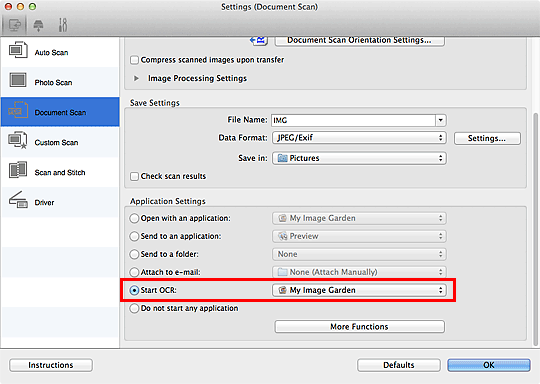
 Note
Note- When My Image Garden is specified, after the image is scanned, the text in the image is extracted and appears in TextEdit (included with Mac OS).
-
Click OK.
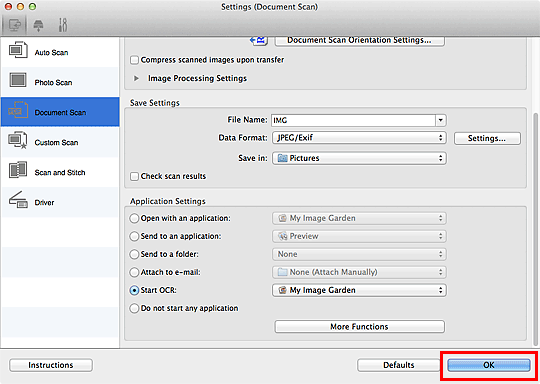
The IJ Scan Utility main screen appears.
 Note
Note-
Refer to the following pages for details on the setting items in the Settings dialog.
-
-
Click Document.
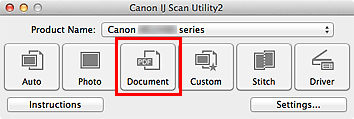
Scanning starts.
When scanning is completed, the scanned images are saved according to the settings, and the extracted text appears in the specified application.
 Note
Note- Click Cancel to cancel the scan.
-
Text displayed in TextEdit (included with Mac OS) is for guidance only. Text in the image of the following types of documents may not be detected correctly.
- Documents containing text with font size outside the range of 8 points to 40 points (at 300 dpi)
- Slanted documents
- Documents placed upside down or documents with text in the wrong orientation (rotated characters)
- Documents containing special fonts, effects, italics, or hand-written text
- Documents with narrow line spacing
- Documents with colors in the background of text
- Documents containing multiple languages

