Correcting Images (Unsharp Mask, Reduce Dust and Scratches, Fading Correction, etc.)
The Image Settings functions on the Advanced Mode tab of ScanGear (scanner driver) allow you to enhance the outline of the subjects, reduce dust/scratches, and correct faded colors when scanning images.
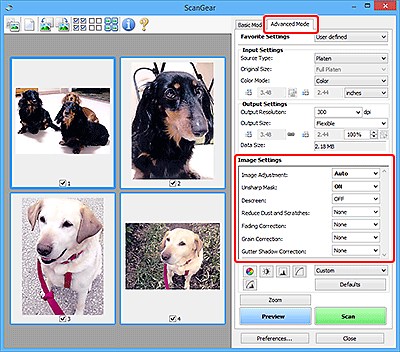
Setting Items
Click  (Arrow) of a function and select an item from the pull-down menu.

 Important
- Do not apply these functions to images without moire, dust/scratches, or faded colors. The color tone may be adversely affected.
- Refer to "Image Settings" for details and precautions on each function.
 Note
Note
- Refer to "Scanning in Advanced Mode" to start the Advanced Mode tab of ScanGear and scan.
Adjusting the image brightness and color tone
Set Image Adjustment to Auto, Photo, Magazine, or Document according to the document type.
| None | Auto |
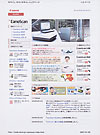 |
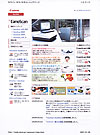 |
Reducing show-through in text documents or lightening the base color in recycled paper, newspapers, etc. when scanning documents
Set Reduce Show-through to ON.
| OFF | ON |
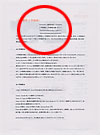 |
 |
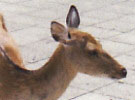
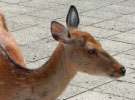
Sharpening slightly out-of-focus images
Set Unsharp Mask to ON.
| OFF | ON |
 |
 |
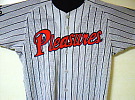
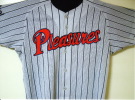
Reducing gradations and stripe patterns
Set Descreen to ON.
| OFF | ON |
 |
 |
 Note
Note
- Printed photos and pictures are displayed as a collection of fine dots. "Moire" is a phenomenon where uneven gradation or a stripe pattern appears when such photos or pictures printed with fine dots are scanned. Descreen is the function for reducing this moire effect.
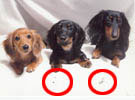
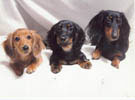
Reducing dust and scratches
Set Reduce Dust and Scratches to Low, Medium, or High according to the degree of dust and scratches.
| None | Medium |
 |
 |
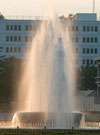
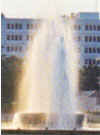
Correcting photos that have faded with time or due to colorcast
Set Fading Correction to Low, Medium, or High according to the degree of fading or colorcast.
| None | Medium |
 |
 |
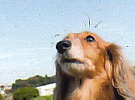
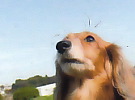
Reducing graininess
Set Grain Correction to Low, Medium, or High according to the degree of graininess.
| None | Medium |
 |
 |
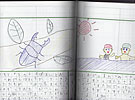
Correcting shadows that appear between pages when scanning open booklets
Set Gutter Shadow Correction to Low, Medium, or High according to the degree of shadows.
| None | Medium |
 |
 |

