Adjusting Brightness and Contrast
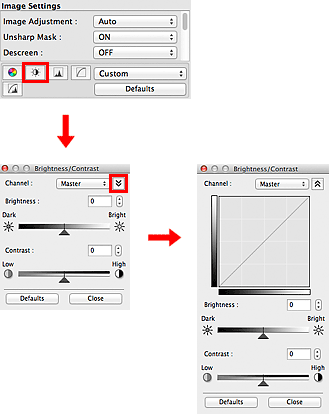
You can adjust images that are too dark or bright, or too flat due to lack of contrast by using  (Brightness/Contrast) in ScanGear's Advanced Mode tab.
 Note
Note
- Click
 (Down arrow) to switch to detailed view. Click
  (Up arrow) to return to the previous view.
 - Click Defaults to reset all adjustments in the current window.
Channel
Each dot of an image is a mixture of Red, Green, and Blue in various proportions (gradation). These colors can be adjusted individually as a "channel."
- Master
- Adjust the Red, Green, and Blue combined.
- Red
- Adjust the Red channel.
- Green
- Adjust the Green channel.
- Blue
- Adjust the Blue channel.
 Note
Note
- Only Grayscale will be displayed in Channel when Color Mode is Grayscale.
Brightness
Adjust the image brightness.
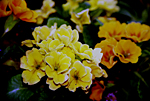
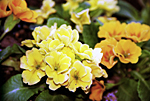
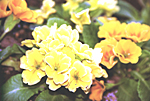
Move  (Slider) under Brightness to the left to darken and right to brighten the image. You can also enter a value (-127 to 127).

| Darkened | Original image | Brightened |
 |
 |
 |
 Note
Note
- Highlights may be lost if you brighten the image too much, and shadows may be lost if you darken the image too much.
Contrast
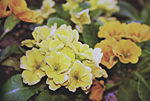
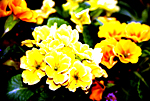
"Contrast" is the degree of difference between the brighter and darker parts of an image. Increasing contrast will increase the difference, thus sharpening the image. Decreasing contrast will decrease the difference, thus softening the image.
Move  (Slider) under Contrast to the left to decrease and right to increase the contrast of the image. You can also enter a value (-127 to 127).

| Decreased contrast | Original image | Increased contrast |
 |
 |
 |
 Note
Note
- Increasing the contrast is effective in adding a three-dimensional feel to soft images. However, shadows and highlights may be lost if you increase the contrast too much.

