
Settings... Dialog Box
Set crop marks that indicate the trim size.
To display the Settings... dialog box, select the Show Crop Marks checkbox on the General Settings tab (Layout), and then click Settings....
- Corner Crop Marks
-
Set the type of crop marks to be printed at the corners.
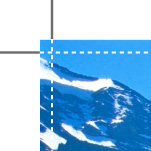
- Single Crop Mark 1 (Bleed)
-
Prints lines that indicate the bleed area.
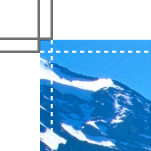
- Single Crop Mark 2 (No Bleed)
-
Prints lines that indicate the trim size.

- Double Crop Mark (Japan)
-
Prints lines that indicate the trim size and bleed area.
- Center Crop Marks
-
Select this checkbox to print lines that indicate the center of the top, bottom, left, and right edges of the trim size.
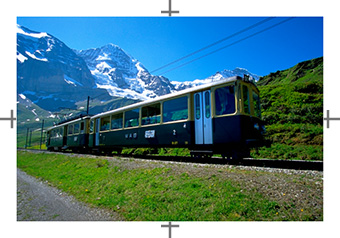
- Crop Mark Positioning
-
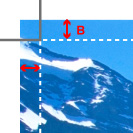
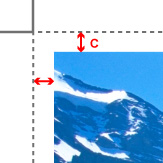
Set the crop mark positions within the range of -1.000 to +1.000 in. (-10.00 to +10.00 mm).
Example:
0.00 in. (0.00 mm) -0.20 in. (-5.00 mm) 0.20 in. (5.00 mm) 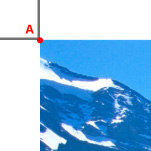
A: Original crop mark position
B: Bleed area
C: Margin
