Saving Roll Paper by Eliminating Upper and Lower Margins on Document
When printing on roll paper, you can save paper by eliminating the upper and lower margins when printing.
The procedure for saving paper by eliminating the upper and lower margins is as follows:
Open the printer driver setup window
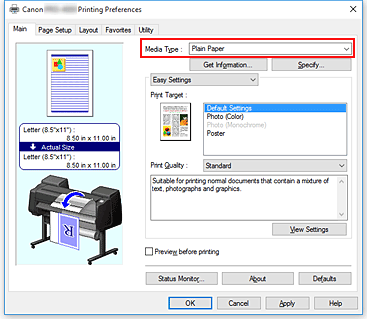
Select the media type
Select the type of paper loaded in the printer from the Media Type list on the Main tab.

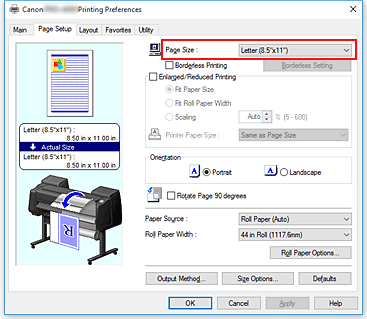
Select the paper size
From the Page Size list on the Page Setup tab, select the same size as that of the document that was created with the application software.

Select the paper source
For Paper Source on the Page Setup tab, select the setting that matches your purpose from Roll Paper (Auto), Roll 1, and Roll 2.
 Important
- The paper feed method will differ according to the paper or lower level (roll paper 2) settings, or roll unit option settings.
Select roll paper width
For Roll Paper Width, select the width of the roll paper loaded in the printer.
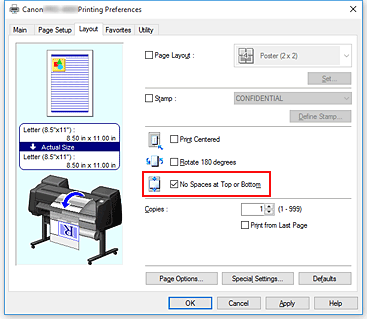
Selecting Paper Saving
On the Layout tab, select the No Spaces at Top or Bottom check box.
The current settings are displayed in the settings preview on the left side of the window.
Complete the setup
Click OK.
When you print, the upper and lower margins are eliminated so that you can save paper.

