Printing Multiple Pages All on One Page
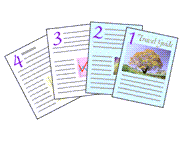
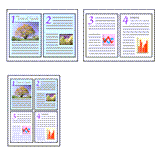
The page layout printing function allows you to print more than one page image on a single sheet of paper.

|

|

|

|
The procedure for printing multiple pages all on one page is as follows:
Open the printer driver setup window
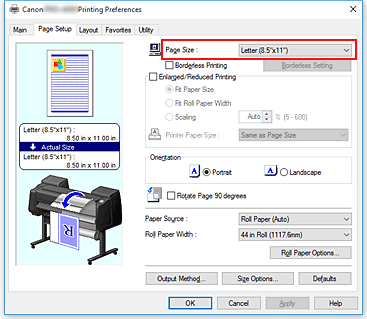
Select the print paper size
From the Page Size list on the Page Setup tab, select the size of the paper loaded in the printer.

Set number of pages to be printed per sheet
On the Layout tab, select the Page Layout check box, and from the pull-down menu, select 2 Pages/Sheet, 4 Pages/Sheet, 6 Pages/Sheet, 8 Pages/Sheet, 9 Pages/Sheet, or 16 Pages/Sheet.
The current settings are displayed in the settings preview on the left side of the window.
 Note
Note- 8 Pages/Sheet cannot be used when the XPS printer driver is used.
Set the number of pages to be printed on one sheet and the page order
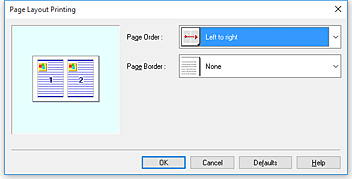
If necessary, click Set..., specify the following settings in the Page Layout Printing dialog box, and click OK.

- Page Order
- To change the page arrangement order, select a placement method from the list.
- Page Border
- To print a page border around each document page, check this check box.
Complete the setup
Click OK on the Layout tab.
When you execute print, the specified number of pages will be arranged on each sheet of paper in the specified order. Important
- When there is a checkmark attached to Banner Printing on the Page Setup tab, Page Layout is grayed out and cannot be set.

