
2. Developing/Correcting Images on the Monitor
Develop/correct images using image editing software to make them closer to what you want while viewing the images on the monitor.
Preparation
It is recommended that you use a color-managed monitor.
Set the monitor as follows.
- Color temperature: D50 (5000 K)
- Luminance: 120 cd/m2
- Gamma: 2.2
For ambient lighting, it is recommended that you use D50 fluorescent lamps designed for color evaluation (color temperature: 5000 K, high color rendering properties).
Refer to "Lesson 2 Color Management Basics" for details on color management.
![]() Tip
Tip
When the Values Above Cannot Be Set on the Monitor
Color tones will differ between the monitor and printed materials; print before making any correction, then apply correction while viewing the printed material.
Steps
The following describes the steps for developing RAW format data. Although some image editing software may be able to correct even JPEG format data, the image quality will be lower than RAW format data since JPEG format data is compressed. Therefore, applying correction may degrade gradations and other elements.
-
Start the image editing software to be used.
-
Open the image you want to print.
 Note
NoteThe settings of the image editing software will be applied to the image's color space. Change the color space according to the file format of the image to be used and purpose of use.
-
Develop/correct the photo to make it closer to what you want.
-
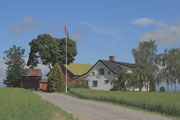
White Balance/Color Temperature
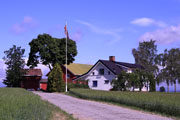
Before correction After correction -
Picture Style (for Digital Photo Professional only)
You can easily make images closer to what you want by simply selecting a matching style such as portrait or landscape.
-
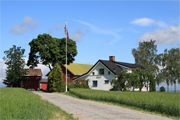
Brightness
Before correction After correction -
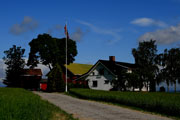
Contrast
Before correction After correction
-


