
Print Matching Roll Width (Word)
Prints to the edge of the roll width. You can print large exhibits and posters, and also print Portrait and Landscape orientations made in Large-Format Printing Wizard.
-
Start Microsoft Word.
-
If Start imagePROGRAF Print Plug-In is displayed on the toolbar/ribbon, click it.
-
Click Print from the imagePROGRAF Print Plug-In toolbar/ribbon.
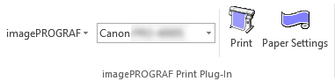
The Printing Wizard dialog box is displayed.
-
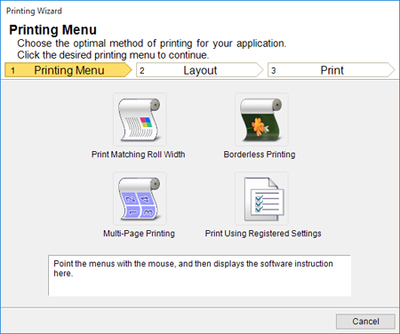
Click Print Matching Roll Width.
 Important
-
If you want to change the display to another file or application while the Printing Wizard is open, close the Printing Wizard dialog box. Otherwise, you may not be able to change displays or operate the toolbar/ribbon.
-
-
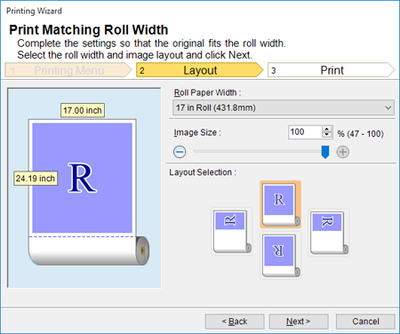
Select Roll Paper Width that is set in the printer.
-
Select image size.
-
Select layout.
-
Click the Next button.
-
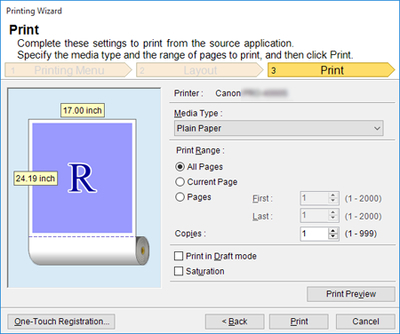
Select Media Type.
-
Select Print Range from All Pages, Current Page, and Pages.
If Pages is selected, enter the number of pages.
-
Enter Copies.
 Note
Note-
When Print in Draft mode is selected, printing is fast but the print quality is poor.
-
When Saturation is selected, you can print posters, etc., vividly.
-
The settings are registered when the One-Touch Registration is pressed. This is convenient if you to need print multiple times using the same setting.
-
Press the Print Preview button to display the preview screen. You can check and make changes to the layout in the preview screen.
-
When you print to the edge of the roll width, the maximum length will be the lesser of 5.587 times the roll paper width, or 708.7 inches (18.0 m).
-
-
Click Print button.
Printing begins.
