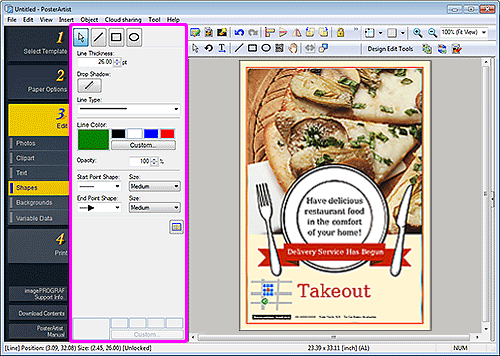
Edit Screen (Shapes)
Add straight lines, circles, rectangles, arrows, and other shapes to posters.
To display the screen, click Edit in the task area, and then click Shapes.
![]() Important
Important
- Fluorescent spot colors cannot be used depending on your model or paper type.
- Fluorescent spot colors cannot be used when the Edit layout with Free Layout plus checkbox is selected in the Paper Options screen.
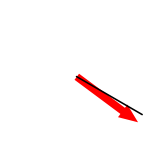
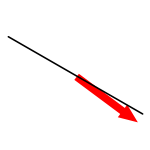
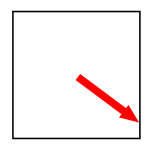
 (Line)
-
Drag the crosshair pointer to add a line or arrow.
 Note
Note-
To draw a horizontal line, vertical line, or a line angled at a multiple of 15 degrees, hold down the Shift key as you drag the pointer.
- To set the clicked point as the center point, hold down the Ctrl key as you drag the pointer.
-
To draw a horizontal line, vertical line, or a line angled at a multiple of 15 degrees with the clicked point set as its center point, hold down the Shift and Ctrl keys as you drag the pointer.
-
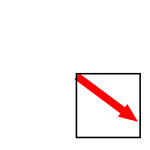
 (Rectangle)
-
Drag the crosshair pointer to add a rectangle.
Note-
To draw a square, hold down the Shift key as you drag the pointer.
- To set the clicked point as the center point, hold down the Ctrl key as you drag the pointer.
-
To draw a square with the clicked point set as its center point, hold down the Shift and Ctrl keys as you drag the pointer.
-
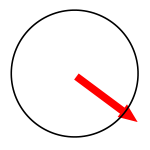
 (Ellipse)
-
Drag the crosshair pointer to add a circle or ellipse.
Note-
To draw a circle, hold down the Shift key as you drag the pointer.

- To set the clicked point as the center point, hold down the Ctrl key as you drag the pointer.
-
To draw a circle with the clicked point set as its center point, hold down the Shift and Ctrl keys as you drag the pointer.
-
- Line Thickness
- Specify the line thickness. Enter the value directly.
- Drop Shadow
-
Displays the Set Shadow dialog box for adding a drop shadow to the shape.
Note- In the Set Shadow dialog box, you can specify a fluorescent spot color for the drop shadow color.
- Line Type
- Select the line type from the list.
- Line Color / Fill-in Color
-
Displays the current line or fill color and basic colors. To use other colors, click Custom..., and then select a color in the displayed dialog box.
Note- Fill-in Color appears when a rectangle or ellipse is selected.
- Regular color
- Displays the current color or basic colors in the four-color palette.
- Spot color
- Displays available fluorescent colors in the four-color palette.
- Edit Palette...
-
Click to display the Edit Spot Color Palette dialog box for editing the colors that appear in the palette.
- Edit Spot Color Palette dialog box
-
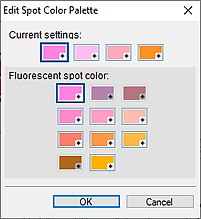
Select the four colors you want to display in the Spot color palette.
Select the color you want to edit in the palette under Current settings, and then select the color you want to display in the palette from Fluorescent spot color.Note- The four colors that appear in the Spot color palette are retained on the printer.
- Opacity
-
Specify the opacity of Fill-in Color.
Increase the value to increase opacity and decrease the value to increase transparency.
- Start Point Shape / End Point Shape
-
Select the shape of the starting point or ending point.
- Size
- Select the size of the starting point or ending point from Small, Medium, and Large.
Note- Appears when a line is selected.
- Corner Shape
-
Select the corner shape.
- Radius
- When the round shape is selected for Corner Shape, specify the roundness as needed.
Note- Appears when a rectangle is selected.
 (All Map Symbols)
- Displays a dialog box for viewing all map symbols.
