
Using Auto Photo Fix
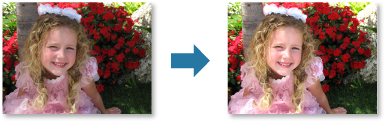
You can automatically apply corrections suitable for photos based on the analysis of the shot scene.
![]() Important
Important
- Auto Photo Fix cannot be applied to images that have been corrected with Auto Photo Fix and saved. In addition, Auto Photo Fix may not be available for images edited with an application, digital camera, etc. manufactured by other companies.
![]() Note
Note
- You can automatically correct photos when printing. For the setting procedure, see Print Settings Dialog or "Print Dialog". For details on the Print dialog, see Help of Mac OS.
-
Select the image(s) you want to correct.
-
Click Correct/Enhance at the bottom of the screen.
The Correct/Enhance Images window appears.
-
Select the image you want to correct from the Selected Images area.
The selected image appears in the Preview area.
 Note
Note- If only one image is selected, only the preview appears and the Selected Images area does not appear.
-
Make sure that Auto is selected.
-
Click Auto Photo Fix, then click OK.
The entire photo is corrected automatically and the
 (Correction/Enhancement) mark appears on the upper left of the image.Note
- Click
 (Display Comparison Screen) to display the images before and after the correction side by side in a separate window so that you can compare and check the result.
 - Click Reset Selected Image to undo all corrections.
- Select the Apply to all images checkbox to correct the images displayed in the Selected Images area at one time.
- It is recommended that you deselect the Prioritize Exif info checkbox.
Deselect this checkbox to apply corrections based on the image analysis results.
Select this checkbox to apply corrections primarily based on the settings made at the time of shooting. - The correction result may not be as expected depending on the selected image.
- Click
-
Click Save Selected Image or Save All Corrected Images.
Corrected image(s) is (are) saved as a new file(s).
Note- To save only the image(s) you like, select it (them) and click Save Selected Image. Click Save All Corrected Images to save all the corrected images at one time.
- The corrected image(s) can be saved in JPEG/Exif format only.
-
Click Exit.
 Important
- If the corrected image(s) is (are) not saved, the correction(s) will be deleted.
