
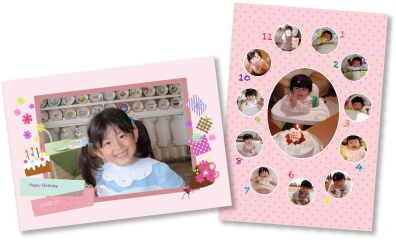
Printing Collages
You can create collages using your favorite photos and print them.
-
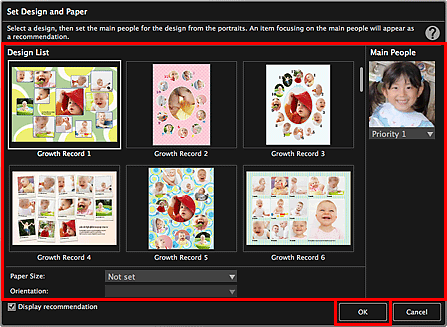
Click Collage from the Guide Menu screen.

The Set Design and Paper dialog appears.
-
Set the design, priority of people for Main People, Paper Size, etc., then click OK.
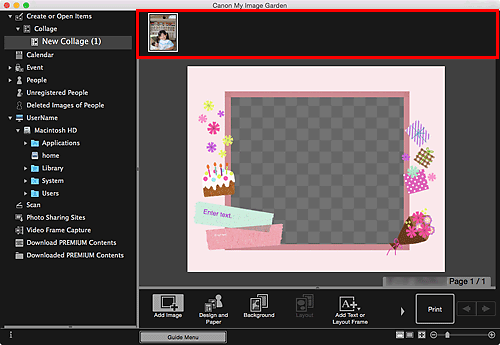
The collage appears in the Item edit screen.
 Note
Note- Even if a high priority is set, the person may not be placed in the item depending on the selected design.
- The layout may not be as expected depending on the photo information or analysis results of the selected images.
-
Select the image(s) from which you want to create a collage from Add Image.
The image(s) appear in the Materials area.
-
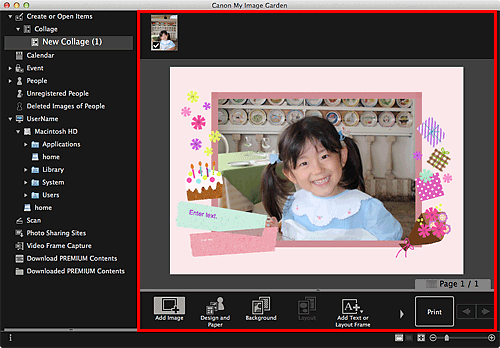
Drag and drop an image in the Materials area to a layout frame of your item.
When you move an image to a layout frame, a cross icon appears on the image.
-
Edit the item according to your preference.
 Note
Note- In cases such as when Identifying people appears at Unregistered People in Global Menu on the left side of the screen, the result may not be as expected since automatic placement does not apply to images for which analysis has not been completed.
- Refer to "Inserting Images" to swap automatically placed images.
-
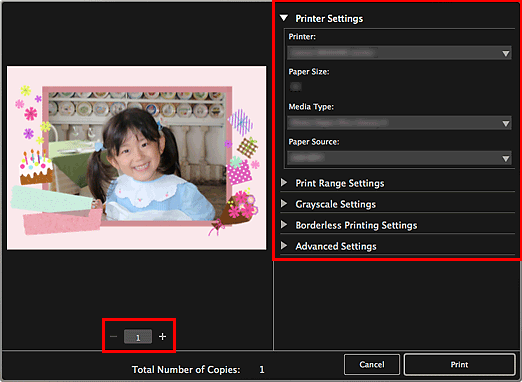
Click Print at the bottom right of the screen.
The Print Settings dialog appears.
-
Set the number of copies to print, the printer and paper to use, etc.
 Note
Note- Refer to "Print Settings Dialog" for details on the Print Settings dialog.
-
Click Print.
A message appears.
-
Click OK.
The Print dialog appears.
 Important
- If you change the printer in the Print dialog, a message appears and printing will be canceled.
-
Click Print.
