
Starting Media Configuration Tool
Follow the procedure below to start Media Configuration Tool.
-
Execute any of the following:
-
Double-click the media information file (Media Information File/.am1x file).
-
Select the printer for which you want to change the media information on the Basic Tool sheet of the Quick Utility Toolbox, and then click the Media Configuration button.
-
Click the Media Configuration Tool button on the Management Tool sheet in the Quick Utility Toolbox.
-
Select Applications from the Go menu, and then double-click the Canon Utilities folder > Media Configuration Tool folder > and Media Configuration Tool icon in order.
 Note
Note-
Quick Utility Toolbox is a Canon software application.
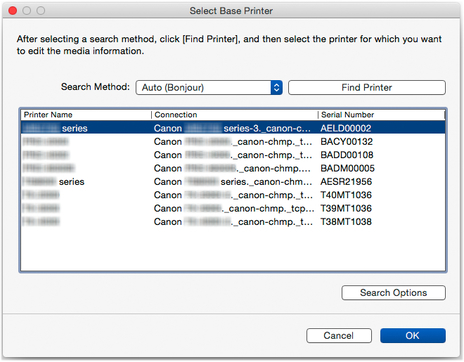
A search for printers is performed, and the Select Base Printer dialog box appears.
Note-
It may take time before the Select Base Printer dialog box appears.
-
-
Select the printer for which you want to change the media information, and then click the OK button.
 Note
Note-
When started from the Basic Tool sheet in the Quick Utility Toolbox, only printers selected with the Quick Utility Toolbox will appear on the main screen.
-
If the printer that you wish to update the media information does not appear, select Auto in Search Method, and then click the Find Printer button or select IPv4/IPv6, and then click the Find Printer button, and enter the printer IP address directly.
-
To search by SNMP community, click Search Options, and then specify a Specify community name.
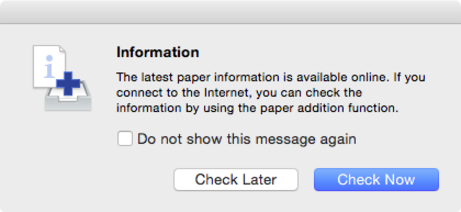
A message about the latest media information appears.
Note-
It may take time before this message appears.
-
-
Click the Check Now or Check Later button.
 Note
Note-
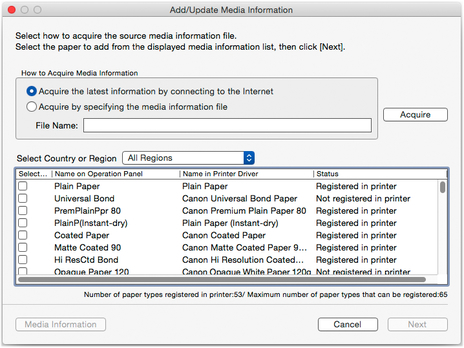
Click the Check Now button to acquire the media information. The Add/Update Media Information dialog box appears, and you can check the latest media information.
To add media information, do so while referring to "Adding Media Information".
To cancel without adding media information, click the Cancel button.
-
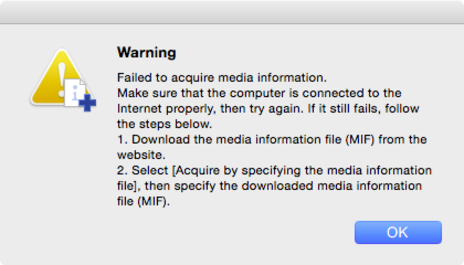
If the following message appears, the media information file cannot be downloaded from the Internet.
Obtain the media information file from the Canon website using a computer connected to the Internet.
Specify the media information file that you obtained by selecting Acquire by specifying the media information file, clicking the Acquire button, and specifying the file in the Open dialog box.
-
-
You can add media information later.
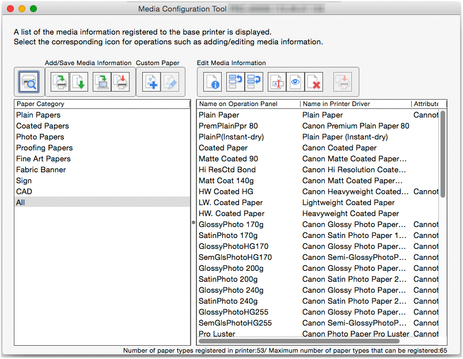
The main screen appears.
The media information for the selected printer appears in the main screen.
-
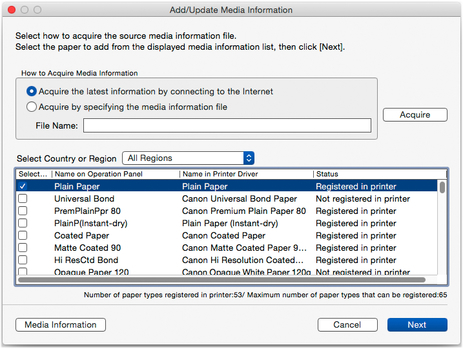
Adding Media Information
-
Select the check box of the media information that you want to add from the displayed media information, and then click the Next button.
 Note
Note-
The printer's paper registration status will appear in Status.
-
Not registered in printer
This paper is not registered to the printer.
-
Update Available
This paper has not been updated. It has been registered to the printer.
-
Registered in printer
The most up to date information on paper registered to the printer.
-
-
If you select your country or region in Select Country or Region, only the paper sold in your country or region appears.
-
If you select the media information and click the Media Information button, the Simple Paper Reference dialog box appears, allowing you to check the details of the selected media information.
The Update Media Information dialog box appears.
-
-
Click the Execute button.
 Note
Note-
Click the Find Printer button to display printers other than the base printer. If there are other printers that you want to update the media information for at the same time as the base printer, check this check box.
-
In addition to the base printer, the printers that are the same model as the base printer appear.
-
You cannot clear the check mark for the base printer.
-
-
Click the Yes button.

The Check Update Results dialog box appears.
-
Verify that
 mark appears to the left of the Printer Name, and then click the OK button.
 Note
Note-
Media information was not updated for printers with a
 mark displayed to the left of the Printer Name.
Verify the state of the printer and network, and click the Retry button.
Updating media information is executed again for printers with the
mark.
The media information is applied to the printer.
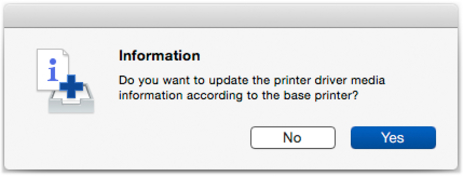
Next, apply the media information to the printer driver.
-
-
Click the Yes button.
 Note
Note-
If the following dialog box appears, select the printer that you are updating the media information of, and then click the OK button.
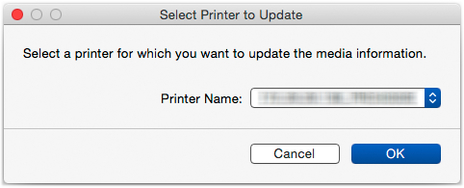
The printer driver's Utility screen will appear.
-
-
Update the media information on the printer driver's Utility screen.
For details, search for and refer to the "Updating Media Information in Printer Driver" page from the home page of the Online Manual for your model.
