Scanning Easily
Digitize documents and photos!
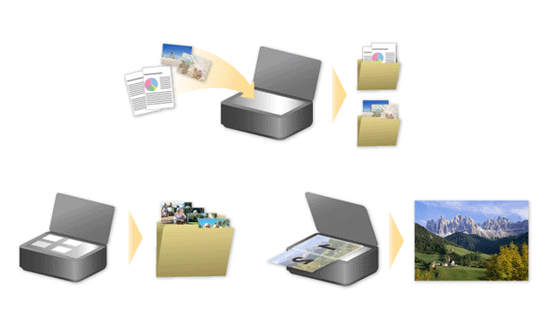
Use Canon PRINT to scan with a simple operation; perform post-scan fine editing or save scanned data as needed.
Download from here!
The following describes the steps required when using Canon PRINT.
Canon PRINT (Windows)
 Procedure
Note: The screens and available functions vary depending on the model.
-
STEP
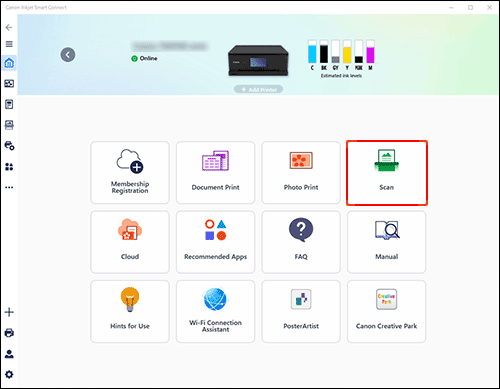
1Start Canon PRINT and select Scan.
-
STEP
2Load the original, specify basic scan settings, and then scan.
-
STEP
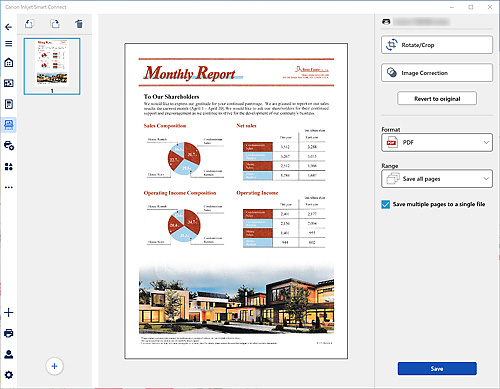
3Adjust the position and size in the edit screen as needed.
 Tips
Tips- If necessary, perform color correction or show-through reduction from Image Correction.

Canon PRINT (iOS/iPadOS、Android)
Procedure
Note: The screens and available functions vary depending on the model.
-
STEP
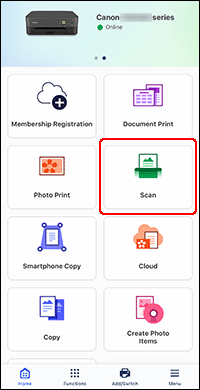
1Start Canon PRINT and select Scan.
-
STEP
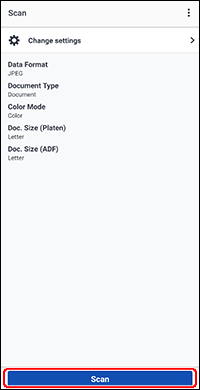
2Load the original, specify basic scan settings, and then scan.
Tips- To change the item type to document, select Document for Document Type in Change settings.
Download from here!
![]() Recommended Use
Recommended Use
-
Scan by automatically detecting the item type.
-
Save scanned images to your smartphone or cloud services.
- Saving Scanned Images to Your Smartphone
(Not supported depending on the model) - Scanning to Cloud Services
- Saving Scanned Images to Your Smartphone
-
Scan the left and right halves of an item larger than the platen.
-
Scan two or more photos placed on the platen at one time.