
液晶モニター画面と操作パネルの使いかた
操作パネルのセットアップボタン(A)を押すと、[セットアップメニュー]画面が表示され、いろいろな設定を選ぶことができます。
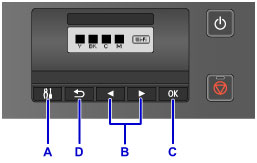
メニューと項目の選びかた
メニュー画面や設定画面では、
 ボタン(B)で項目や設定を選び、OKボタン(C)を押して操作を進めます。
戻るボタン(D)を押すと、前の画面に戻ります。
例:カセットの自動給紙切り替えの設定を変更します。

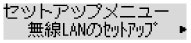
待機画面が表示されているときに、セットアップボタン(A)を押します。
ボタン(B)で[本体設定]を選びます。
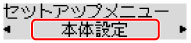
OKボタン(C)を押します。
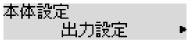
ボタン(B)で[カセット設定]を選びます。
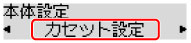
OKボタン(C)を押します。
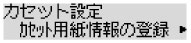
ボタン(B)で[自動給紙切換]を選びます。
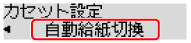
OKボタン(C)を押します。

ボタン(B)で設定を変更し、OKボタン(C)を押します。
