Reinstalling the Printer
The basic workflow for reinstalling the printer is as follows.
For detailed instructions, see the Installation Guide.
Install the printer
-
Unpack printer body and parts such as ink tank, roll paper, and roll holder removed from printer.
-
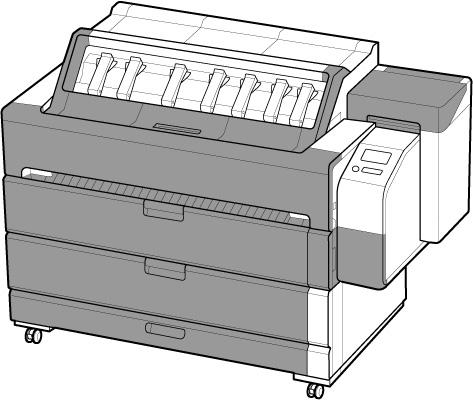
Free each part of the printer that was secured before moving.
-
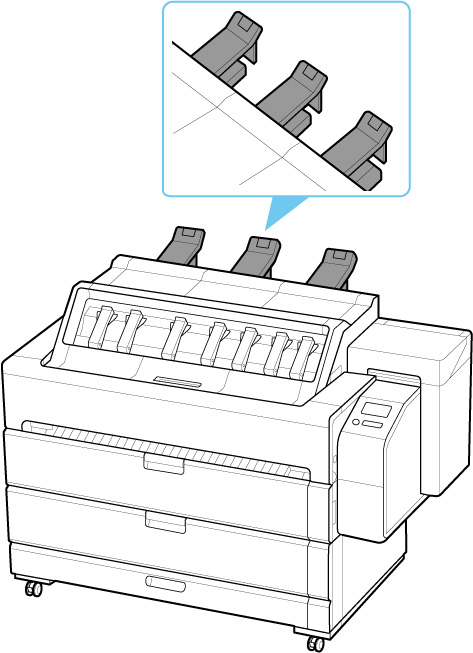
Attach the top output guide and paper output support.
-
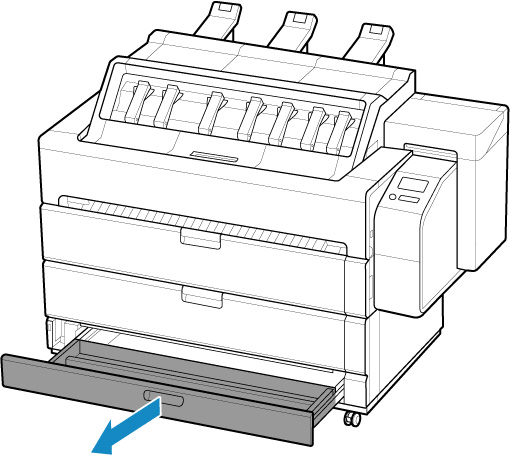
Open accessory drawer.
-
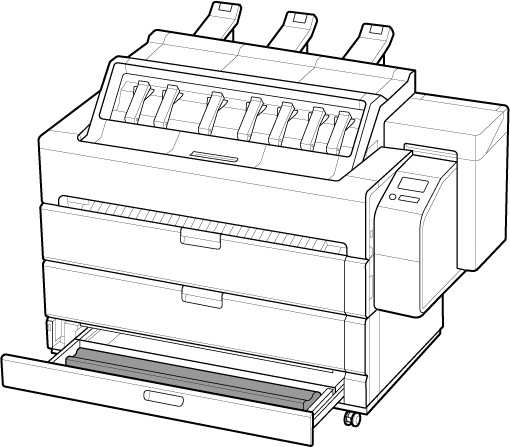
Attach the basket cloth and basket support bar to the basket arm.
 Important
-
After this, load roll paper. After attaching basket cloth, fold basket cloth and fold down basket arm.
-
-
Close accessory drawer.
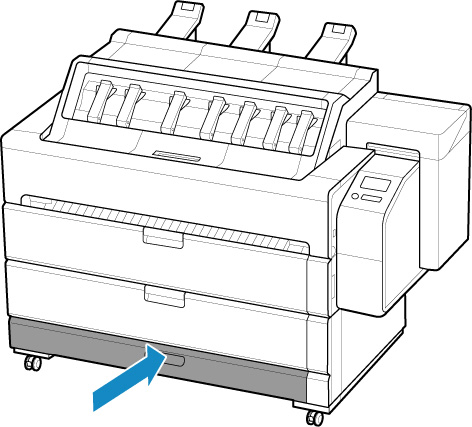
-
Open top cover.
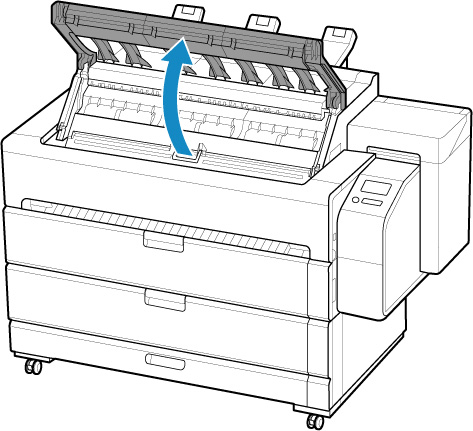
-
Open inner cover.
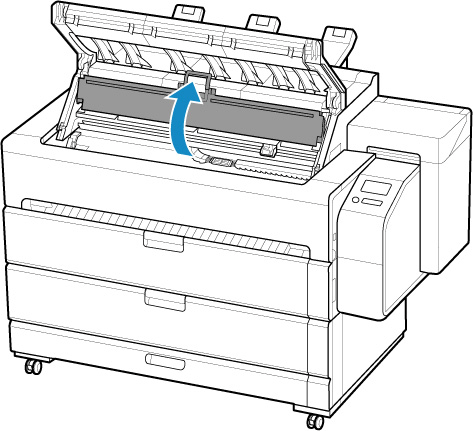
-
Remove the belt stopper.
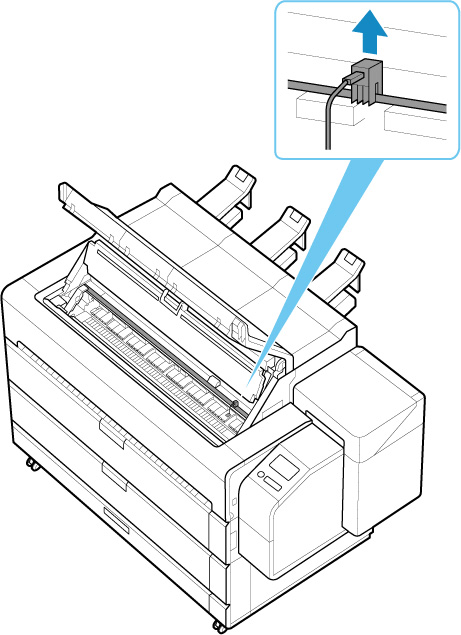
 Important
-
Keep removed belt stopper so that it will not be lost until the next move. Neglecting to attach the belt stopper may damage printer.
-
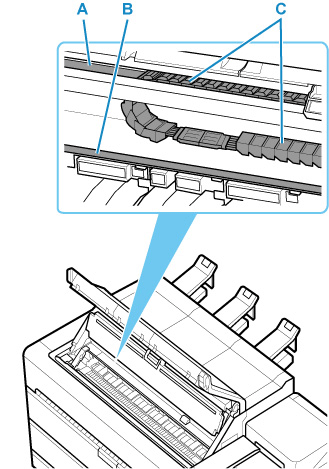
Do not touch the linear scale (A), carriage shaft (B), or ink tube stabilizer (C). Touching these may cause malfunction.
-
-
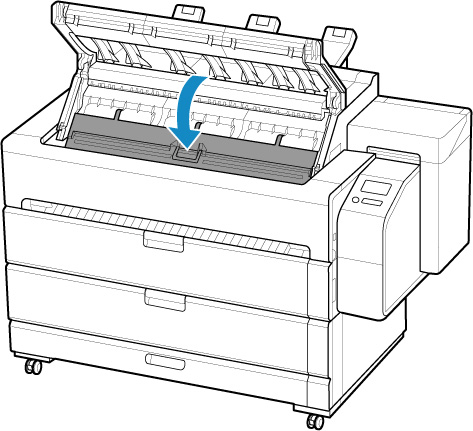
Close inner cover.
-
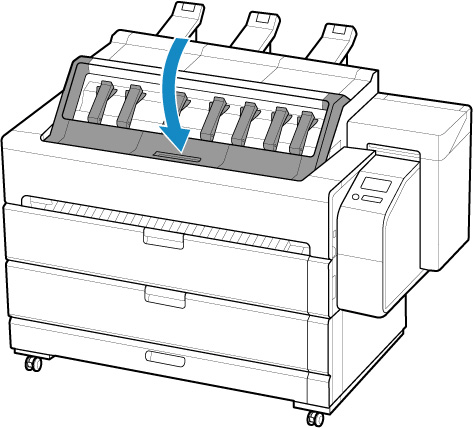
Close top cover.
-
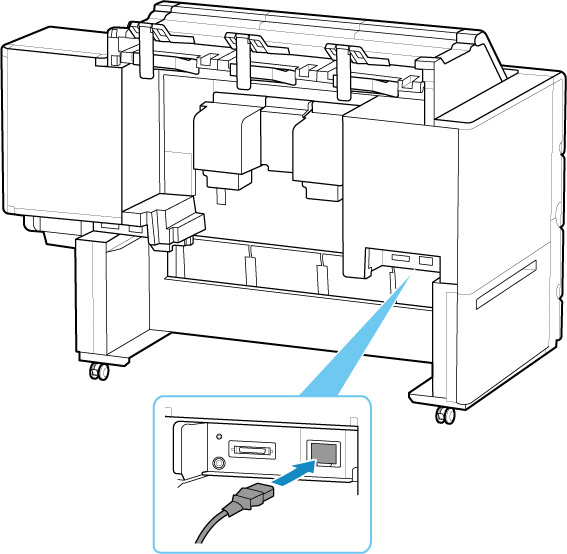
Connect the power cord to the power cord connector on the back of the printer.
-
Plug the power cord into the outlet.
-
Turn printer on.
-
Check the contents of the message and select Yes.
-
Open the ink tank cover and install all ink tanks.
-
Install the software.
Note that the driver installation procedure varies depending on the type of connection.
- Installing the Printer Driver (Windows)
- Installing the Printer Driver (macOS)
 Important
-
When you select Prepare to move, any registered web services will be canceled. After moving your printer, set up your web services again.
