Removing Printed Paper from the Roll Unit
![]() Note
Note
-
By tapping the paper settings display area and then
 area when setting Take-up mode and setting Wind up after cutting to Enable in advance, you can omit steps 6 and 7 below, because when the paper is cut after printing, the next paper will be automatically taken up after that. However, be careful when using easily damaged roll paper because the roll paper touches the roller when paper is cut.
-
Tap paper settings display area on Home screen of touch screen.
 Important
-
If the Home screen does not appear, tap the HOME button.
-
-
Tap
 area.
area.
-
Tap Feed/cut.
-
Tap Advance or Rewind to advance roll paper a little.
With the winding direction set to outward winding, advance the length of one circumference of the roll or more to protect the print side.
-
Tap Cut paper.
-
Hold printed paper between output guide and roll unit, then tap Yes.
The roll is now cut.
Important-
When cutting the roll paper, always hold the printed paper. If cut without holding the printed paper, the paper may fall to the floor and become soiled.
-
-
While holding trailing edge of printed paper, press Take-up or Rewind button to wind printed paper.
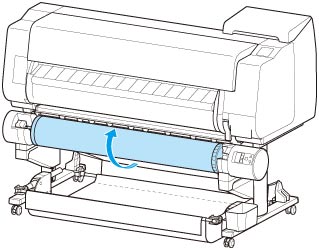
Apply adhesive tape to the rewound paper to hold it in place, if necessary.
Important-
Be careful not to scratch the printed surface.
-
-
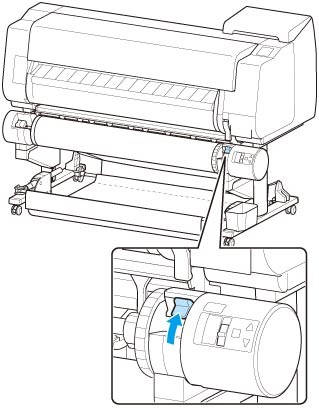
Change Roll Holder Lock switch on roll unit to release side.
-
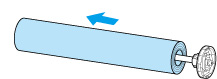
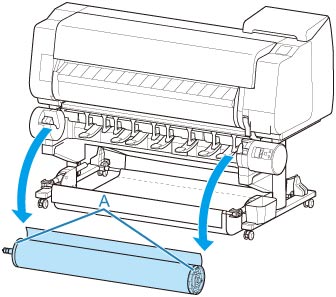
Hold roll holder by its flanges (A), and remove from roll unit.
-
Rotate the holder stopper lever (A) towards
 to release the lock, and while holding it in position (B), remove holder stopper from the roll holder.
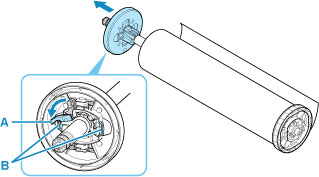
-
Remove printed material that has been taken up, from roll holder for each paper core.