 Printer Does Not Pick Up or Feed the Paper/"No Paper" Error

-
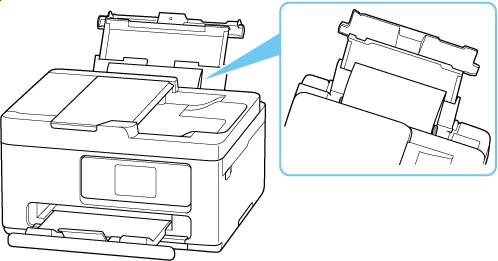
Check 1 Check the printer is placed on the right spot.
Place the printer on a flat table or similar platform.
-
Check 2 Make sure paper is loaded in the specified cassette or rear tray.
-
Check 3 When loading paper, consider the following.
-
When loading two or more sheets of paper, align the edges of the sheets before loading the paper.
-
When loading two or more sheets of paper, make sure the paper stack does not exceed the paper load limit.
However, paper may not feed correctly at the maximum capacity, depending on the type of paper or environmental conditions (very high or low temperature and humidity). In such cases, reduce the amount of paper you load at a time to less than half of the paper load limit.
-
Always load the paper in portrait orientation, regardless of the printing orientation.
-
When you load the paper on the rear tray, place the print side facing UP and align the right and left paper guides with the paper stack.
-
In the cassette, be sure to load only plain paper.
-
When you load the paper on the cassette, place the print side facing DOWN and align the right/left/front paper guides with the paper stack.
-
-
Check 4 Is paper too thick or curled?
-
Check 5 When loading envelopes, consider the following.
When printing on envelopes, see Loading Envelopes in Rear Tray, and prepare the envelopes before printing.
Once you have prepared the envelopes, load them in portrait orientation. If the envelopes are placed in landscape orientation, they will not feed properly.
-
Check 6 Make sure media type and paper size settings match with loaded paper.
-
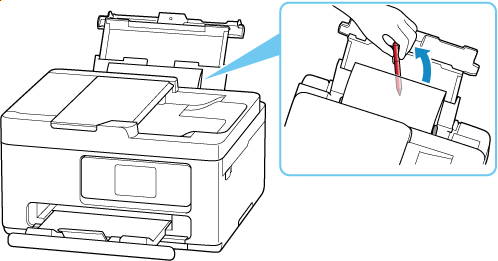
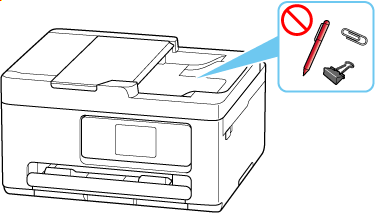
Check 7 Make sure that there are not any foreign objects in the rear tray.
If the paper tears in the rear tray, see What to Do When Paper Is Jammed to remove it.
If a foreign object is inside the rear tray, remove it according to the following procedure.
-
Turn off the power of the printer and disconnect the power plug from the outlet.
-
Fold one A4 sheet in half and insert it horizontally into the rear tray.
Insert the paper so that your hand does not directly touch the part in the center of the rear tray when removing the foreign object.

-
Remove foreign object by hand with paper inserted.
Put your hand between the paper you inserted and the rear tray to remove the foreign object.


-
Remove the folded paper inserted in step 2.
 Important
-
Do not tilt the printer or do not it upside down. Doing so may cause the ink to leak.
-
-
Check 8 Clean Paper Feed Roller.
 Note
Note-
Cleaning the paper feed roller abrades it, so do this only when necessary.
-
-
Check 9 If two or more sheets of paper feed from cassette at once, clean inside of cassette.
-
Check 10 Are transport unit attached properly?
See Rear View for the positions of the transport unit.
If the measures above do not solve the problem, contact your nearest Canon service center to request a repair.
 Important
- Do not tilt the printer when moving it since the ink may leak out.
