Cleaning Inside the Printer (Bottom Plate Cleaning)
Remove stains from the inside of the printer. If the inside of the printer becomes dirty, printed paper may get dirty, so we recommend performing cleaning regularly.
You need to prepare: a sheet of A4 or Letter-sized plain paper*
* Be sure to use a new piece of paper.
-
Make sure that the power is turned on.
-
Open the operation panel, then pull out the paper output tray.
-
Select
 Setup on the HOME screen.
The setup menu screen will appear.
-
Select
 Maintenance.
The Maintenance screen will appear.
-
Select Bottom plate cleaning.
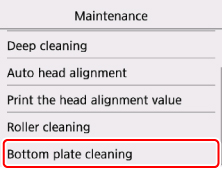
The confirmation screen will appear.
-
Select Yes.
-
Follow the message to remove any paper from the cassette, then select OK.
-
Fold a single sheet of A4 or Letter-sized plain paper in half widthwise, then unfold the paper.
-
Fold one side of the opened paper in another half, aligning the edge with the center crease, unfold the paper, then select OK.
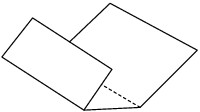
-
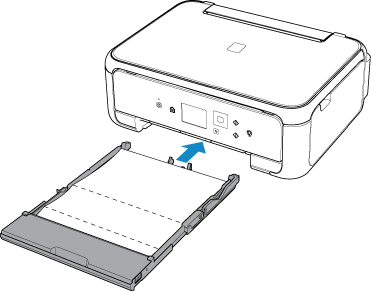
Load only this sheet of paper in the cassette with the ridges of the creases facing up and the edge of the half with no crease facing to the far side.
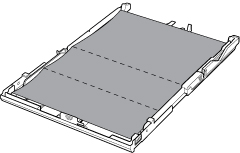
-
Mount the cassette cover, and then insert the cassette into the printer.
-
Open the operation panel, then pull out the paper output tray.
-
Select OK.
The paper cleans the inside of the printer as it feeds through the printer.
Check the folded parts of the ejected paper. If they are smudged with ink, perform Bottom Plate Cleaning again.
-
When the completion message appears, select OK.
 Note
Note- When performing Bottom Plate Cleaning again, be sure to use a new piece of paper.
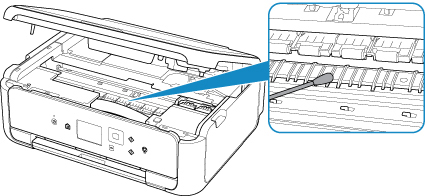
If the problem is not resolved after performing cleaning again, the protrusions inside the printer may be stained. Wipe off any ink from the protrusions using a cotton swab or the like.
 Important
- Be sure to turn off the power and unplug the power cord before cleaning the printer.
